
[vc_row][vc_column width=”1/3″][vc_message message_box_color=”peacoc” icon_fontawesome=”far fa-hand-point-down”]
- Rapid Building
- Shimming
- Skimming
- Spackling
- Painting
- Templating
- Installing
- Reuse Projects
- ALTAR
- PONY WALL
- BOTTOM DECK
- ANGLED DECK
[/vc_message][/vc_column][vc_column width=”1/3″][/vc_column][vc_column width=”1/3″][/vc_column][/vc_row][vc_row][vc_column][vc_column_text]
Hello MuseumTrade art preparators, handlers and technicians. Greg Pond from OMCA has brought us a premium article today. It can be difficult to build out site specific custom exhibition furniture and reuse it afterward. It takes a lot of planning; from the exhibit design to the furniture build plans and cut lists- there is a lot to line up to thread that needle. In OMCA’s case they lucked into the extensive reuse of the materials. After reading this you might be able to proactively reuse your materials and resources. Check out their process here and see if you can gleam a technique or trick for your museum, or simply enjoy the story and trials they went through to get all of this work.
LET’S START

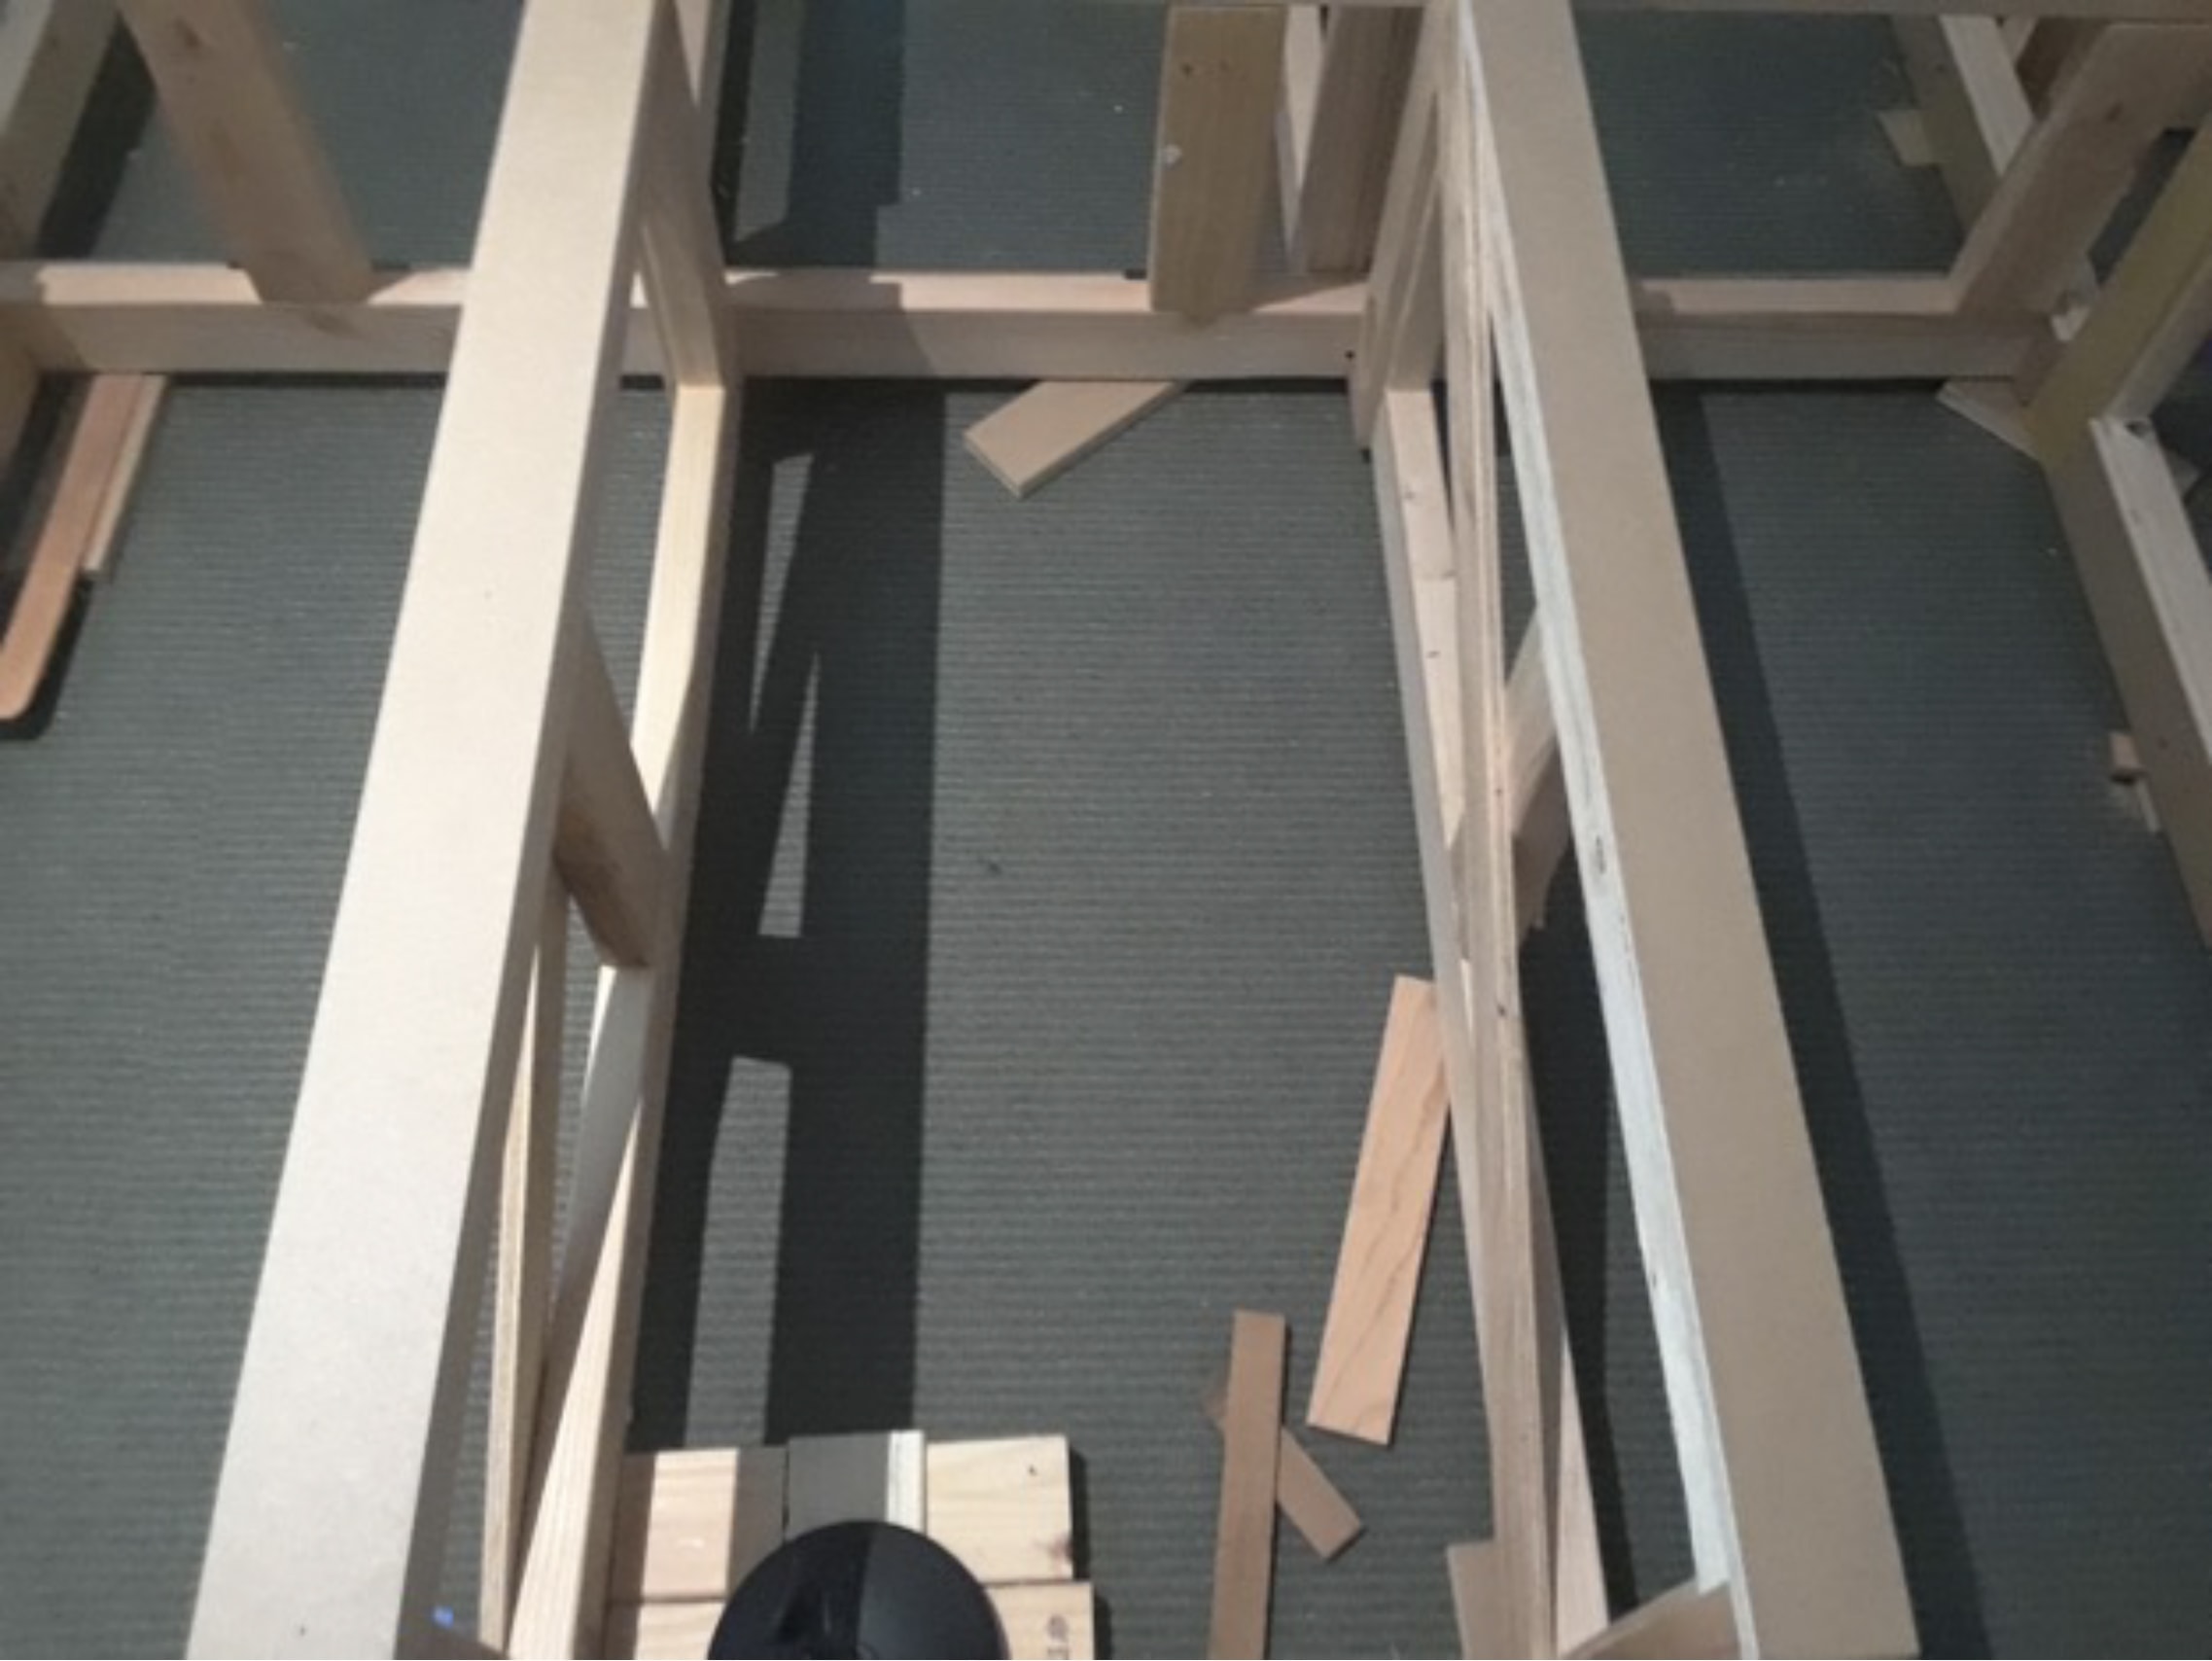
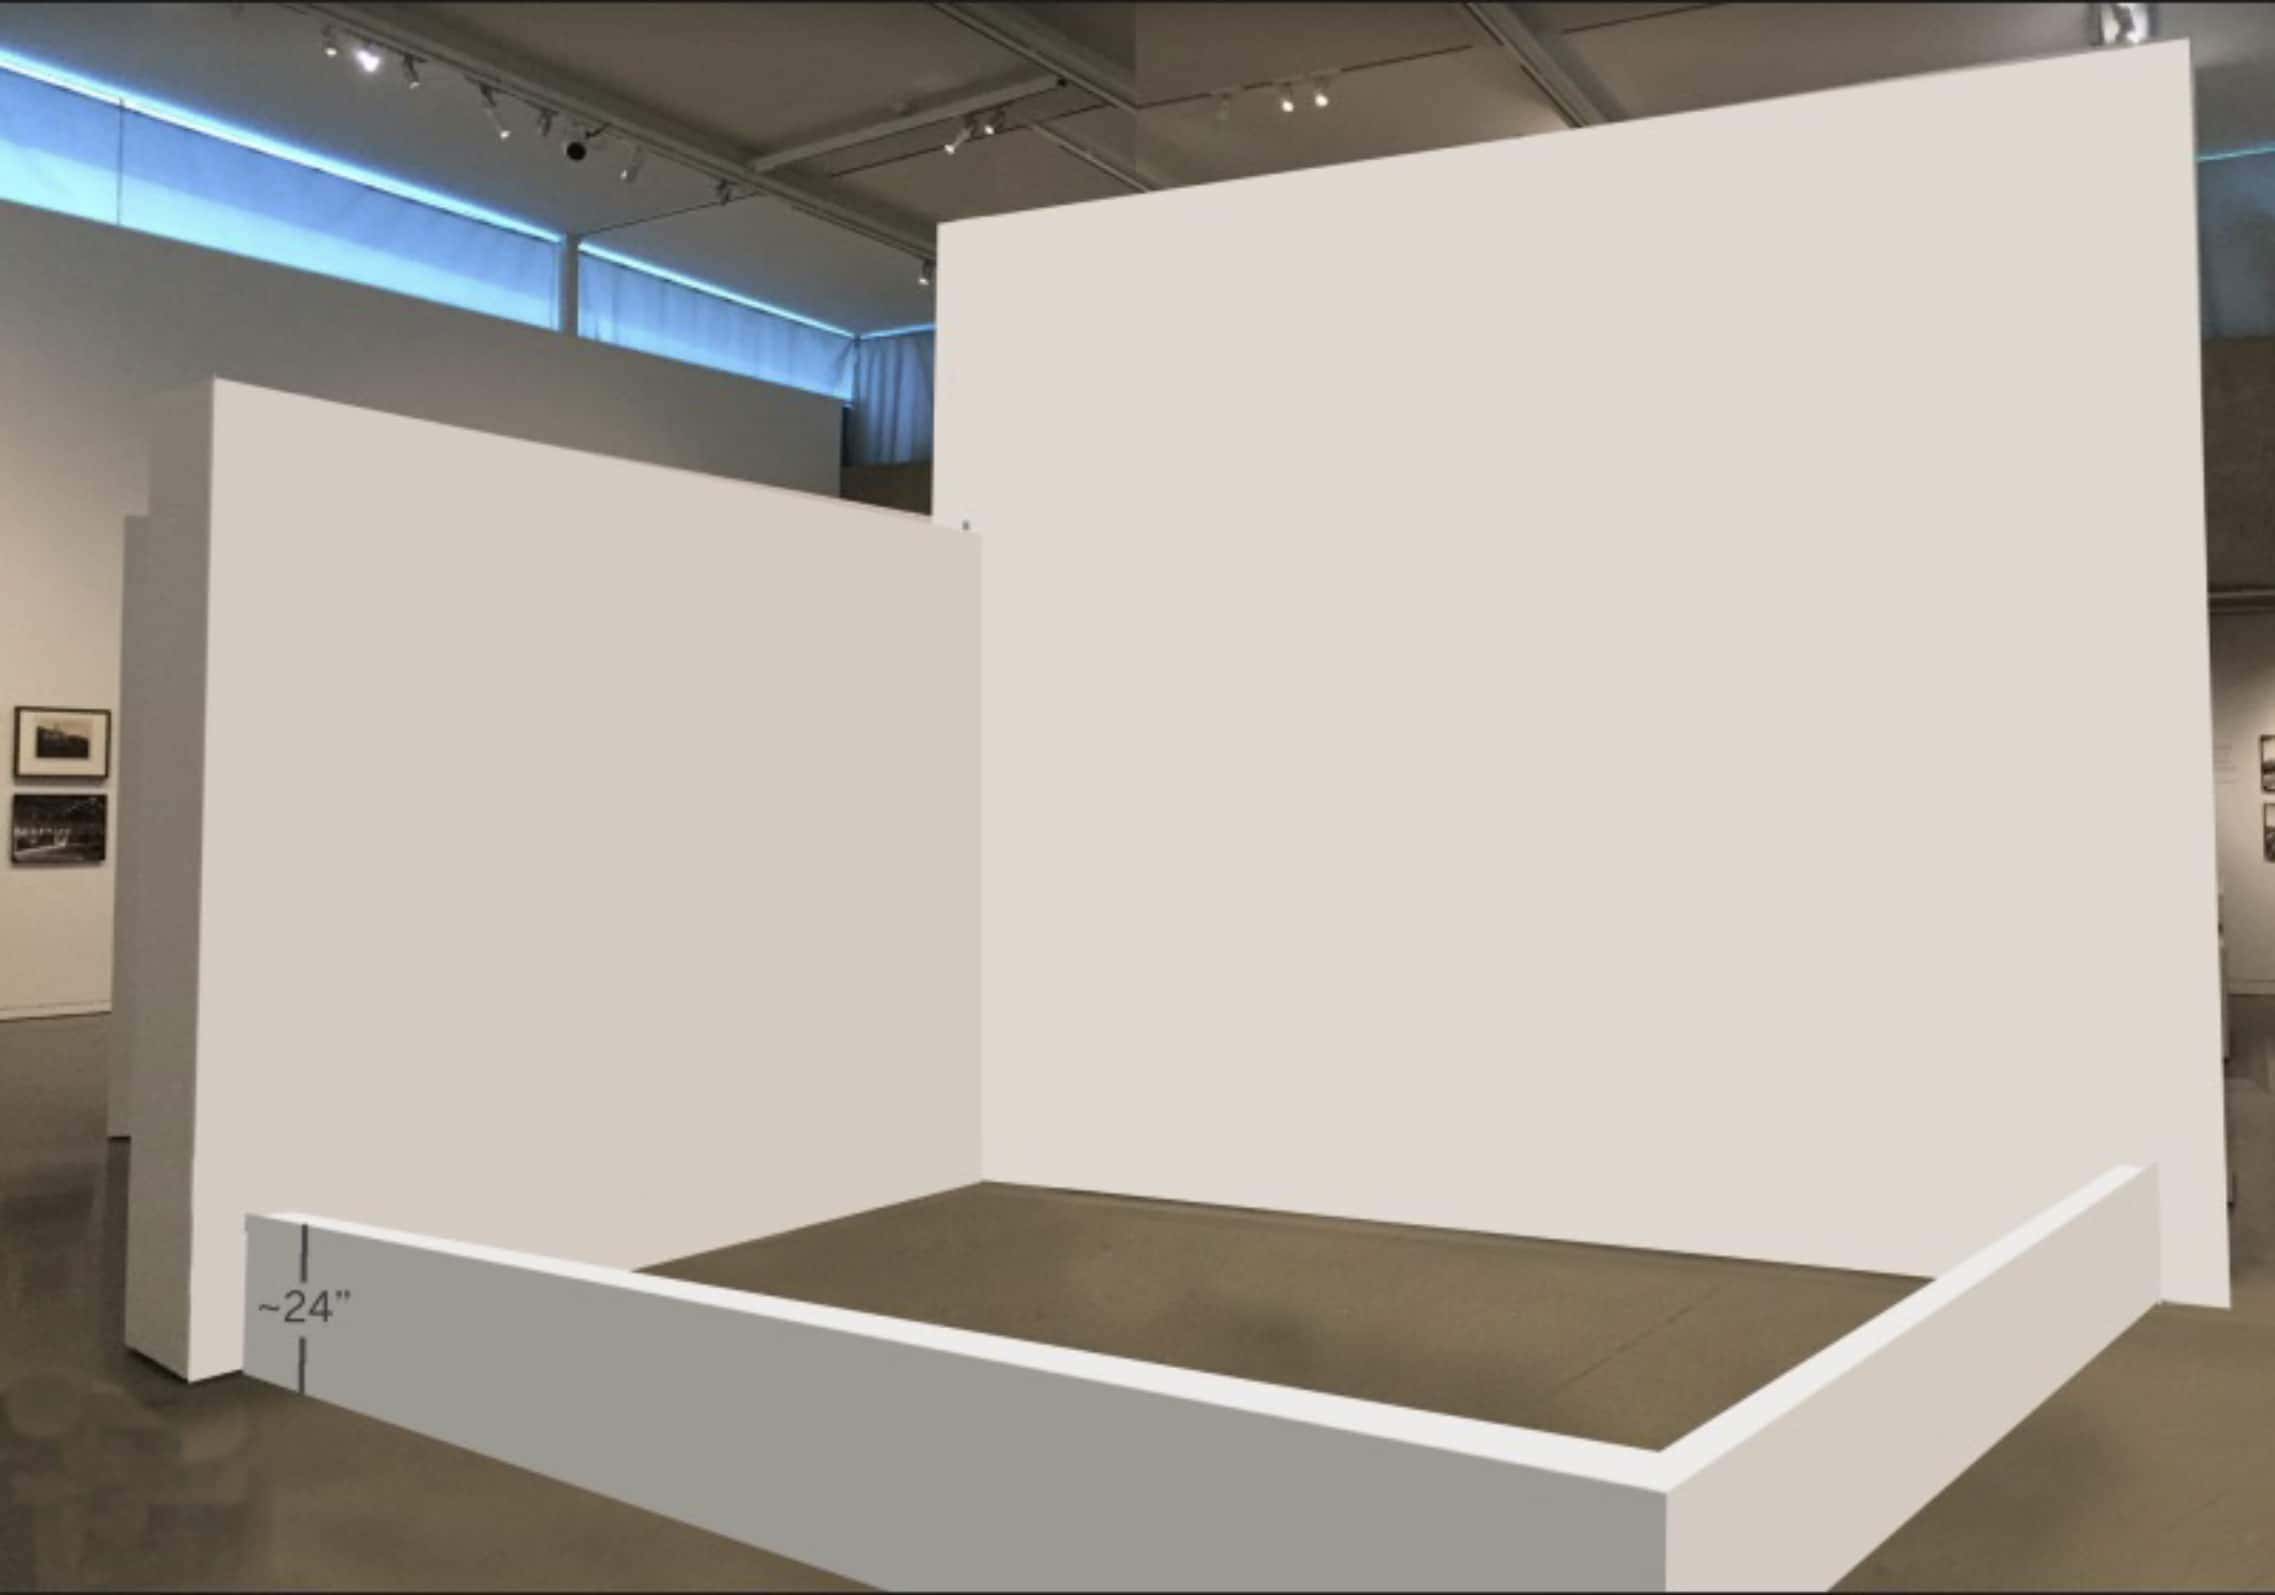
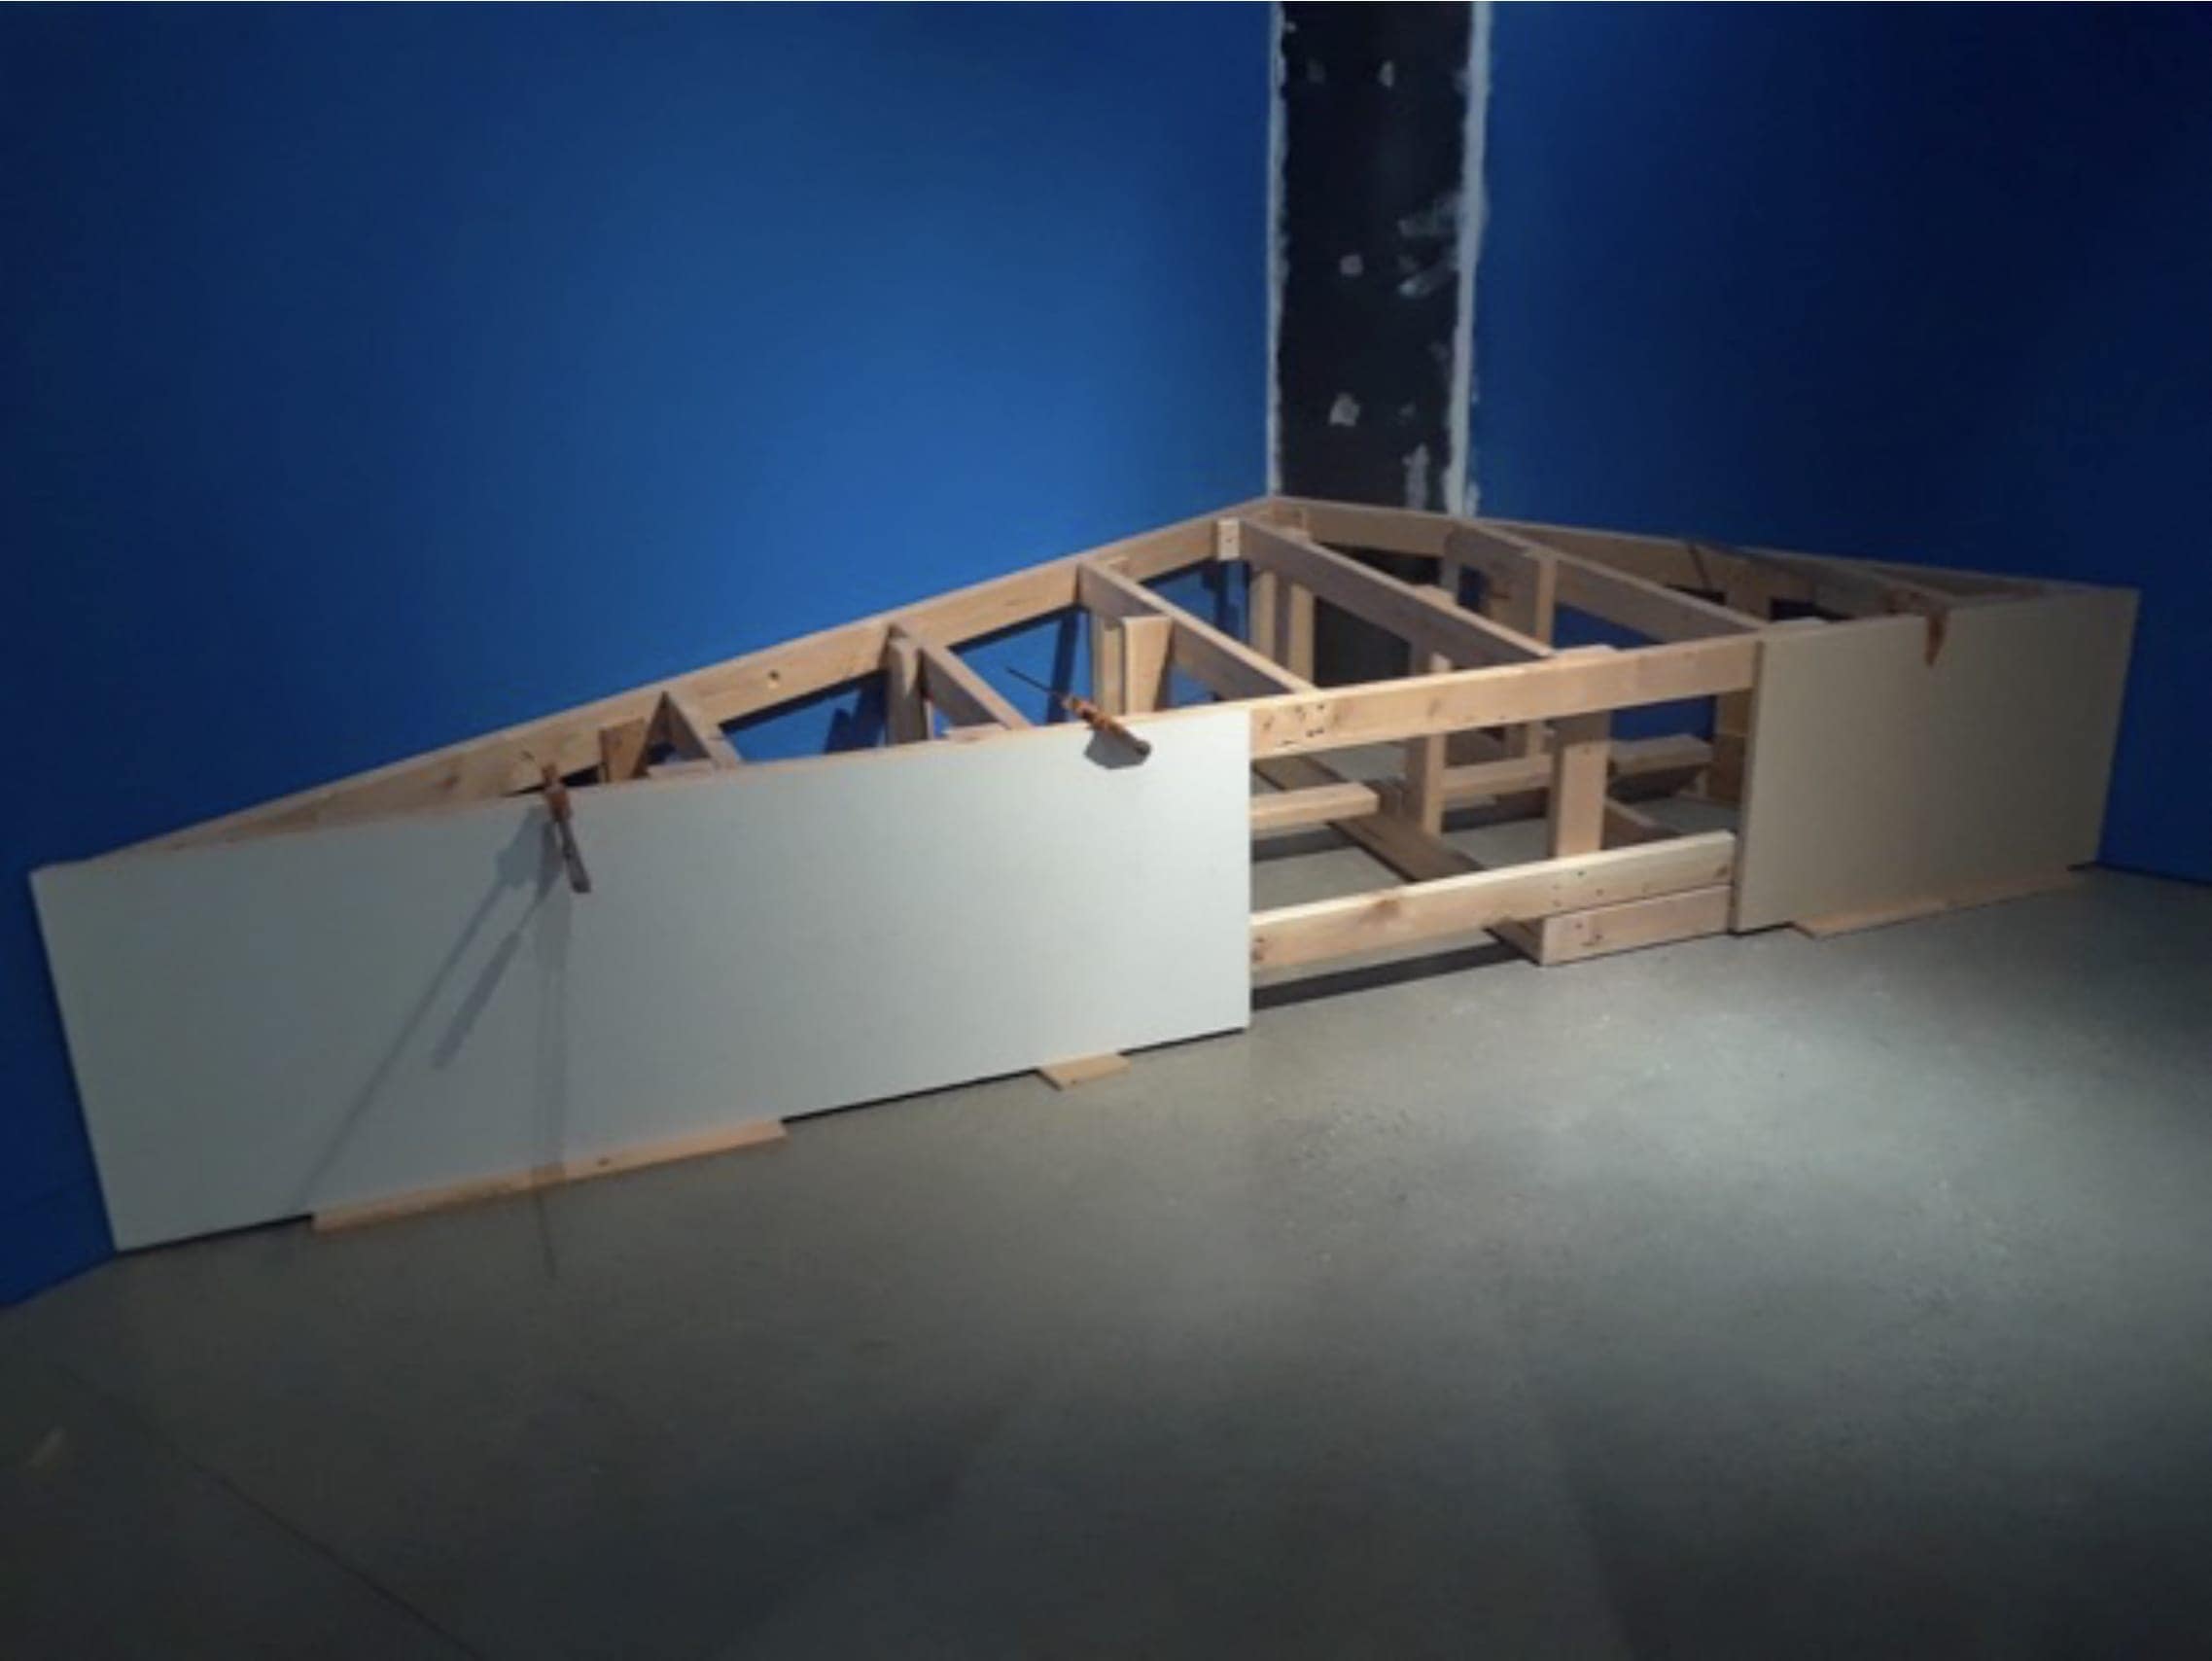
We were tasked with building a 29’ x 14’ 21”H platform for an art installation by Mildred Howard. Our builder designed these simple 2×4 frames (of various sizes) that we could prefab and assemble in the space easily and disassemble easily.
Rapid Building Technique for Pedestal
The objective at the time was ease of install and de-install in a short manner. However as you will see we reused the frame to build a lot of the following exhibits platforms for the Dia de los Muertos exhibit.
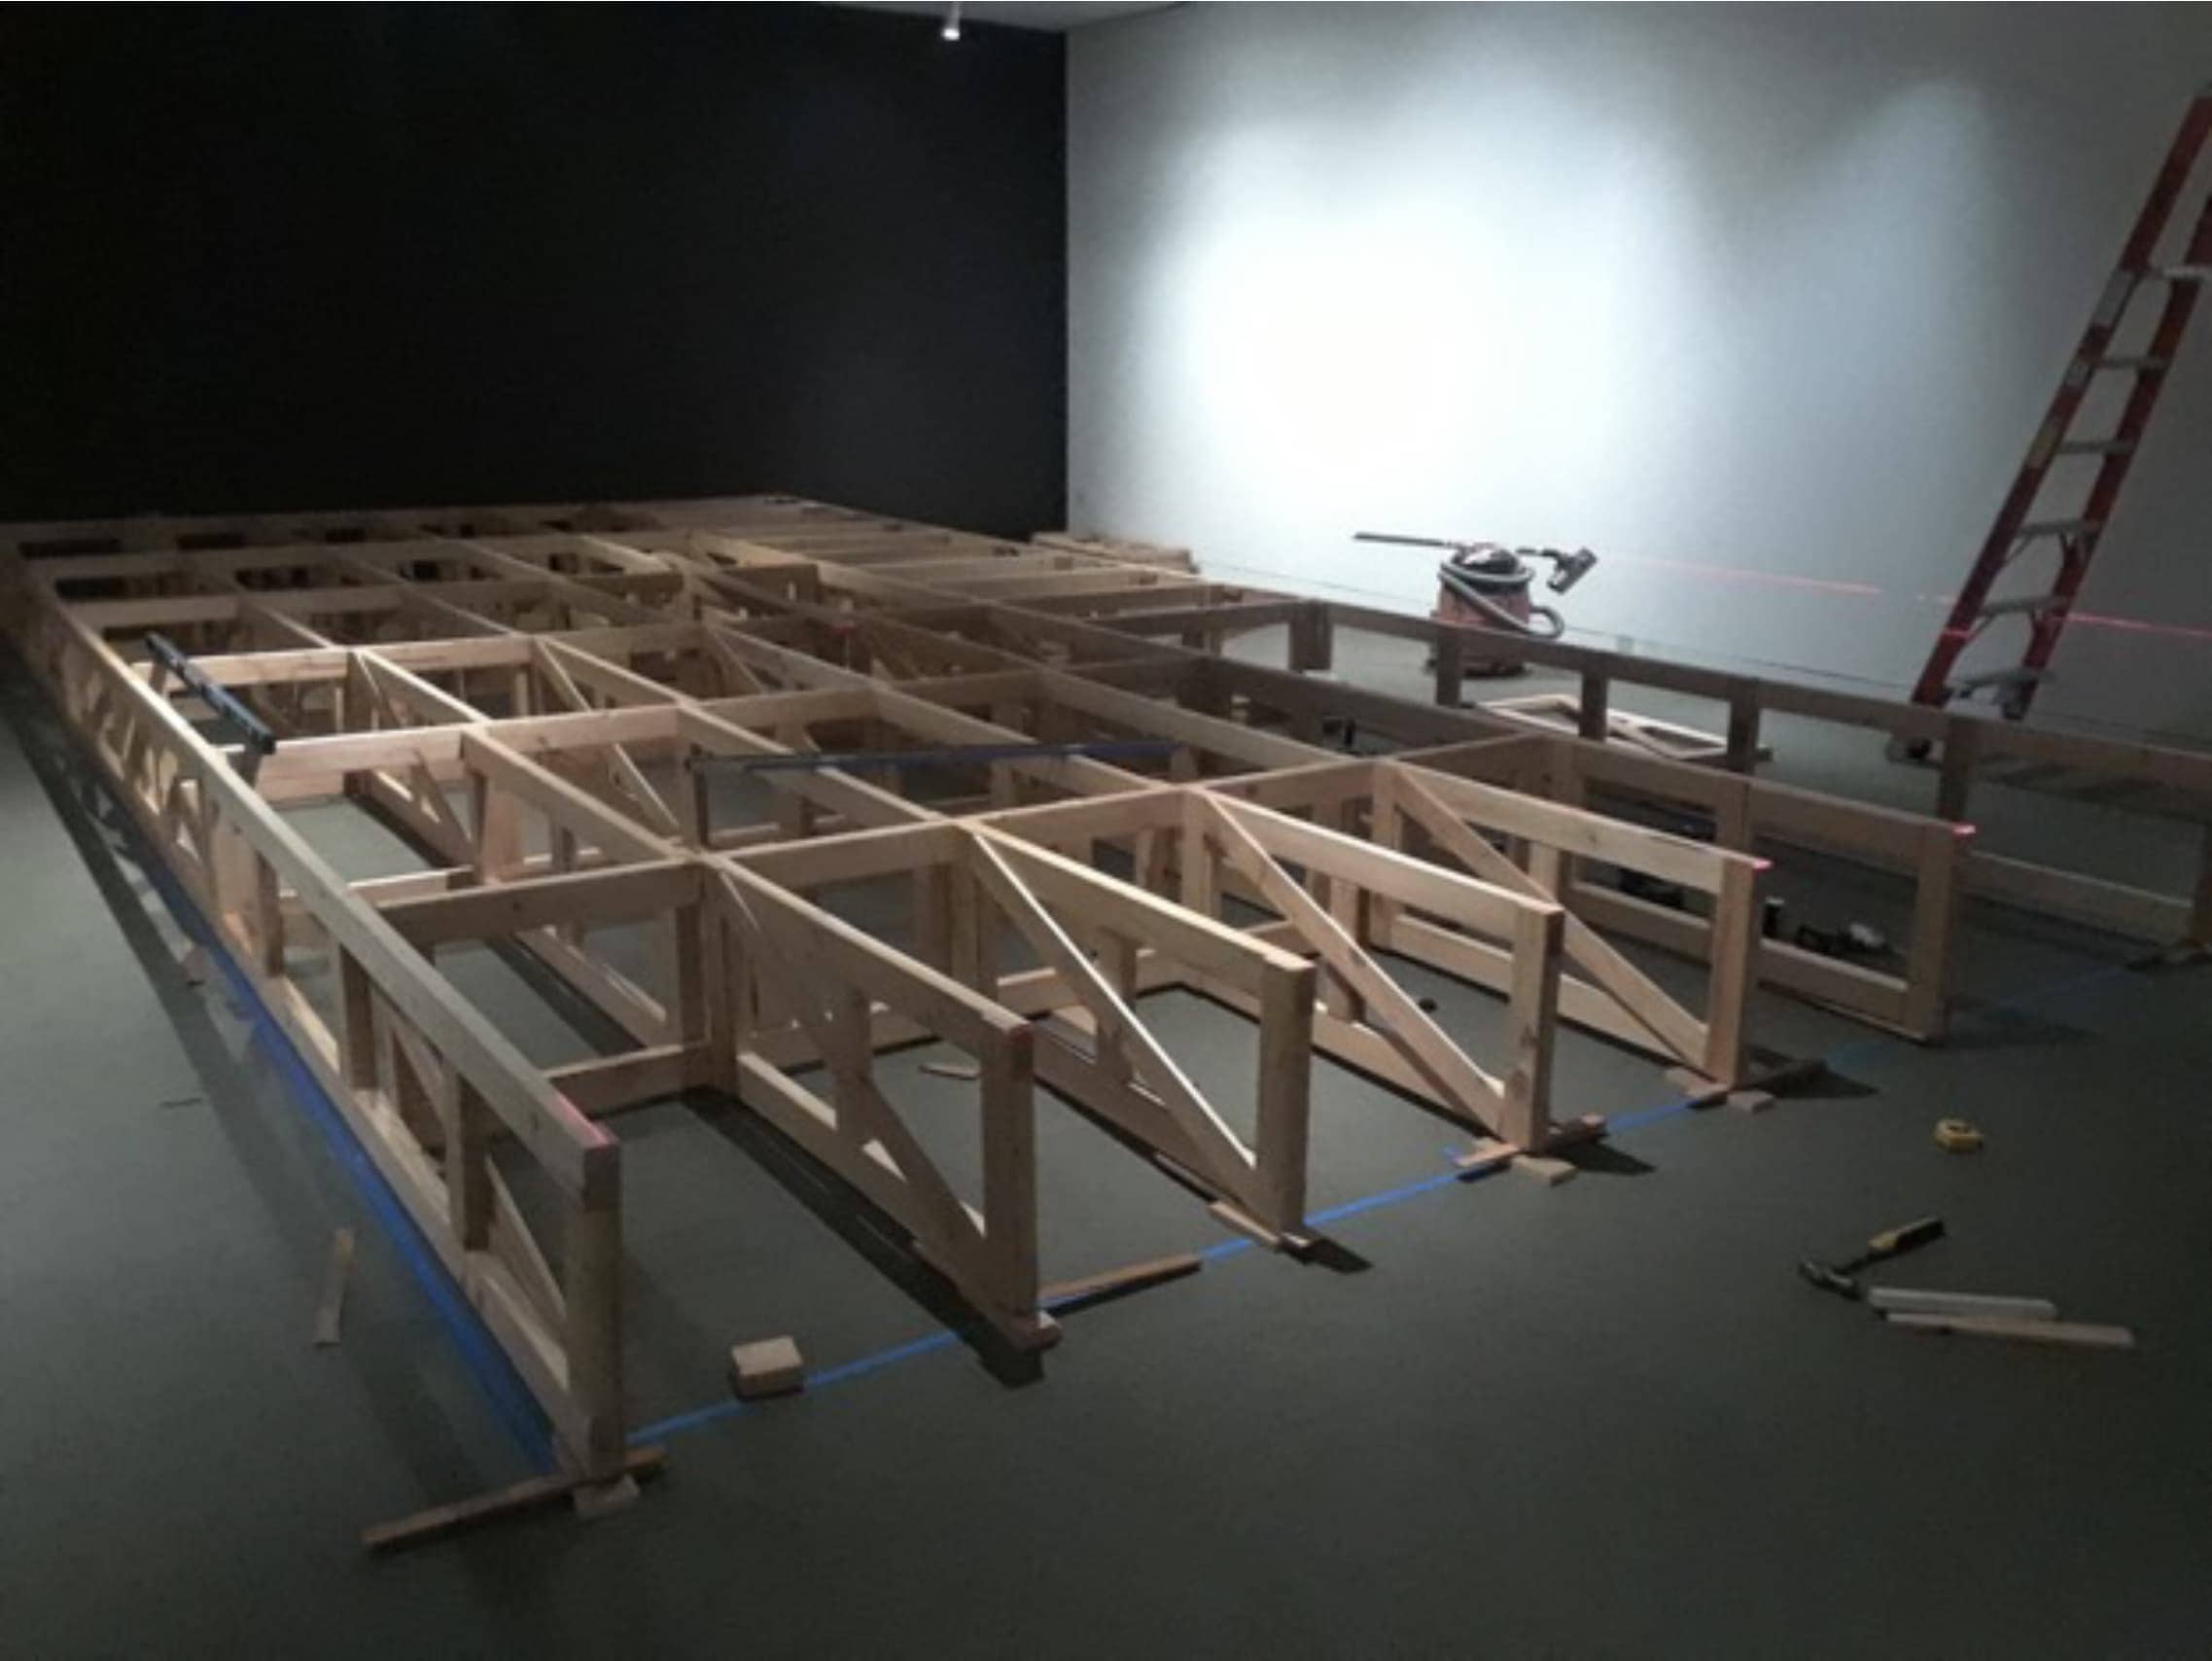
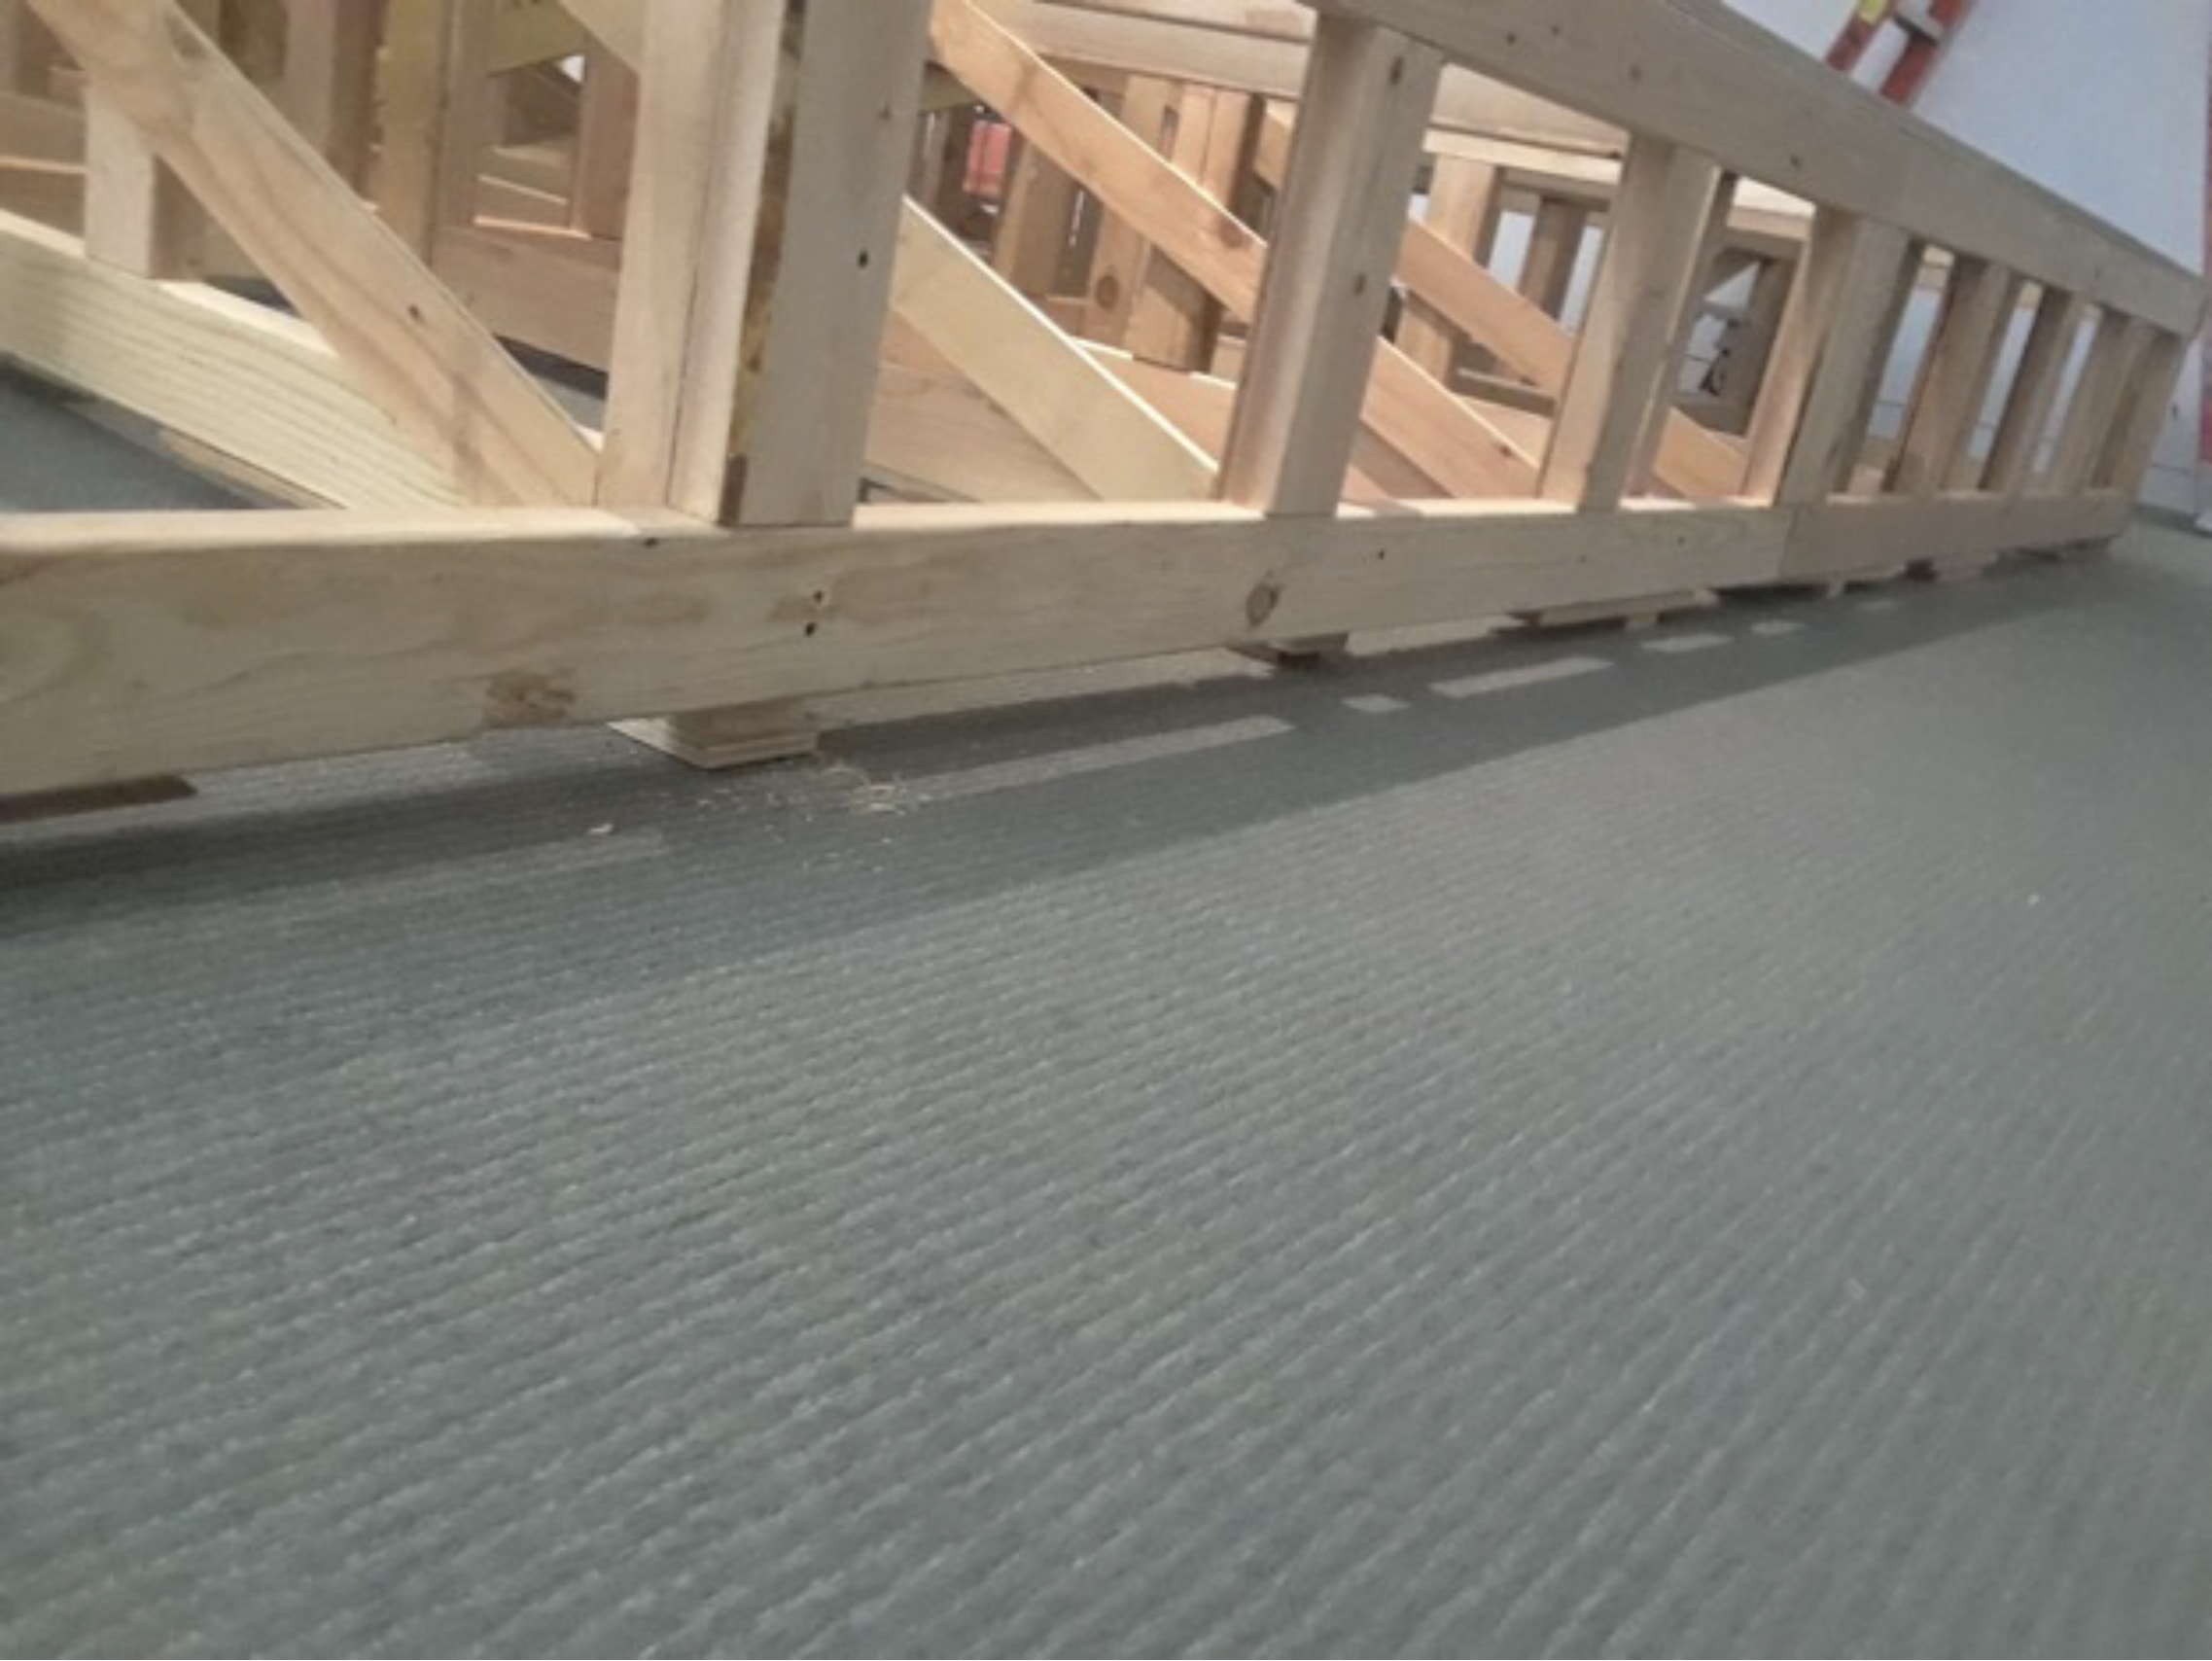
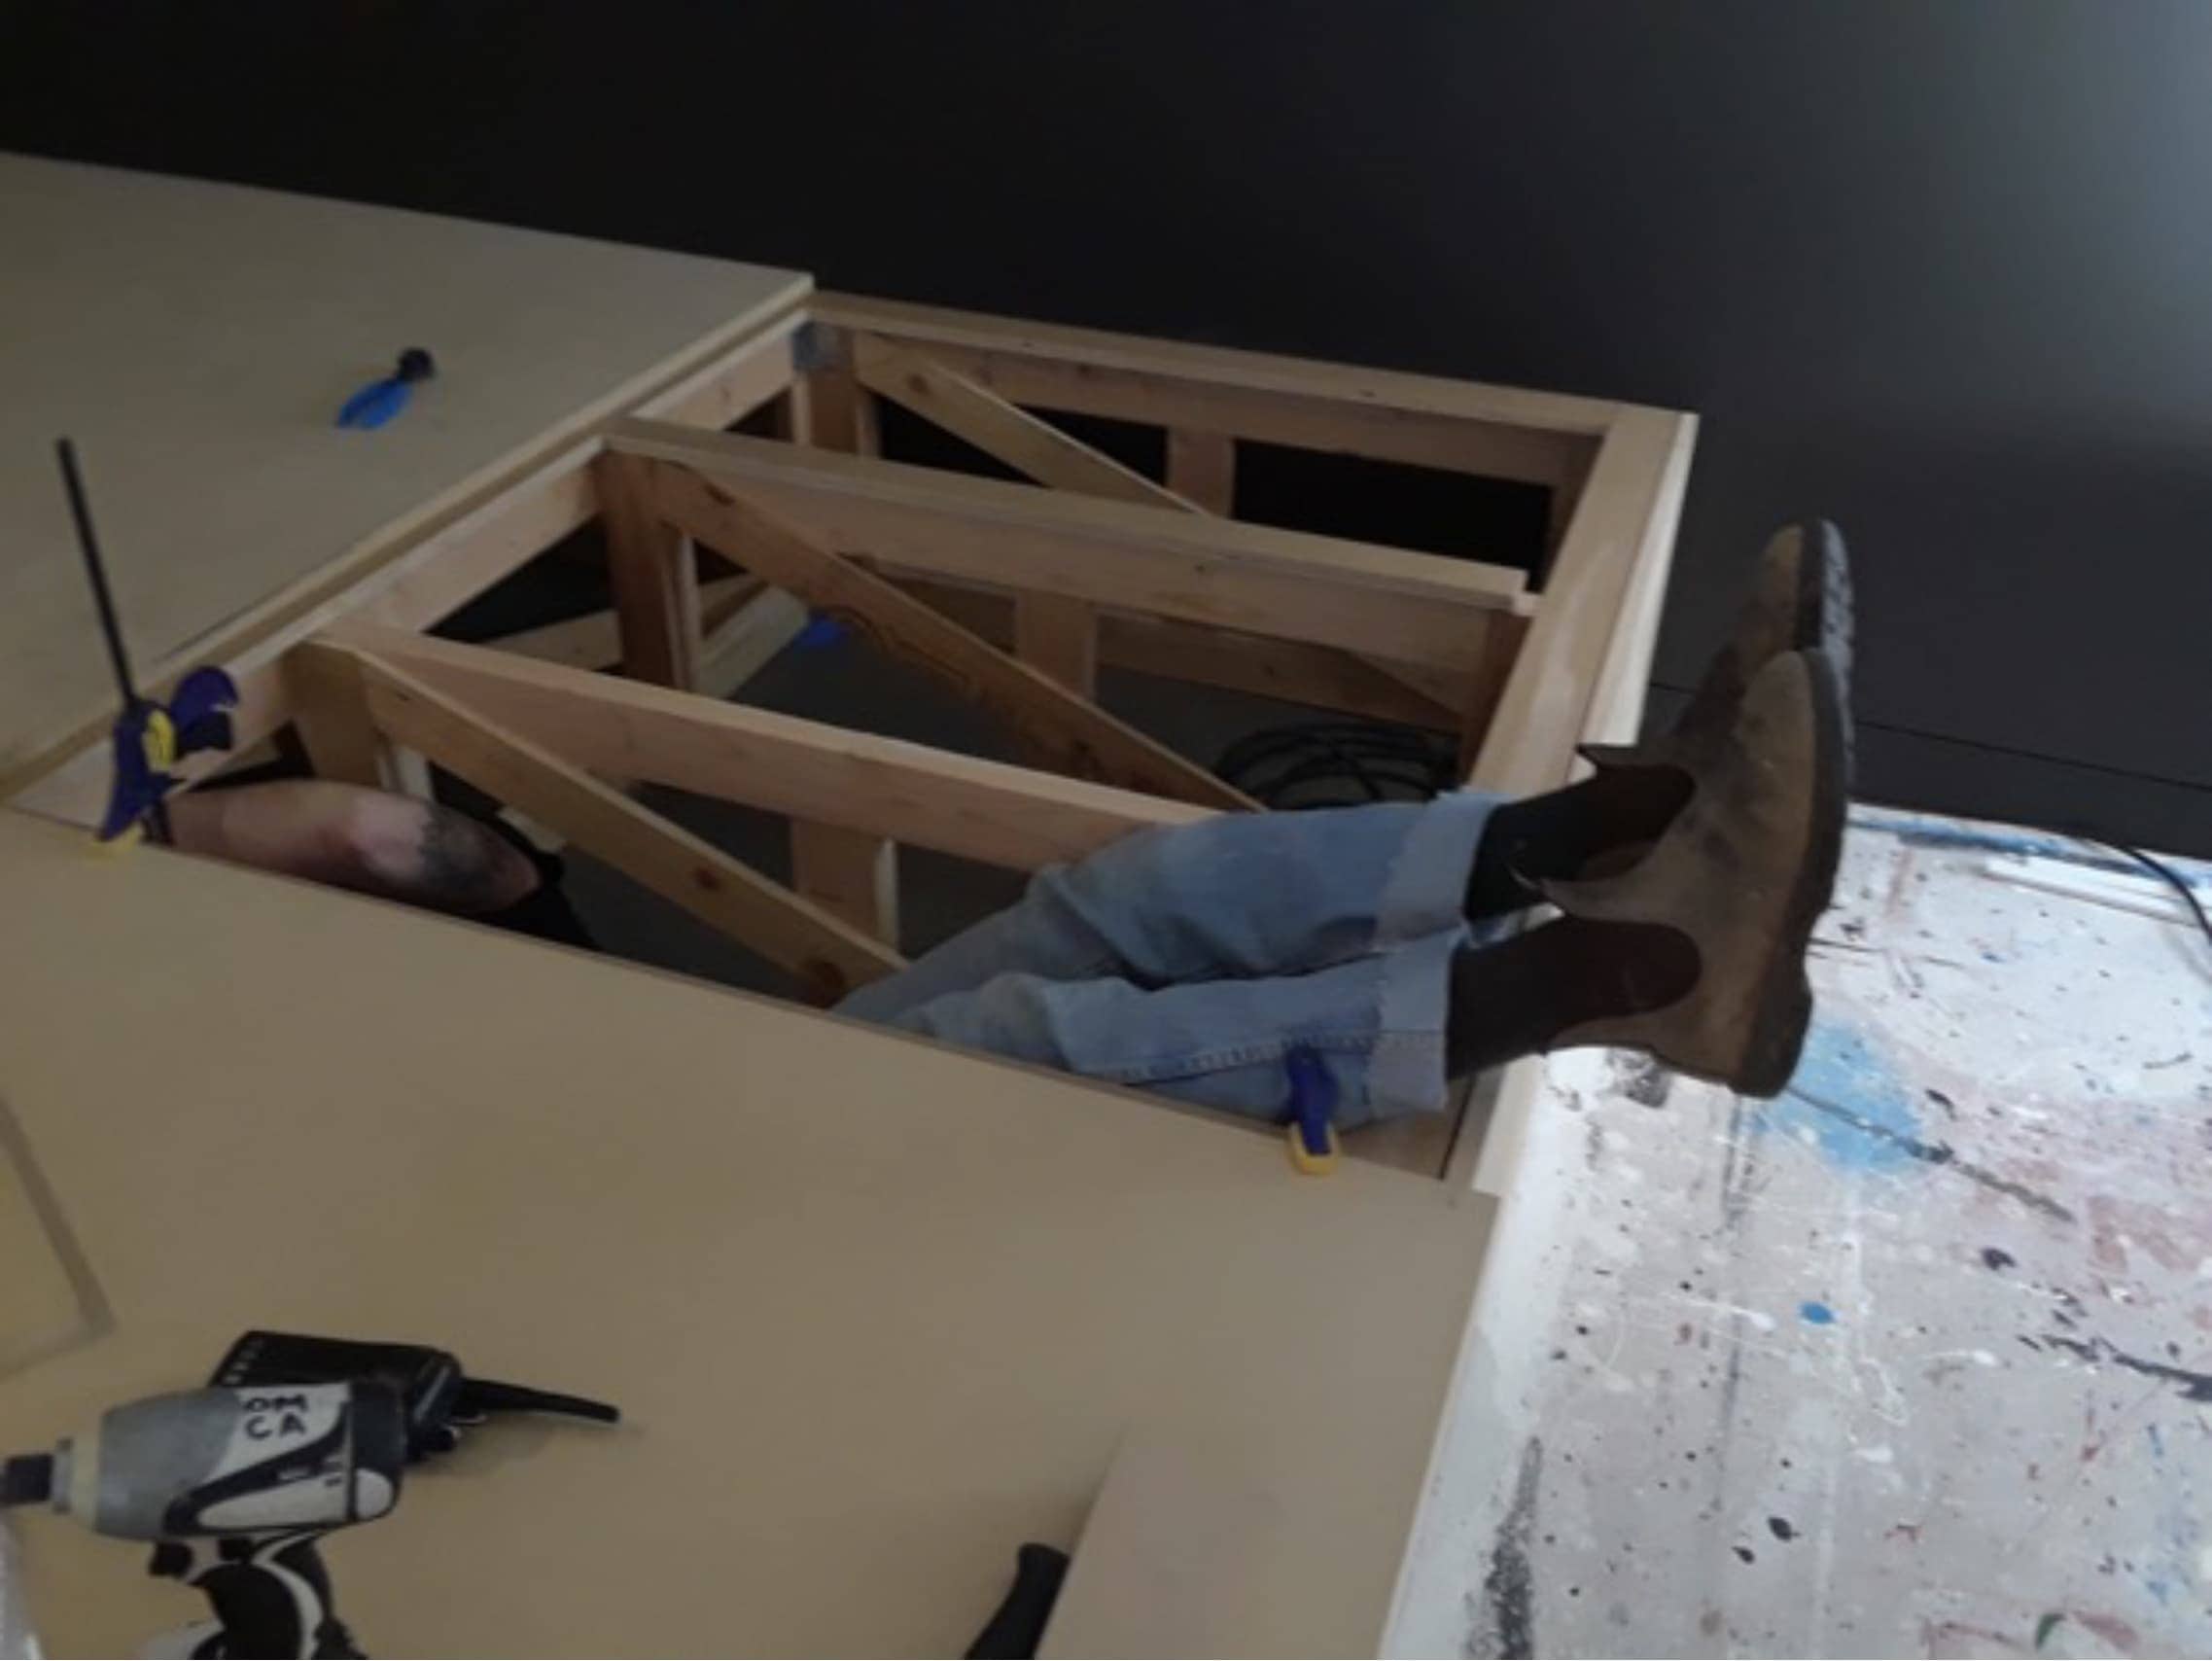
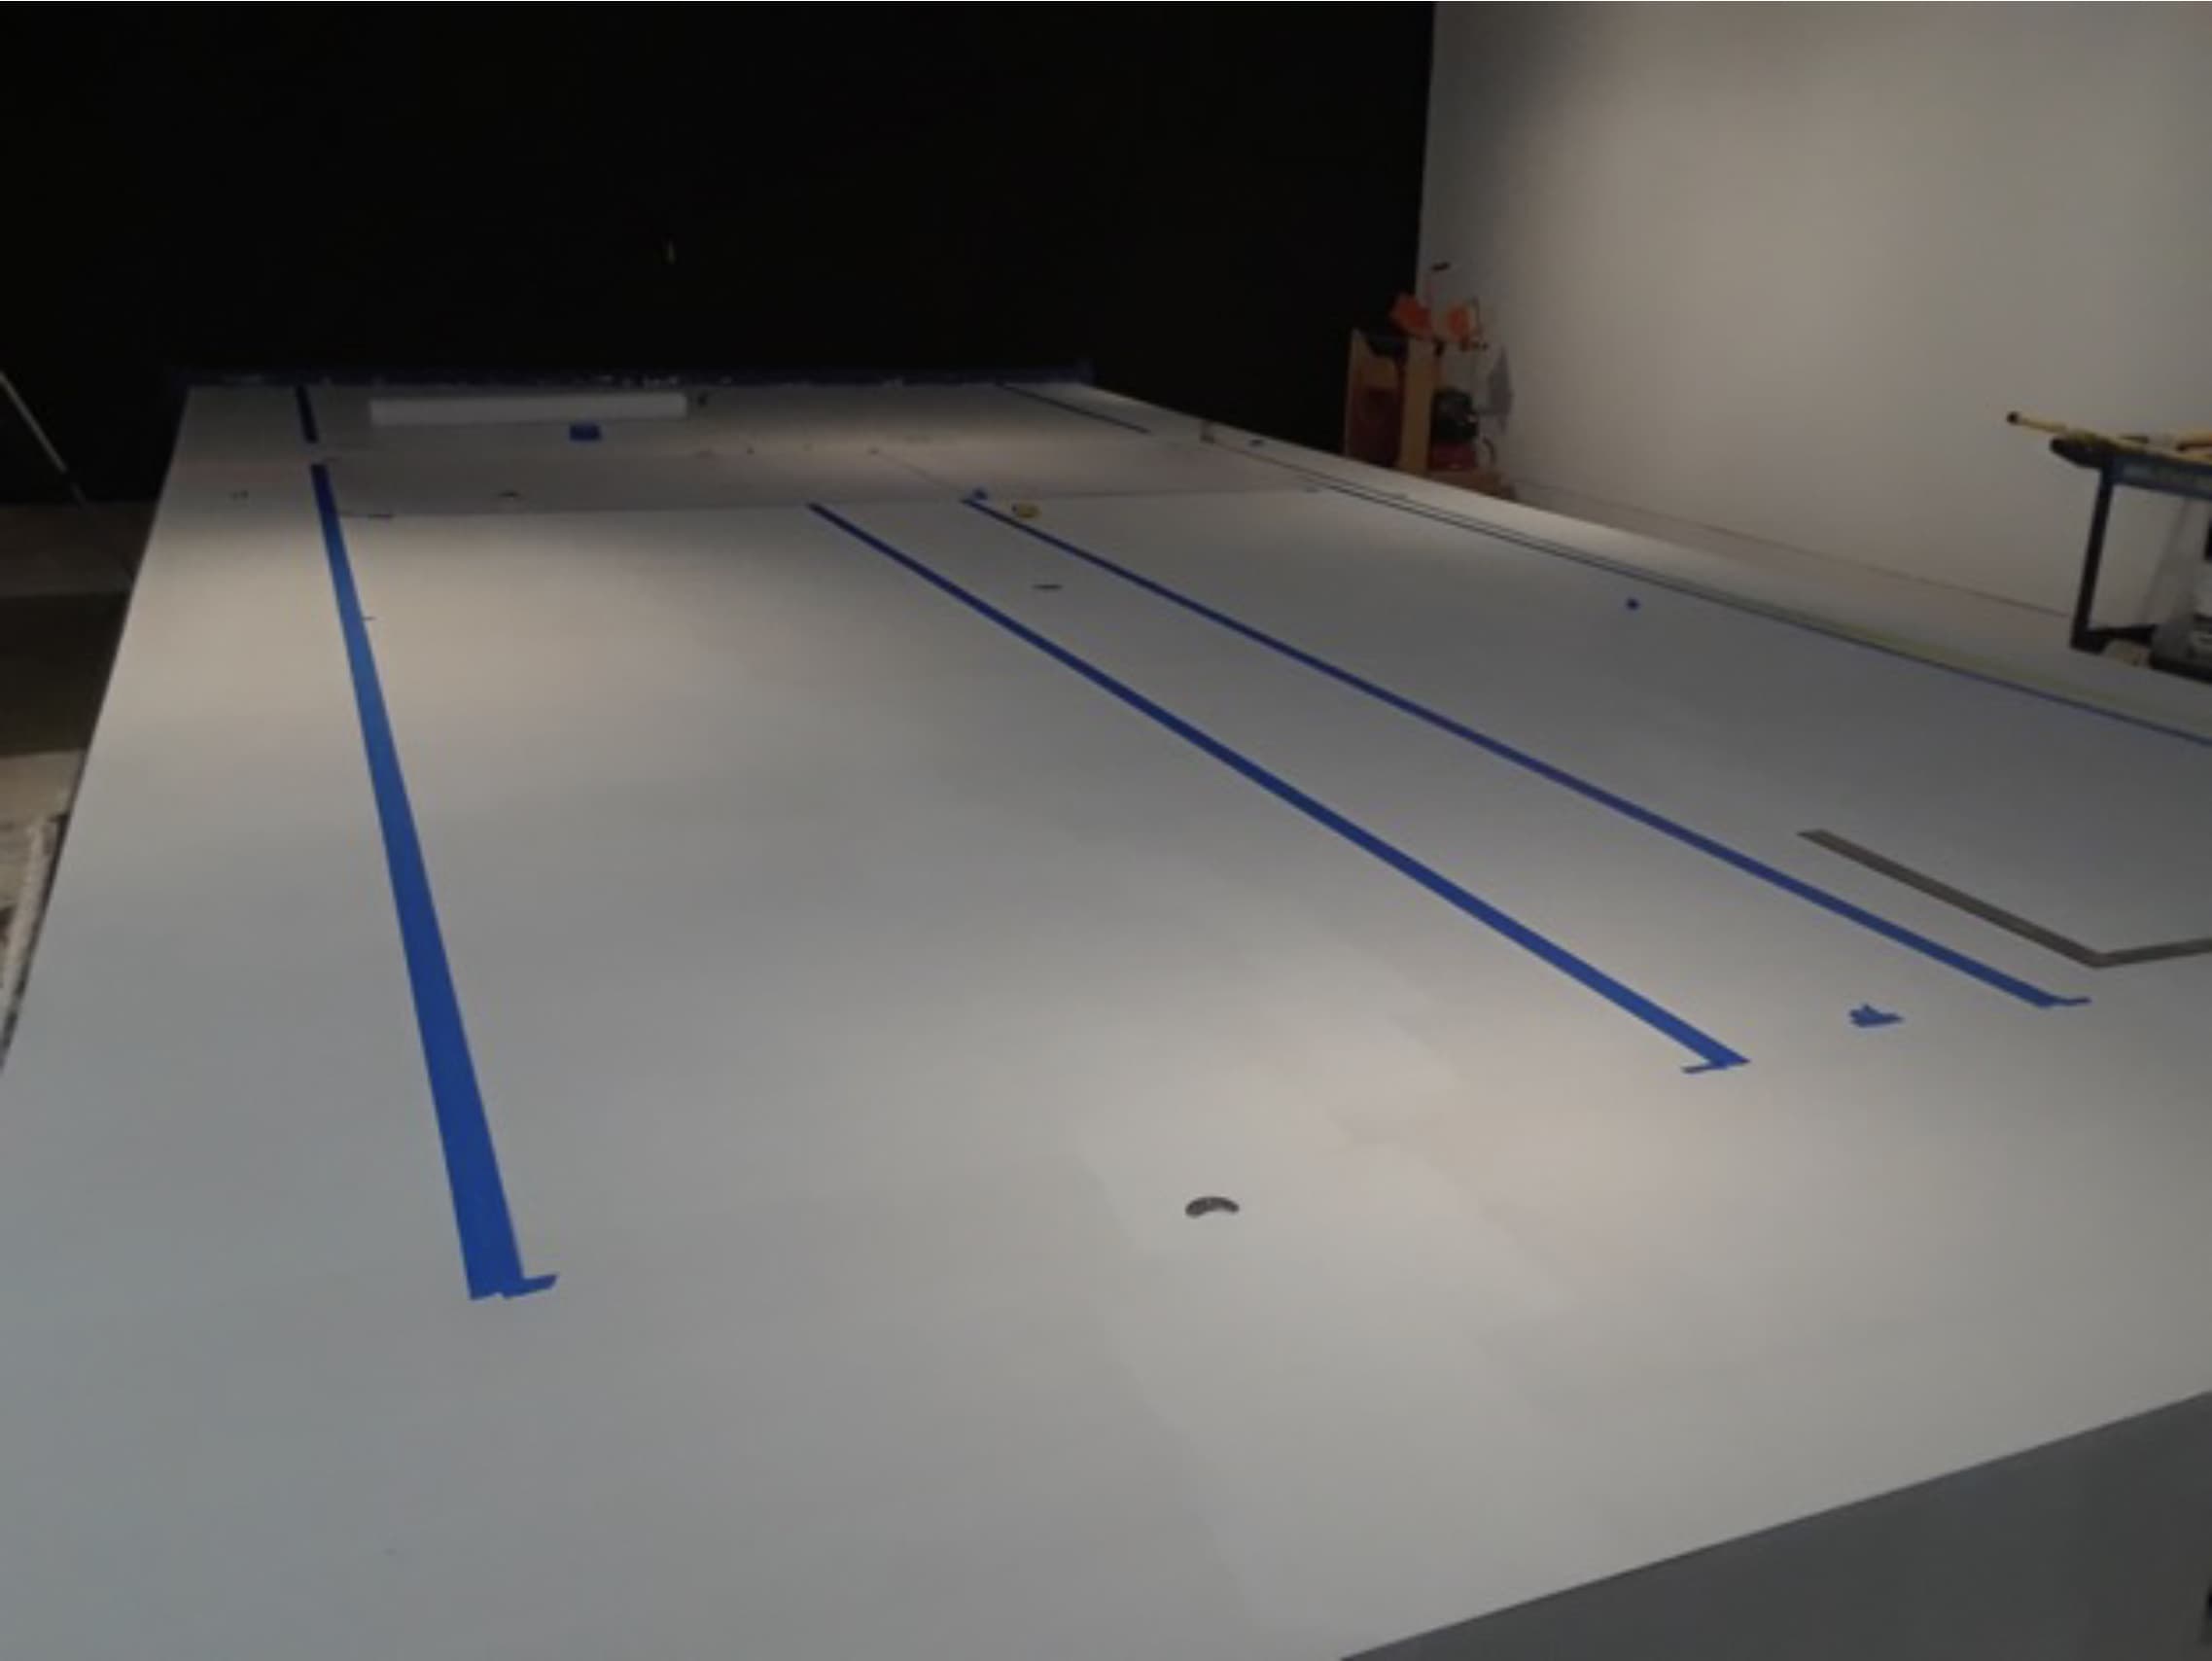
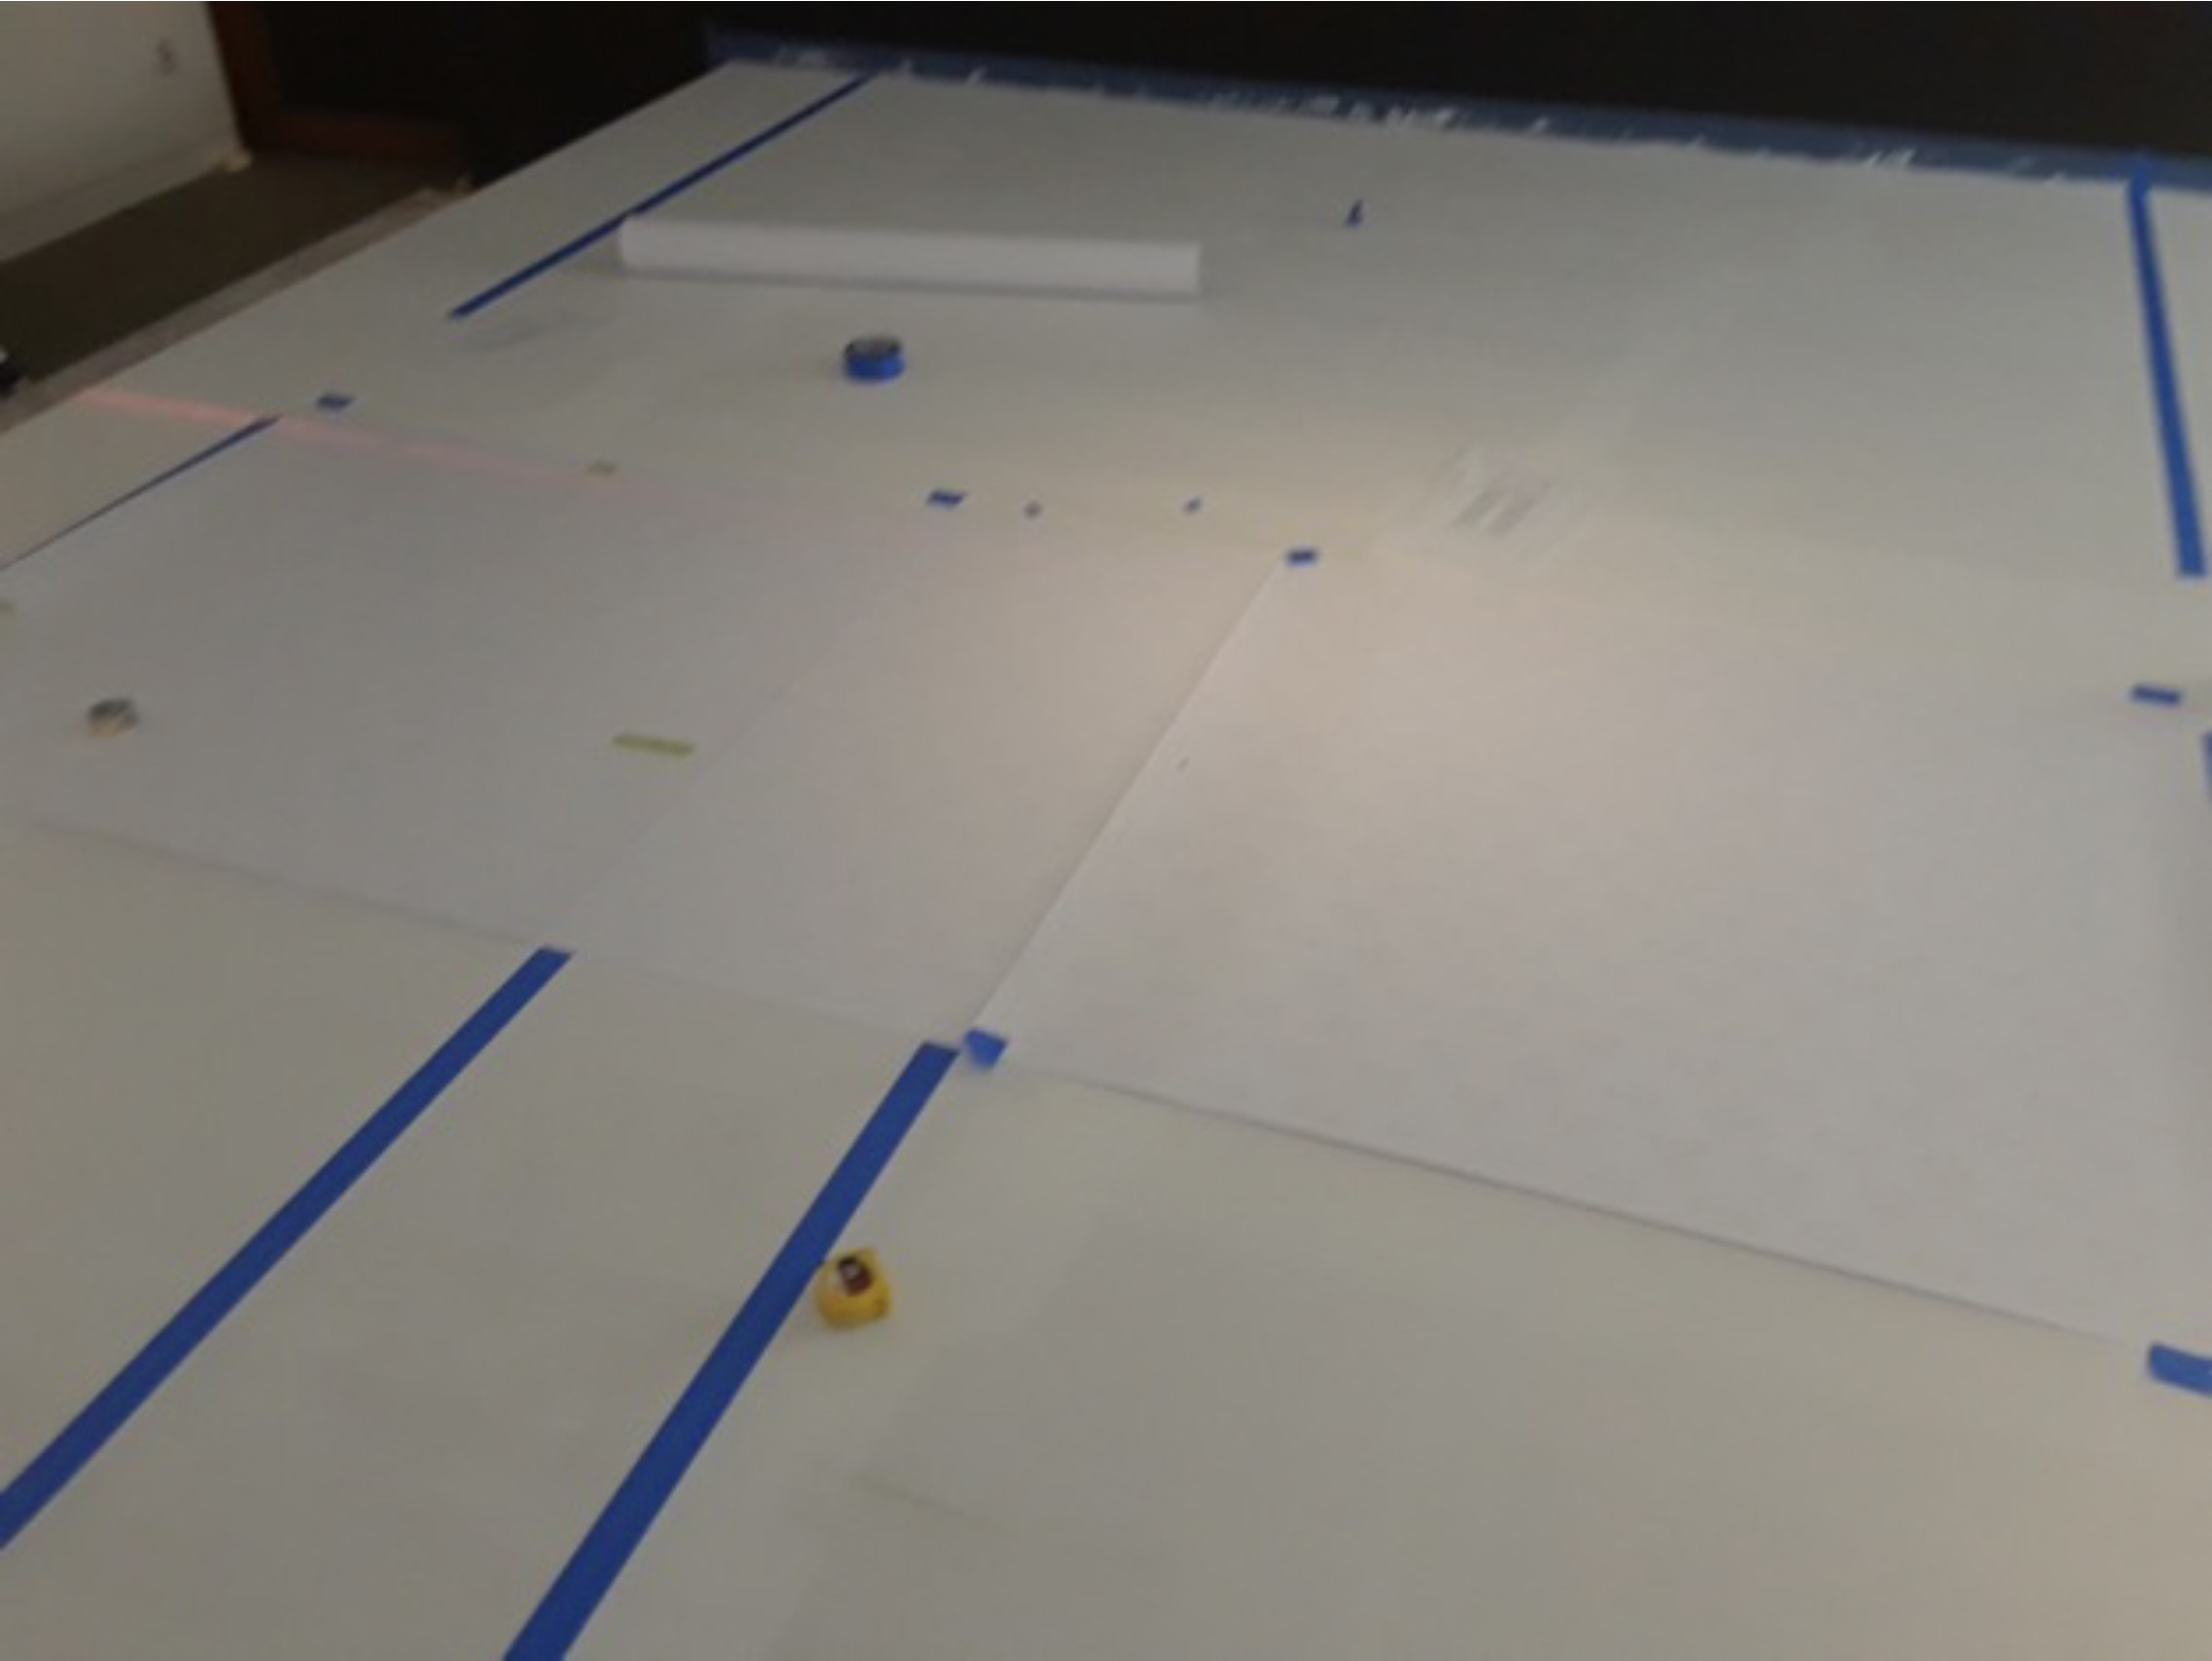
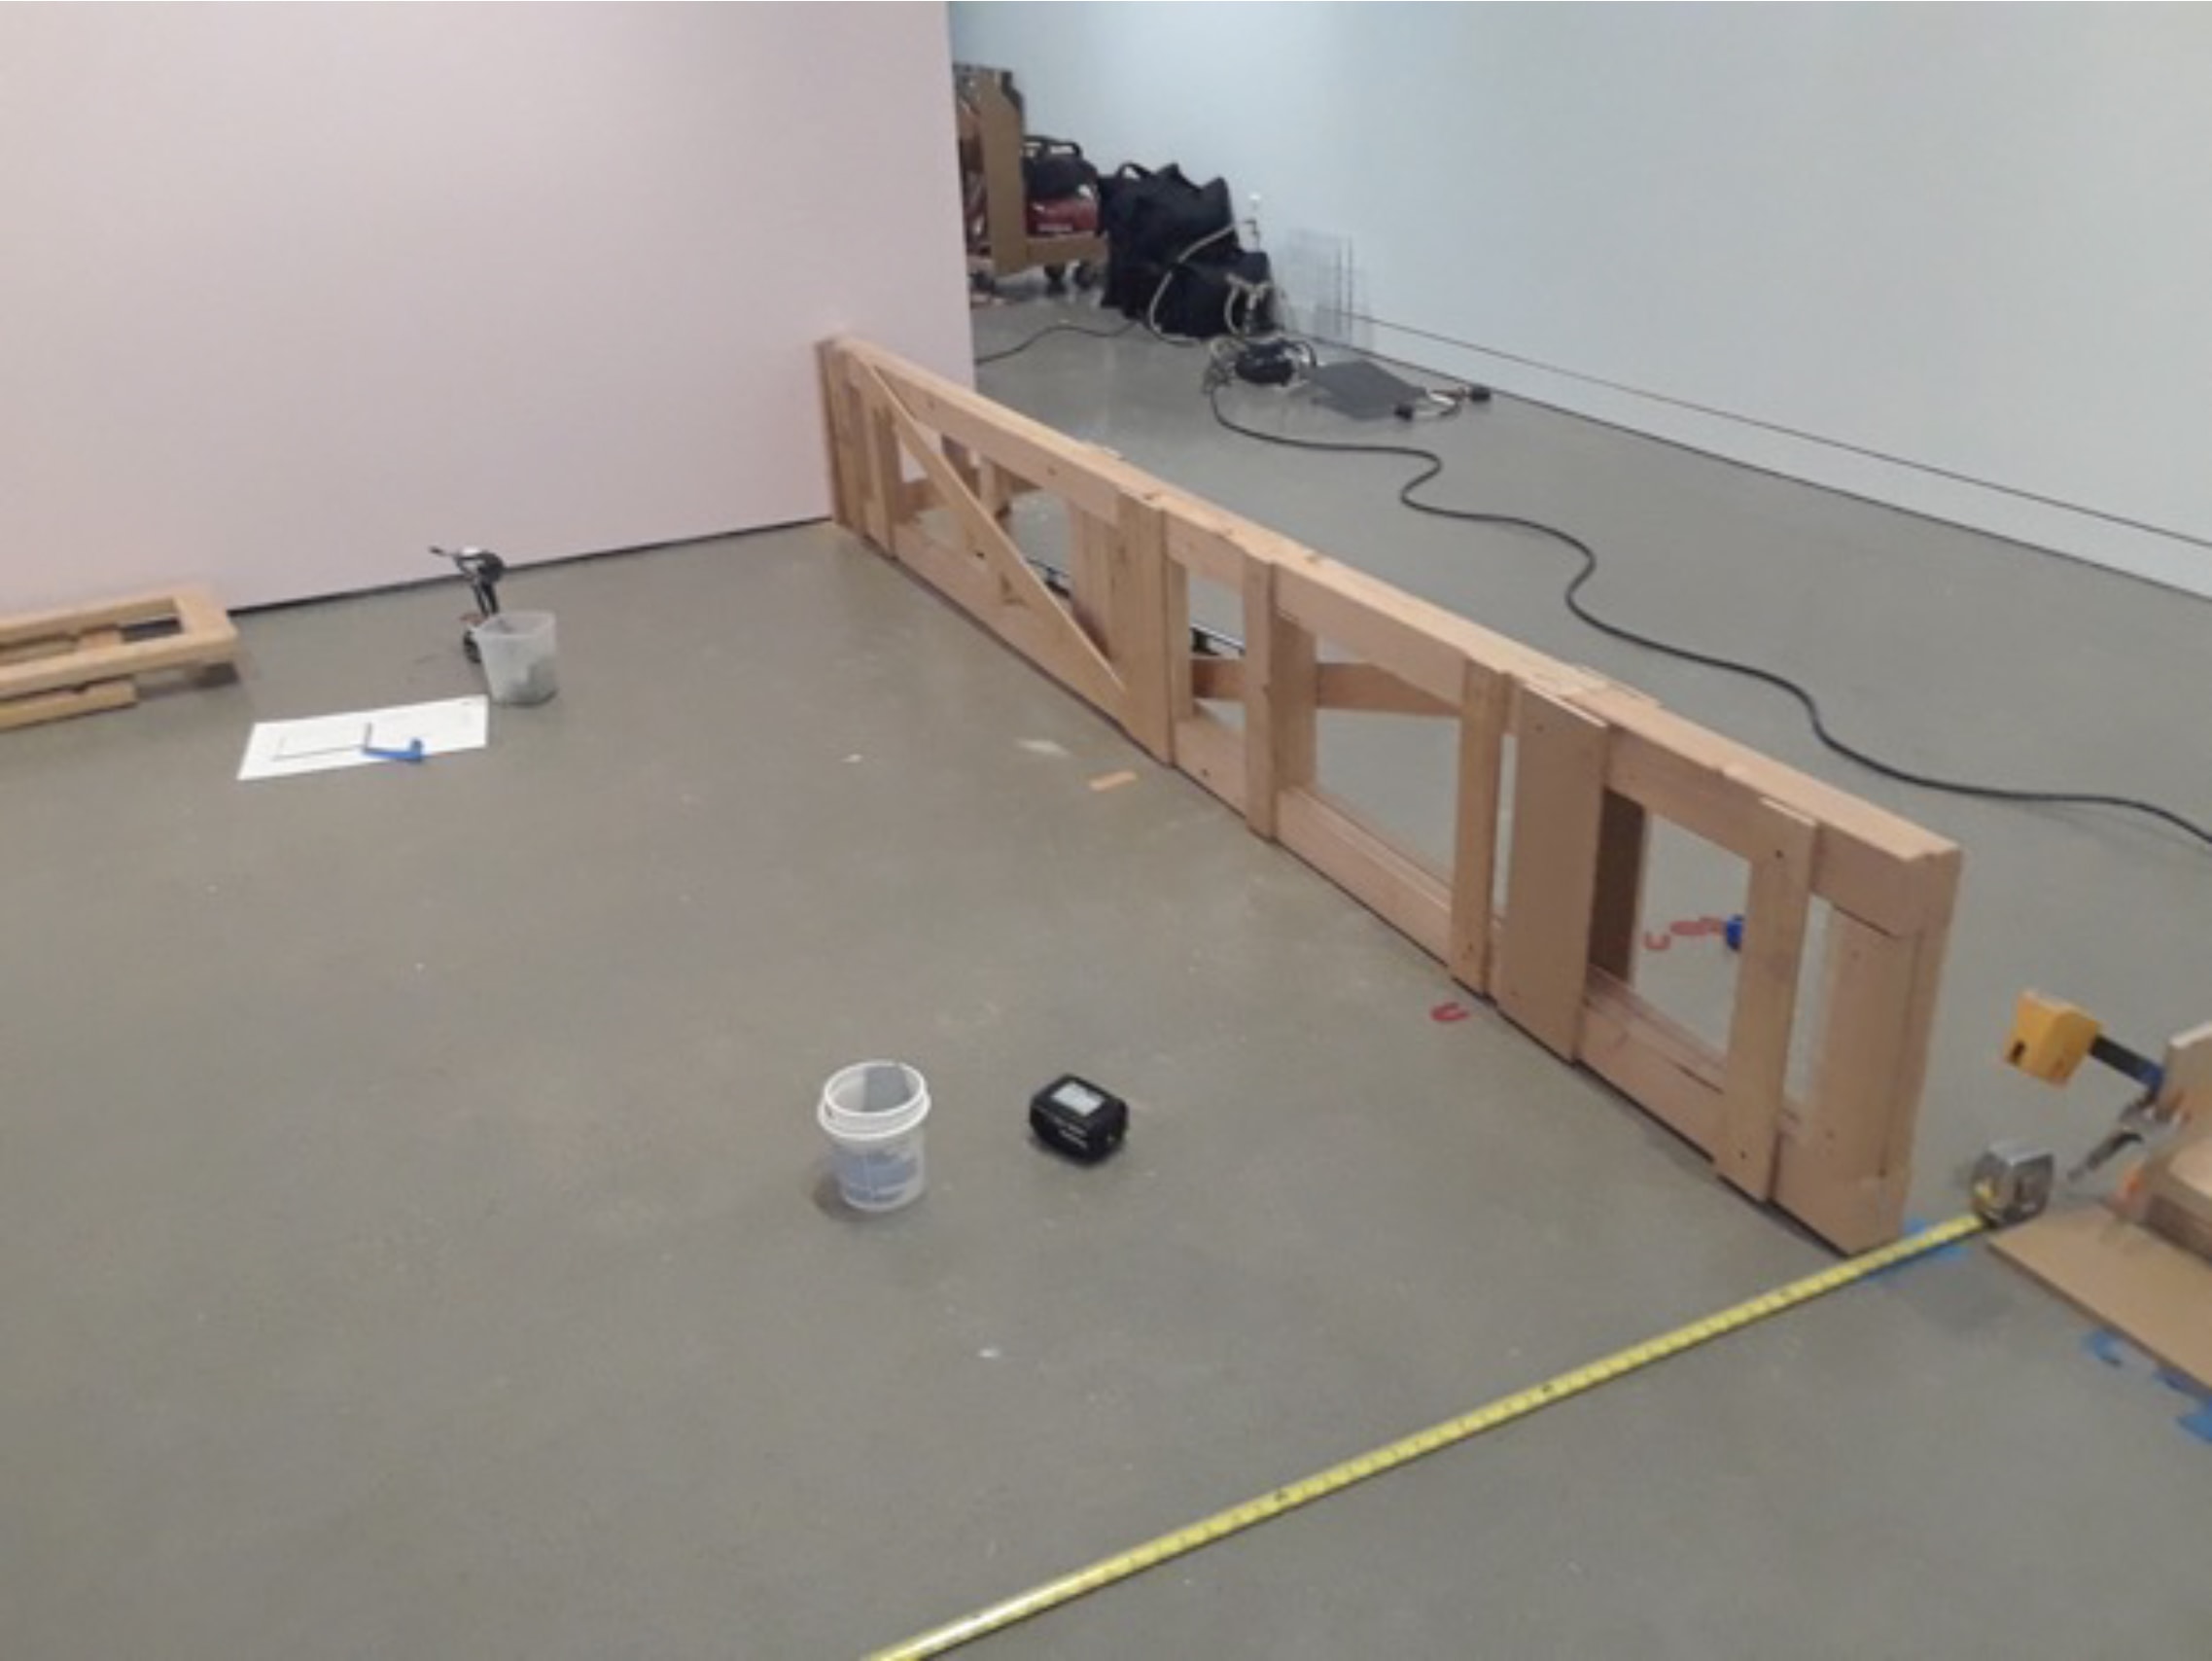
You can see the horizontal and vertical frames coming together. If you look closely you can also see the vertical framework is staggered for ease of drilling. Also you can see that we taped out the footprint of the platform ahead of time in order to keep it square. As the floor in this space is not perfectly level we used a laser level and shims to keep it from sloping downward.
I should note that the reason we built it this beefy was not because visitors will be able to walk on it. It is because multiple Preps would have to work on it for many hours.
Shimming Pedestal to be Level
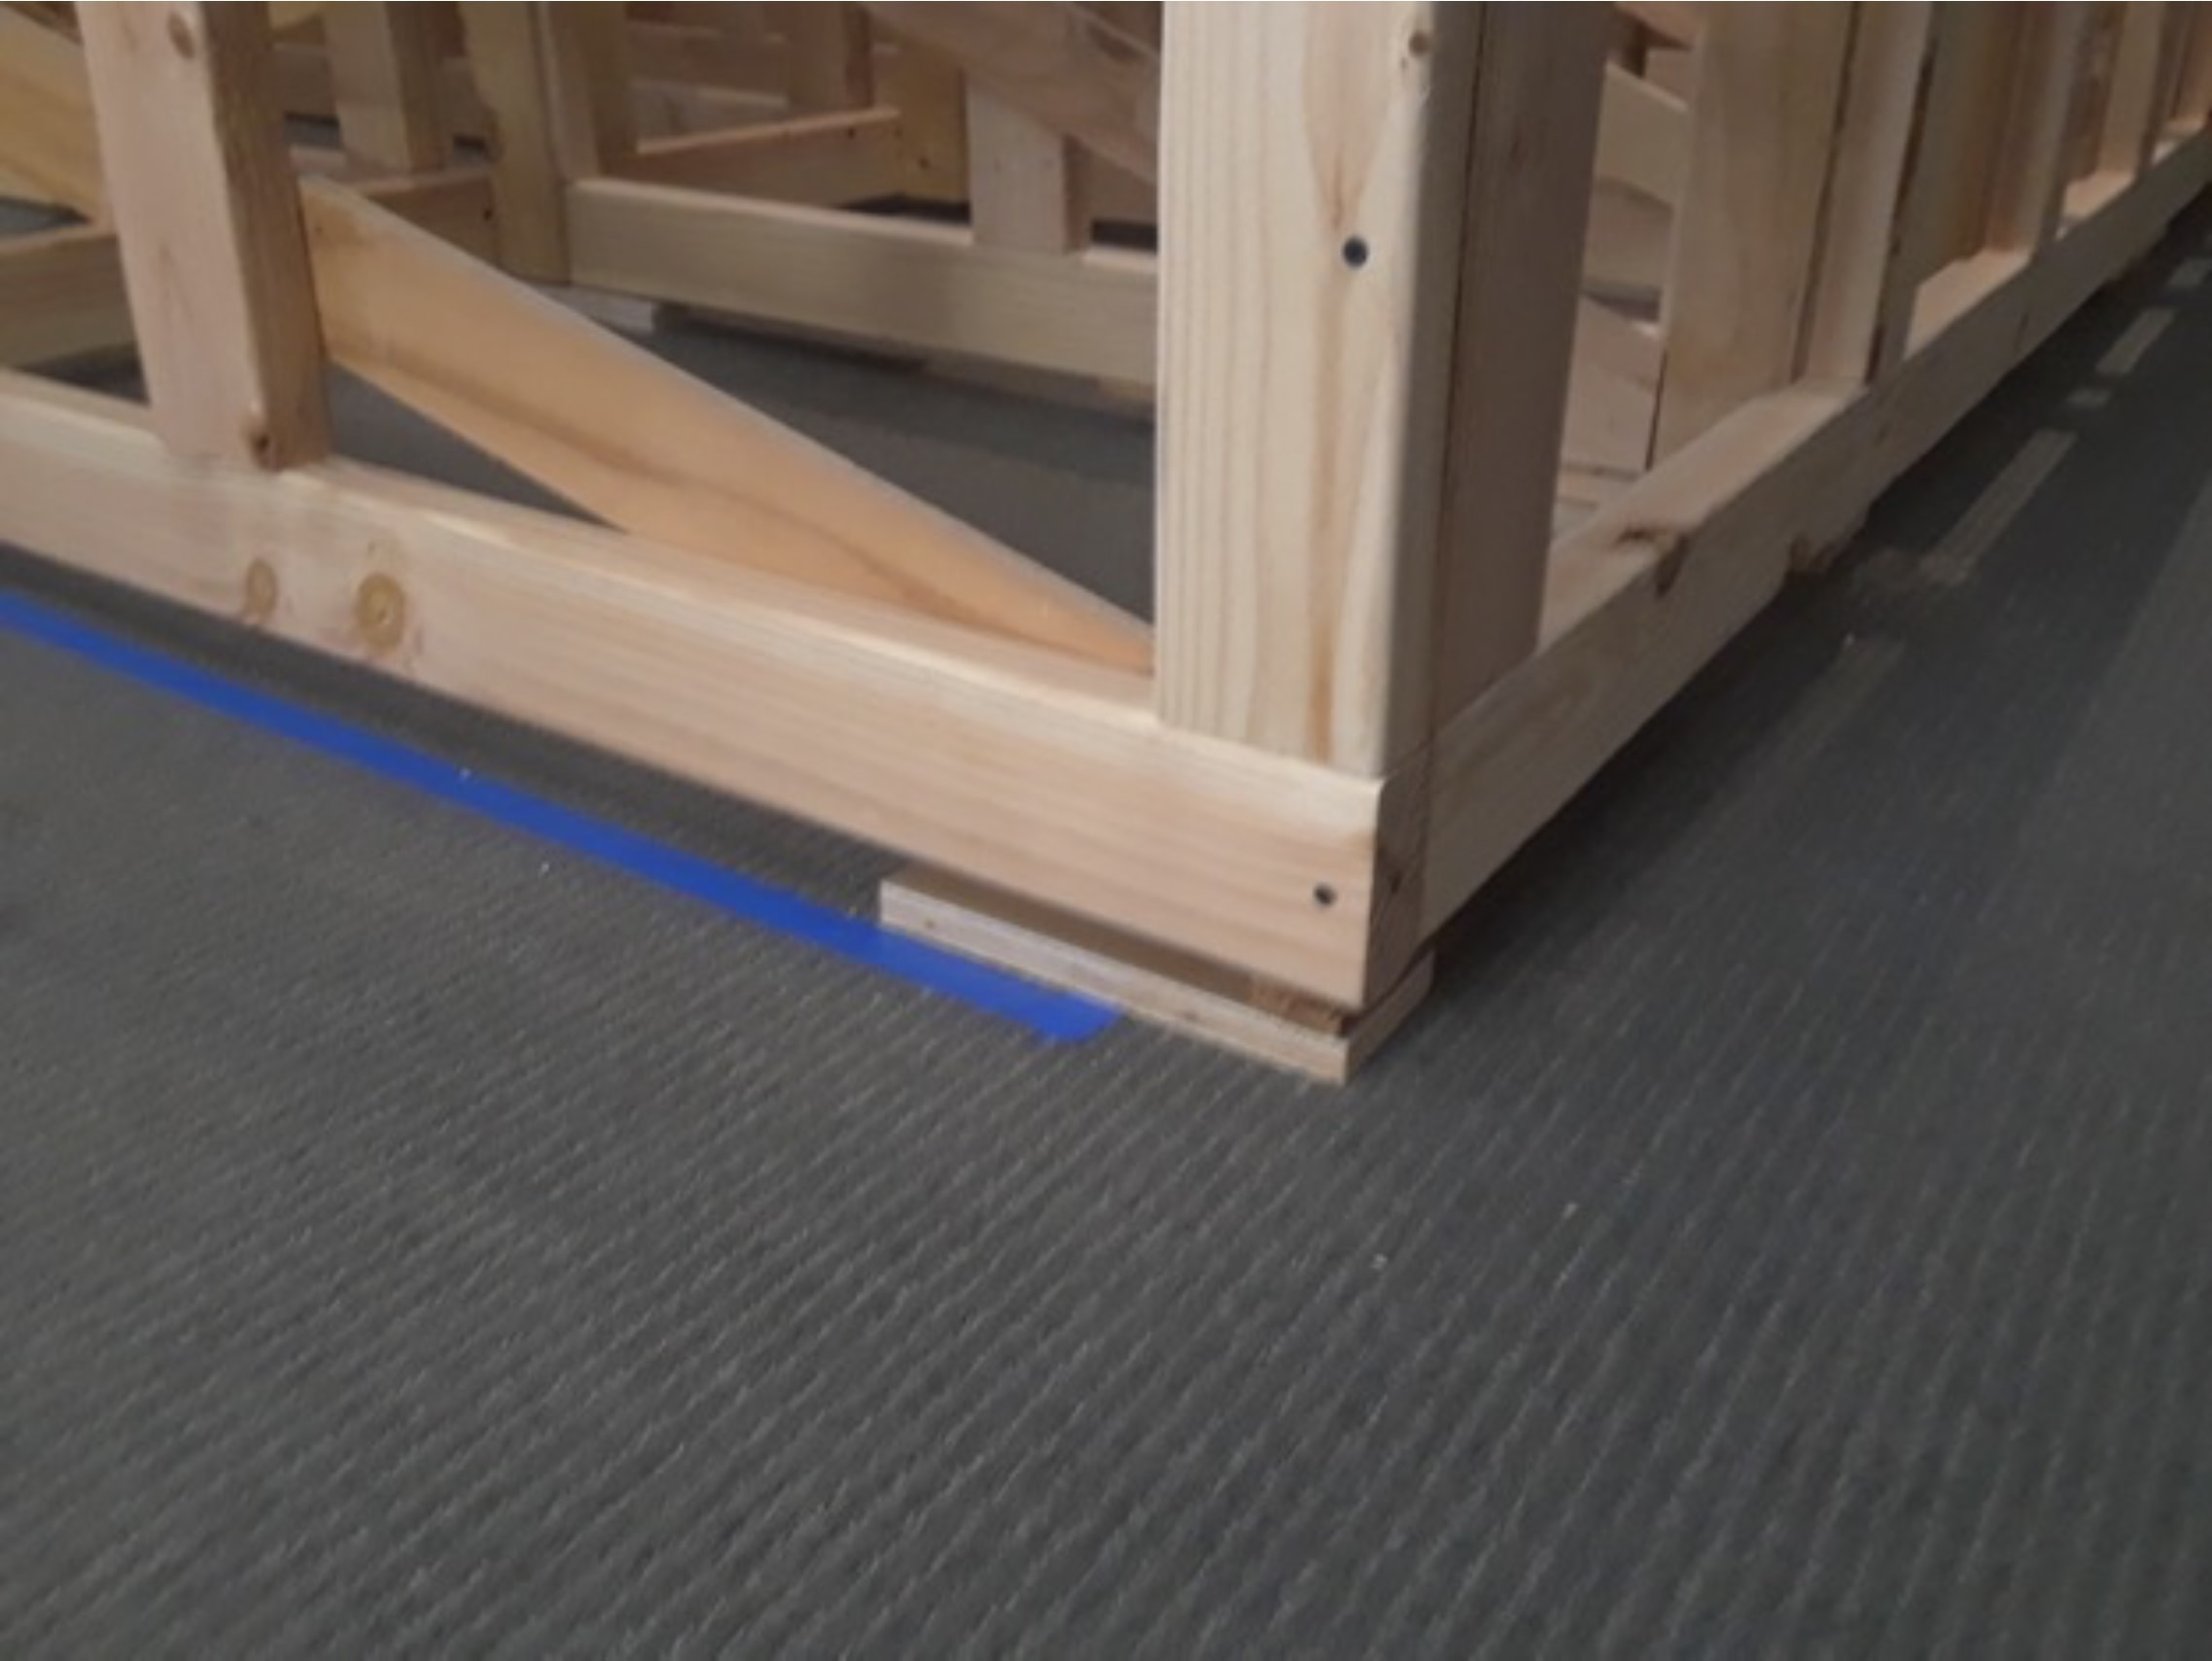
We had to shim it up to about an inch at the end of the platform due to the concrete floor descending. This is always an issue for us.
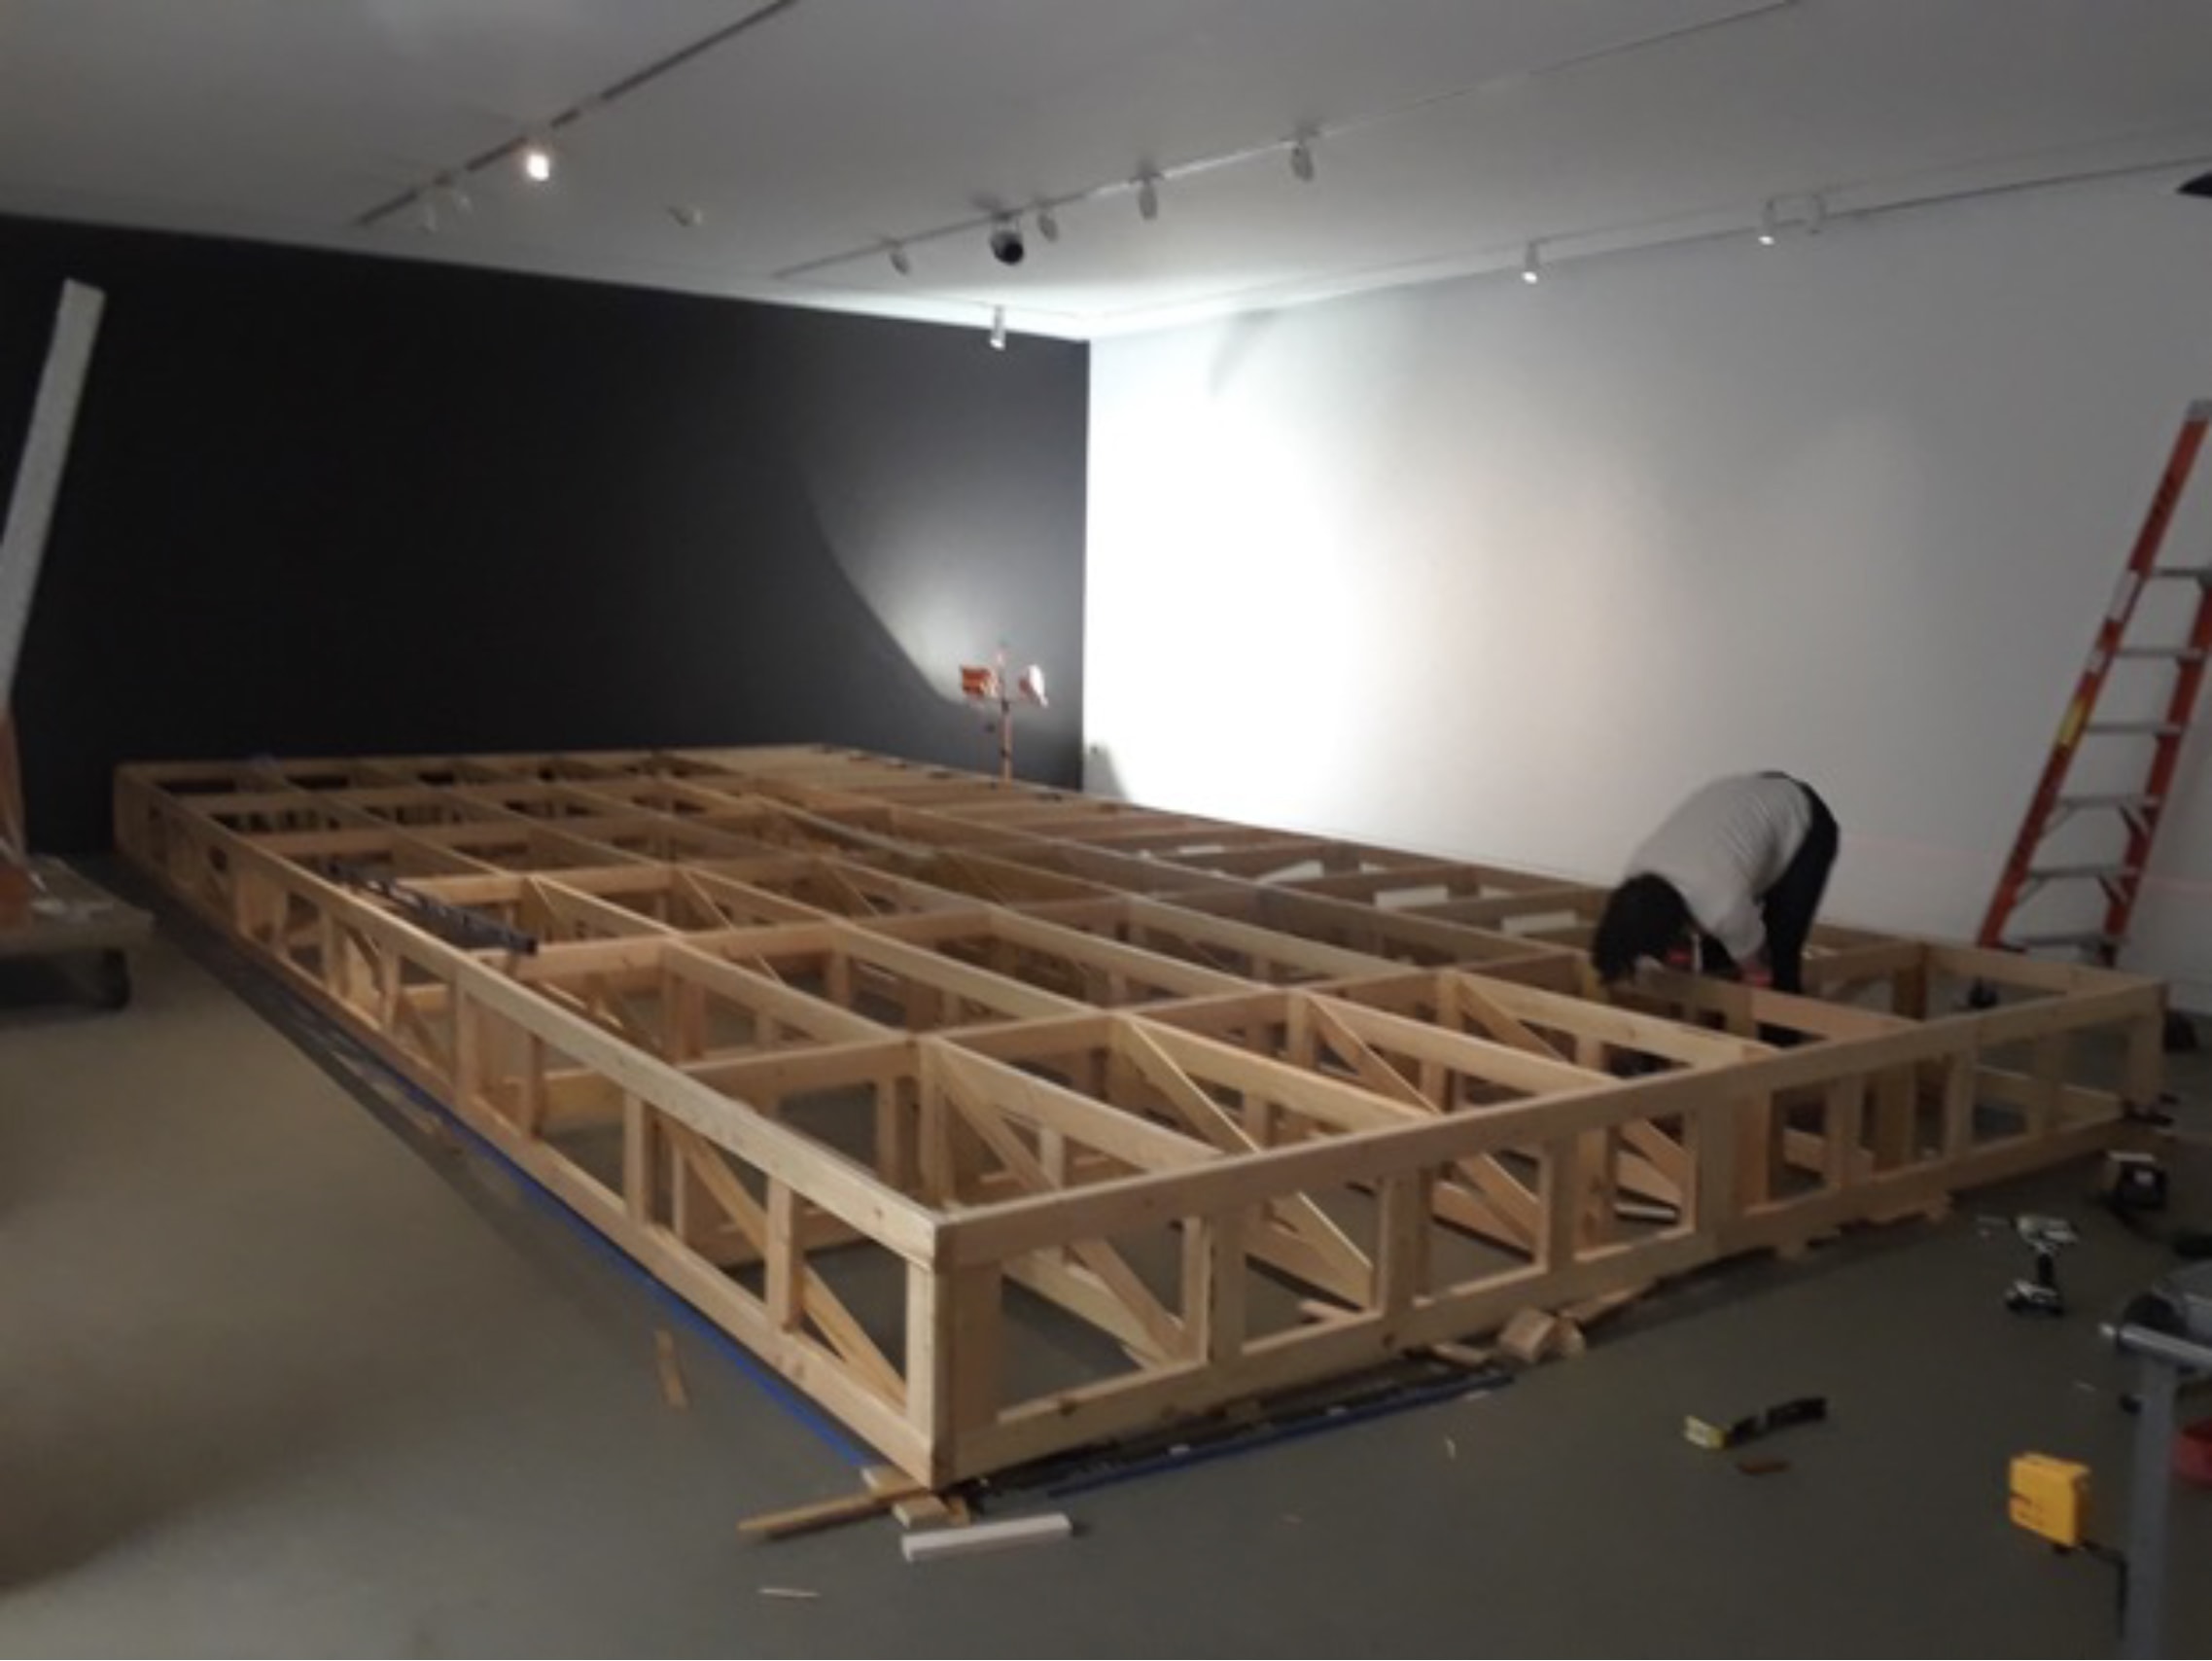
We used lots of clamps, levels and “persuasion” to get this monster squared up. (Matt’s note: Can I just say how much I love this word persuasion here. Such an elegant terms for brutful work)
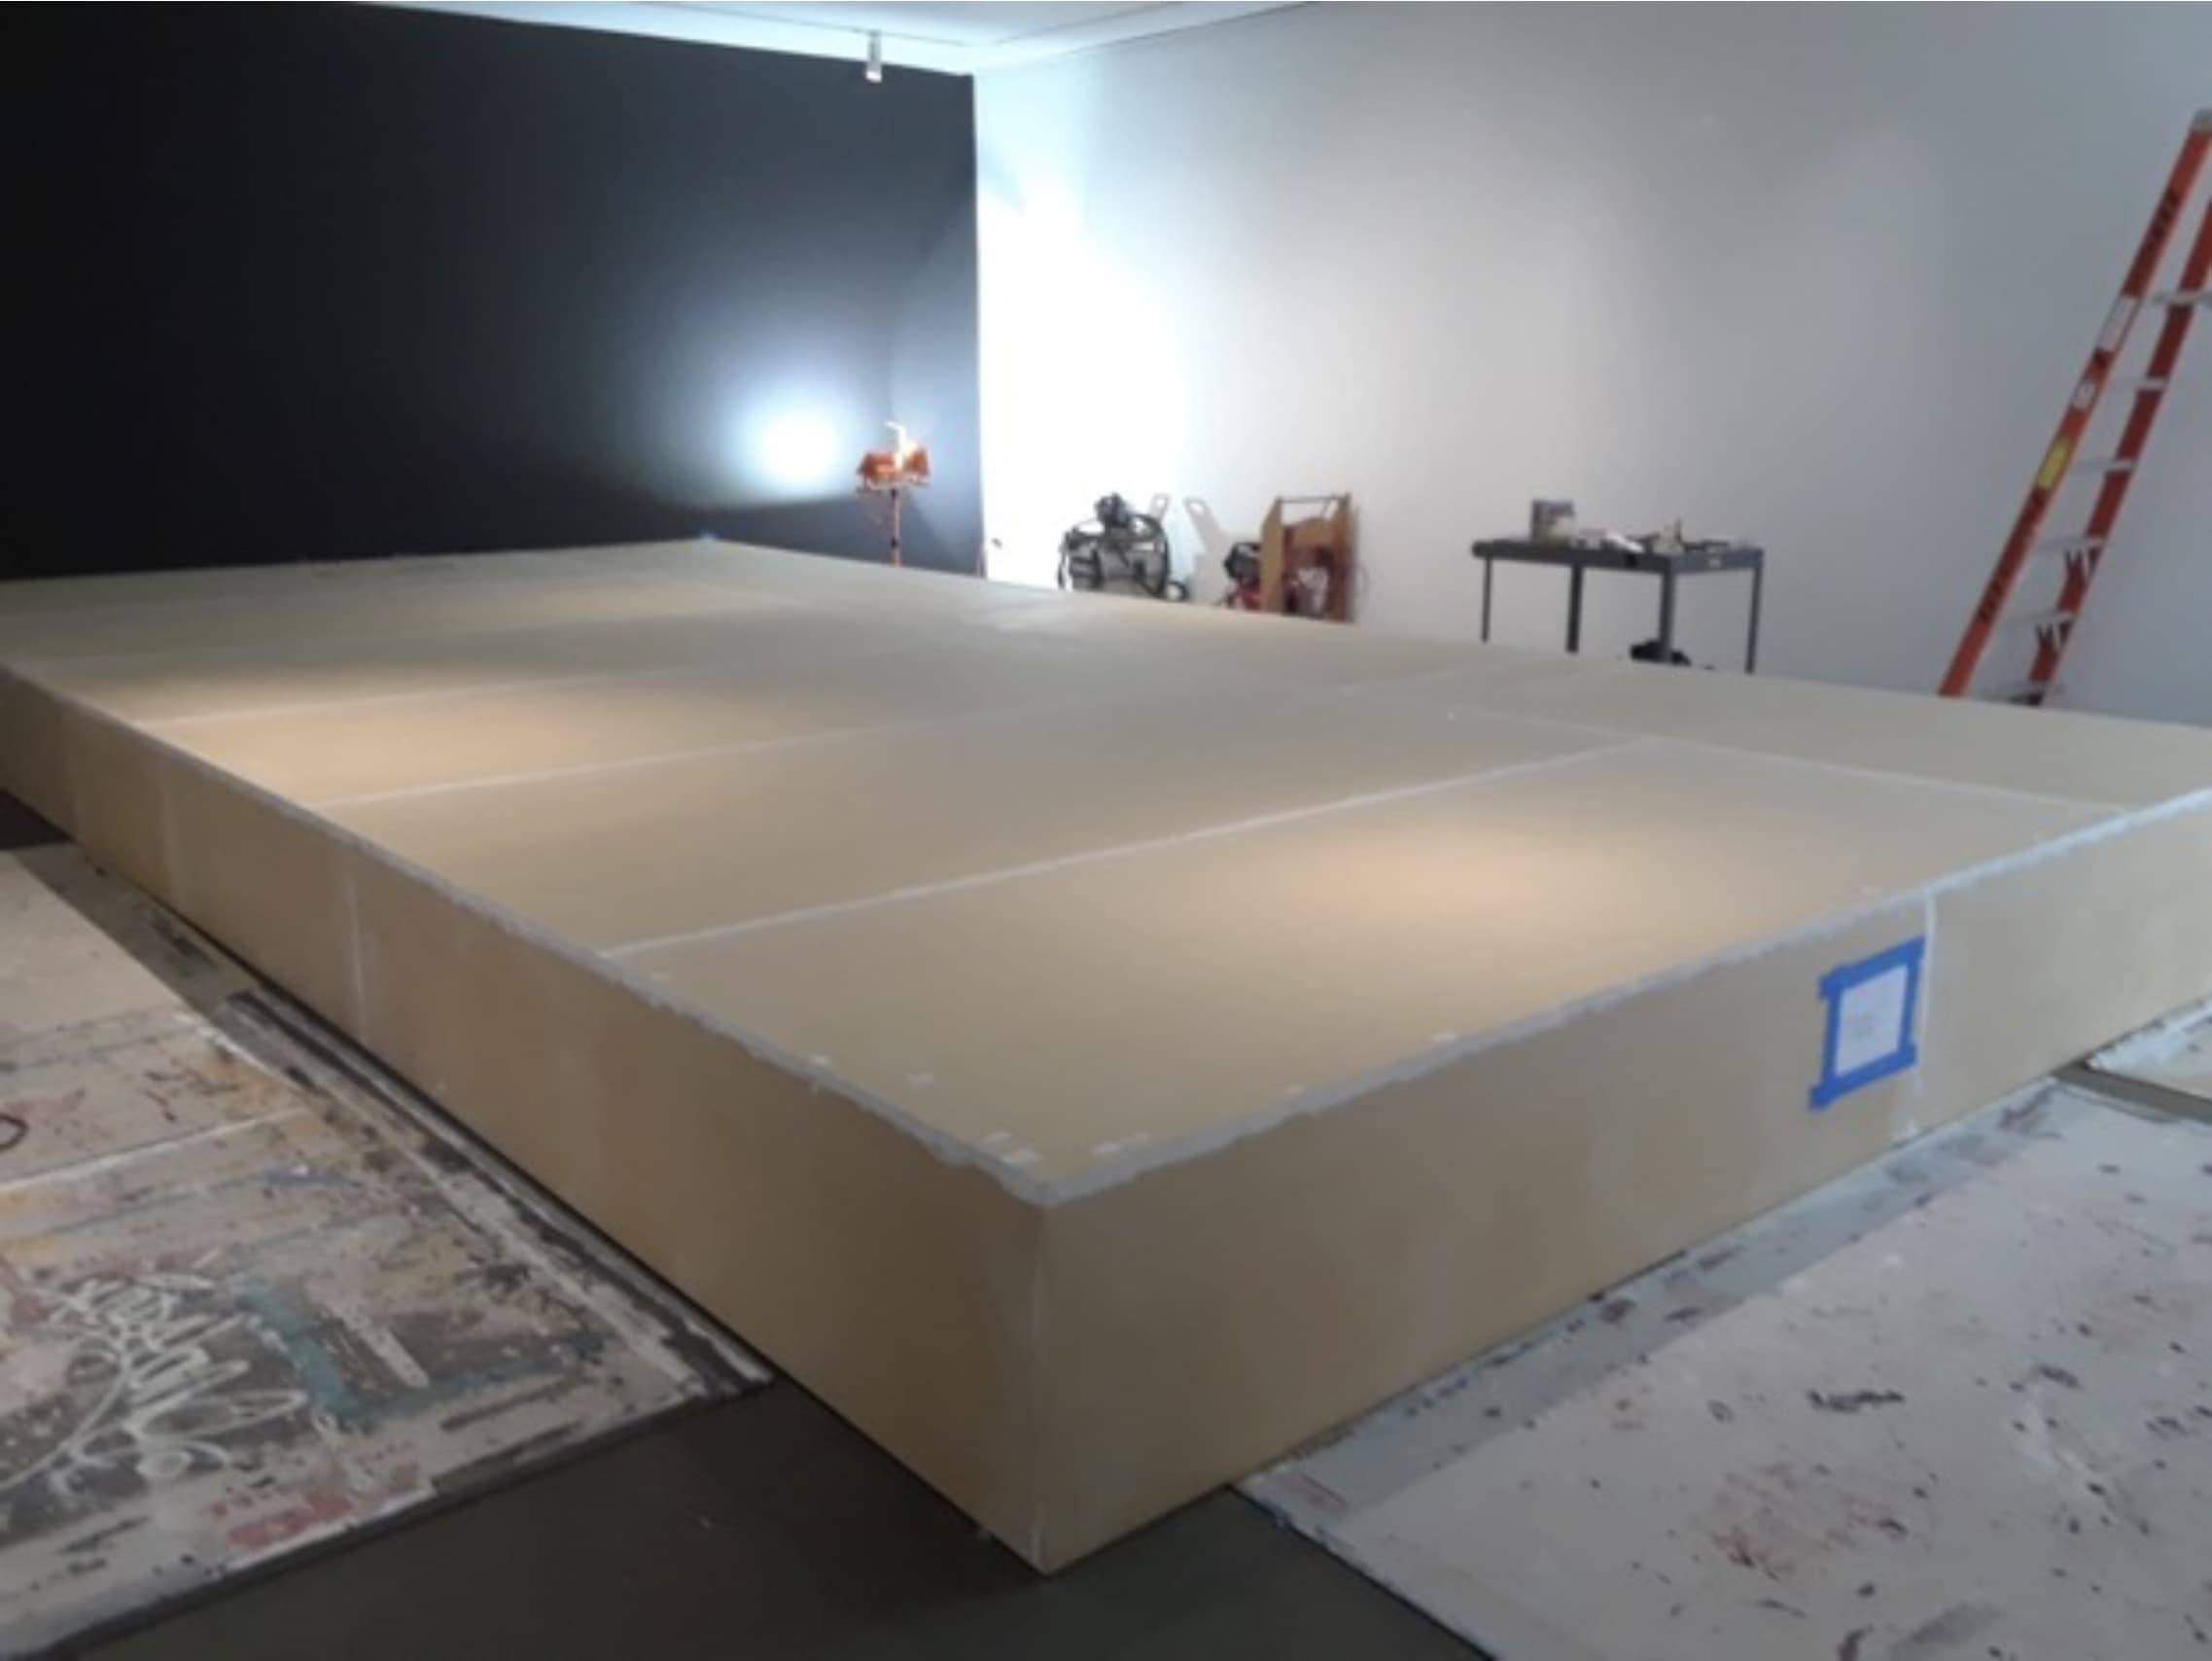
Skinning the Exhibit Furniture
The tops of the frames were then capped with 3” wide MDO to help catch the seams. More meat to nail into. This may have been overkill.
Then it was time to skin it. We used ¾” 10’ MDO to do so.
Despite our efforts the beast still was not perfectly square. If you look by Elighs right foot where the decking is clamped you can see it overhangs a good ¾” or so. Don’t panic! It’s better to be over than under. A jig saw and trim router will clean that right up.
That’s a lot of saw dust in an art gallery so dust containment and PPE is crucial. Thanks Eligh!
We brad-nailed the hell out of the seams. Then time to spackle.
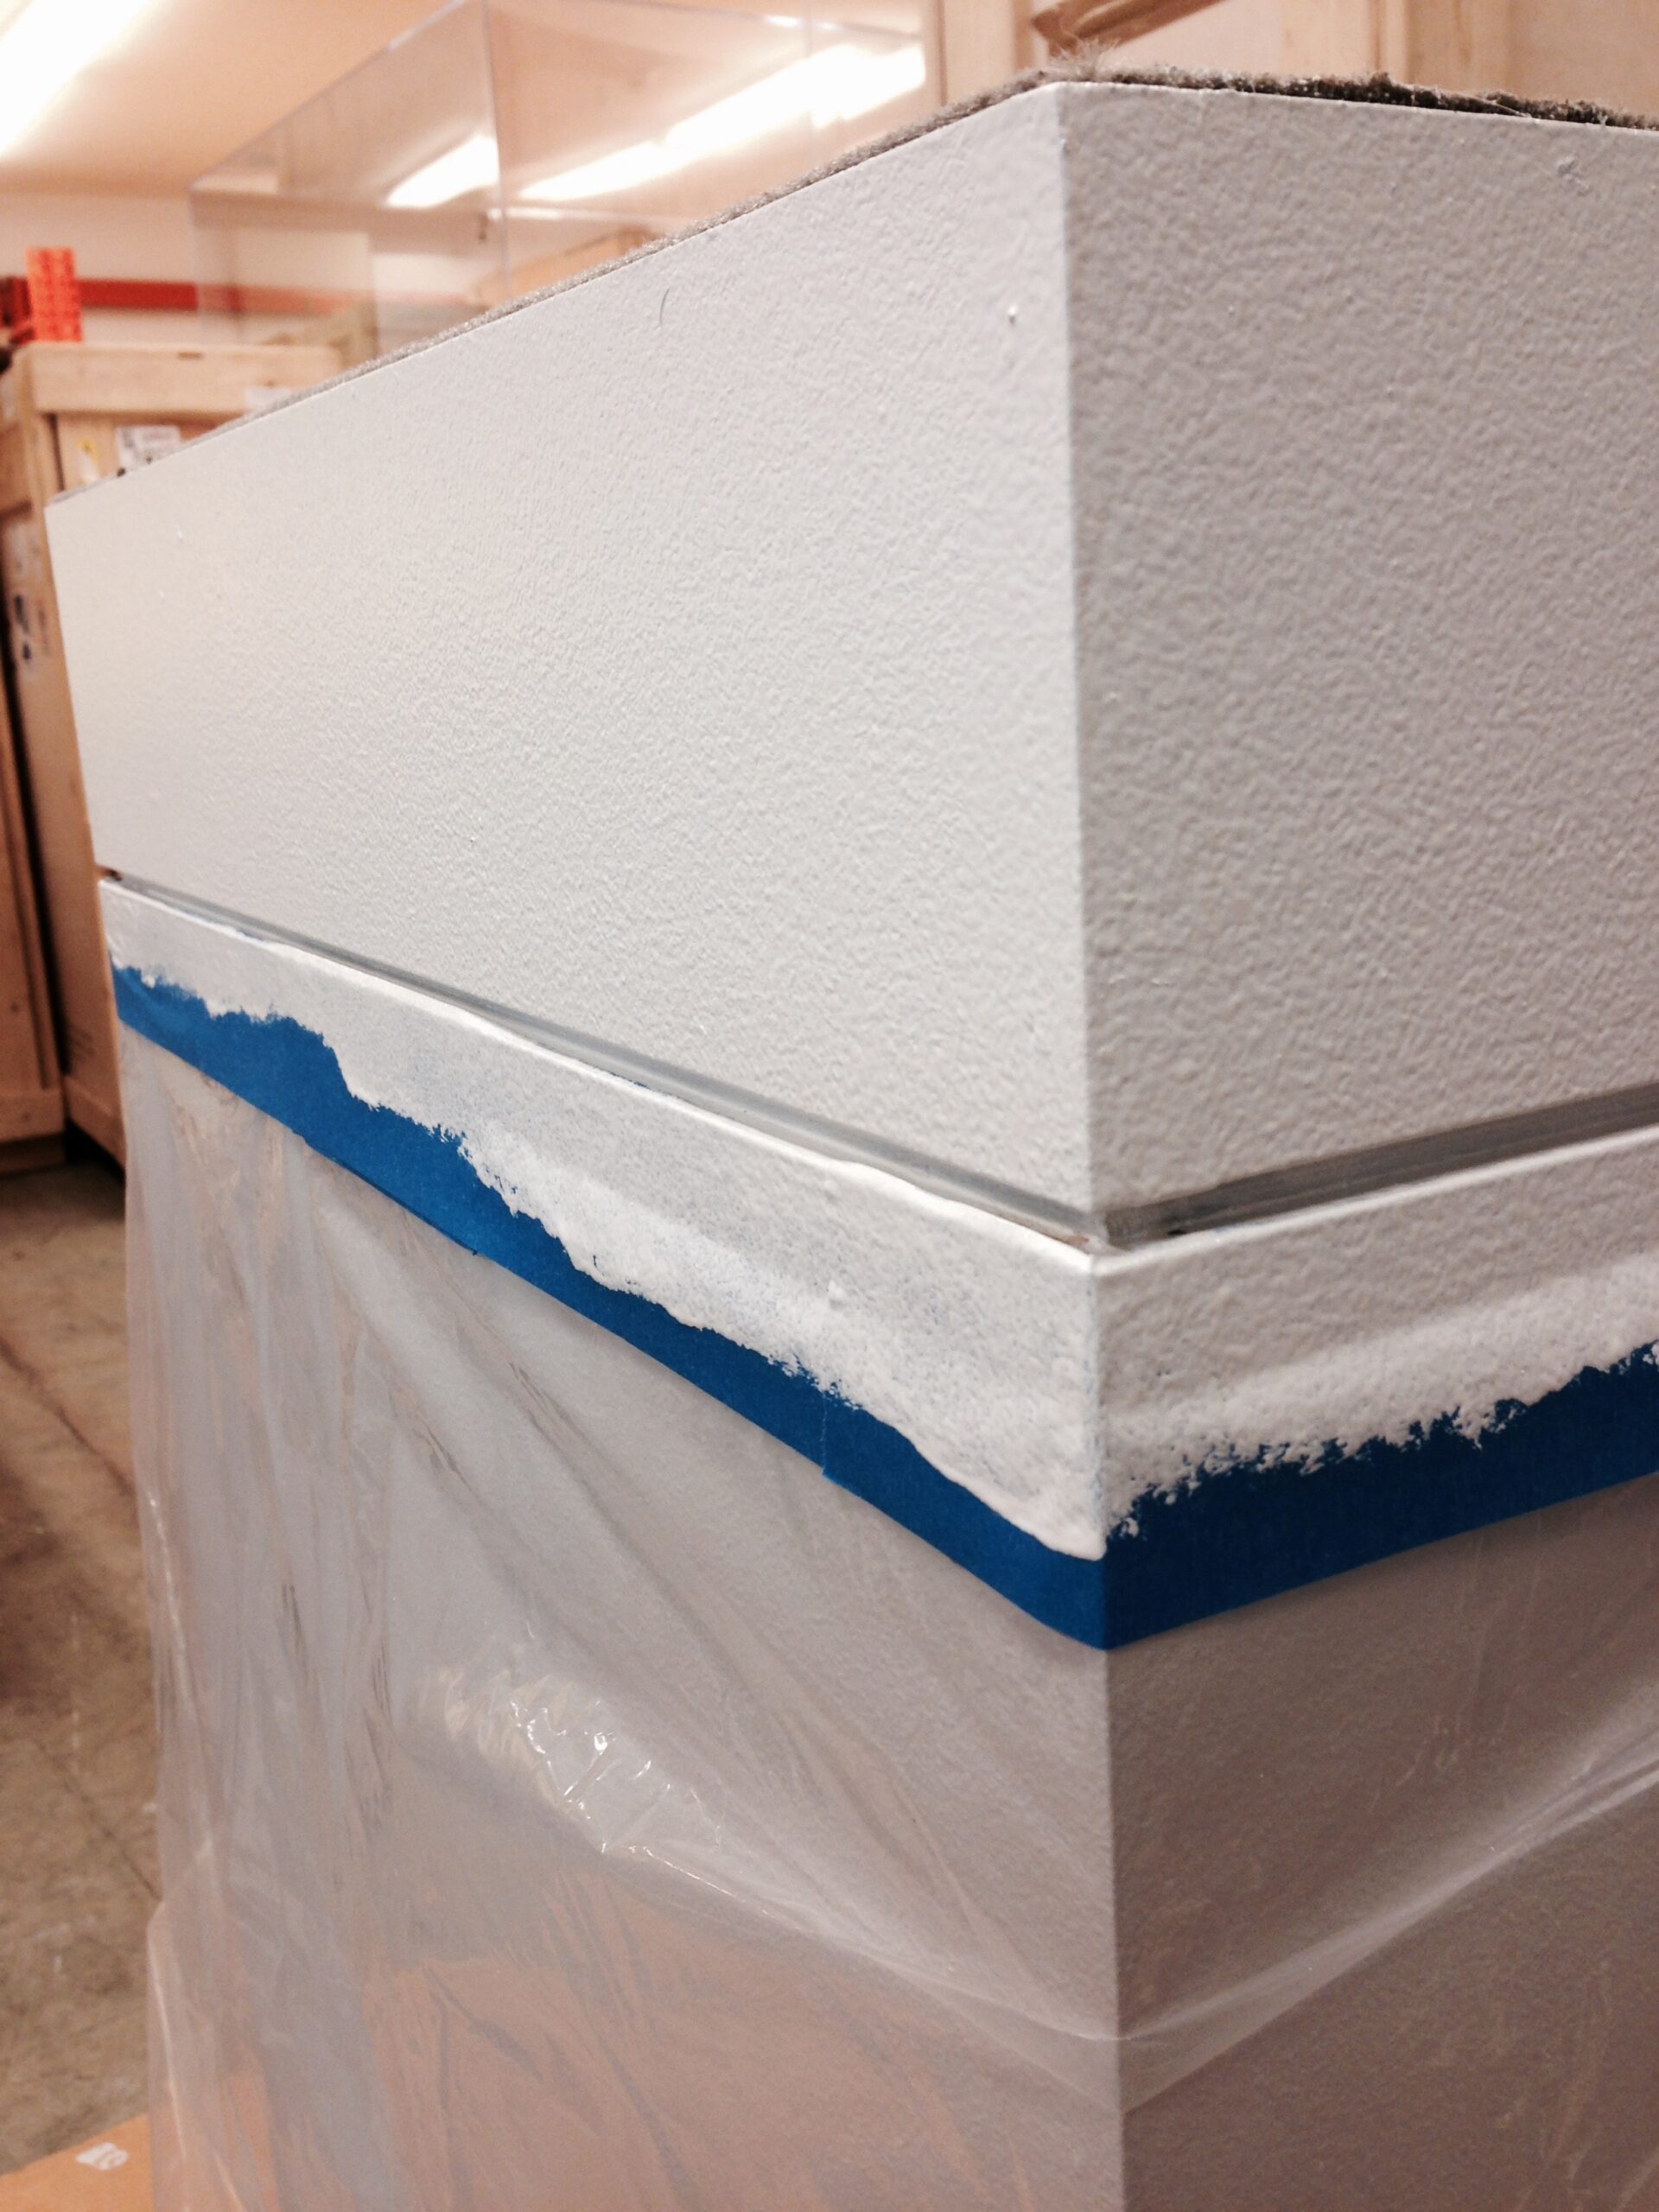
Spackling Seams on the Pedestal
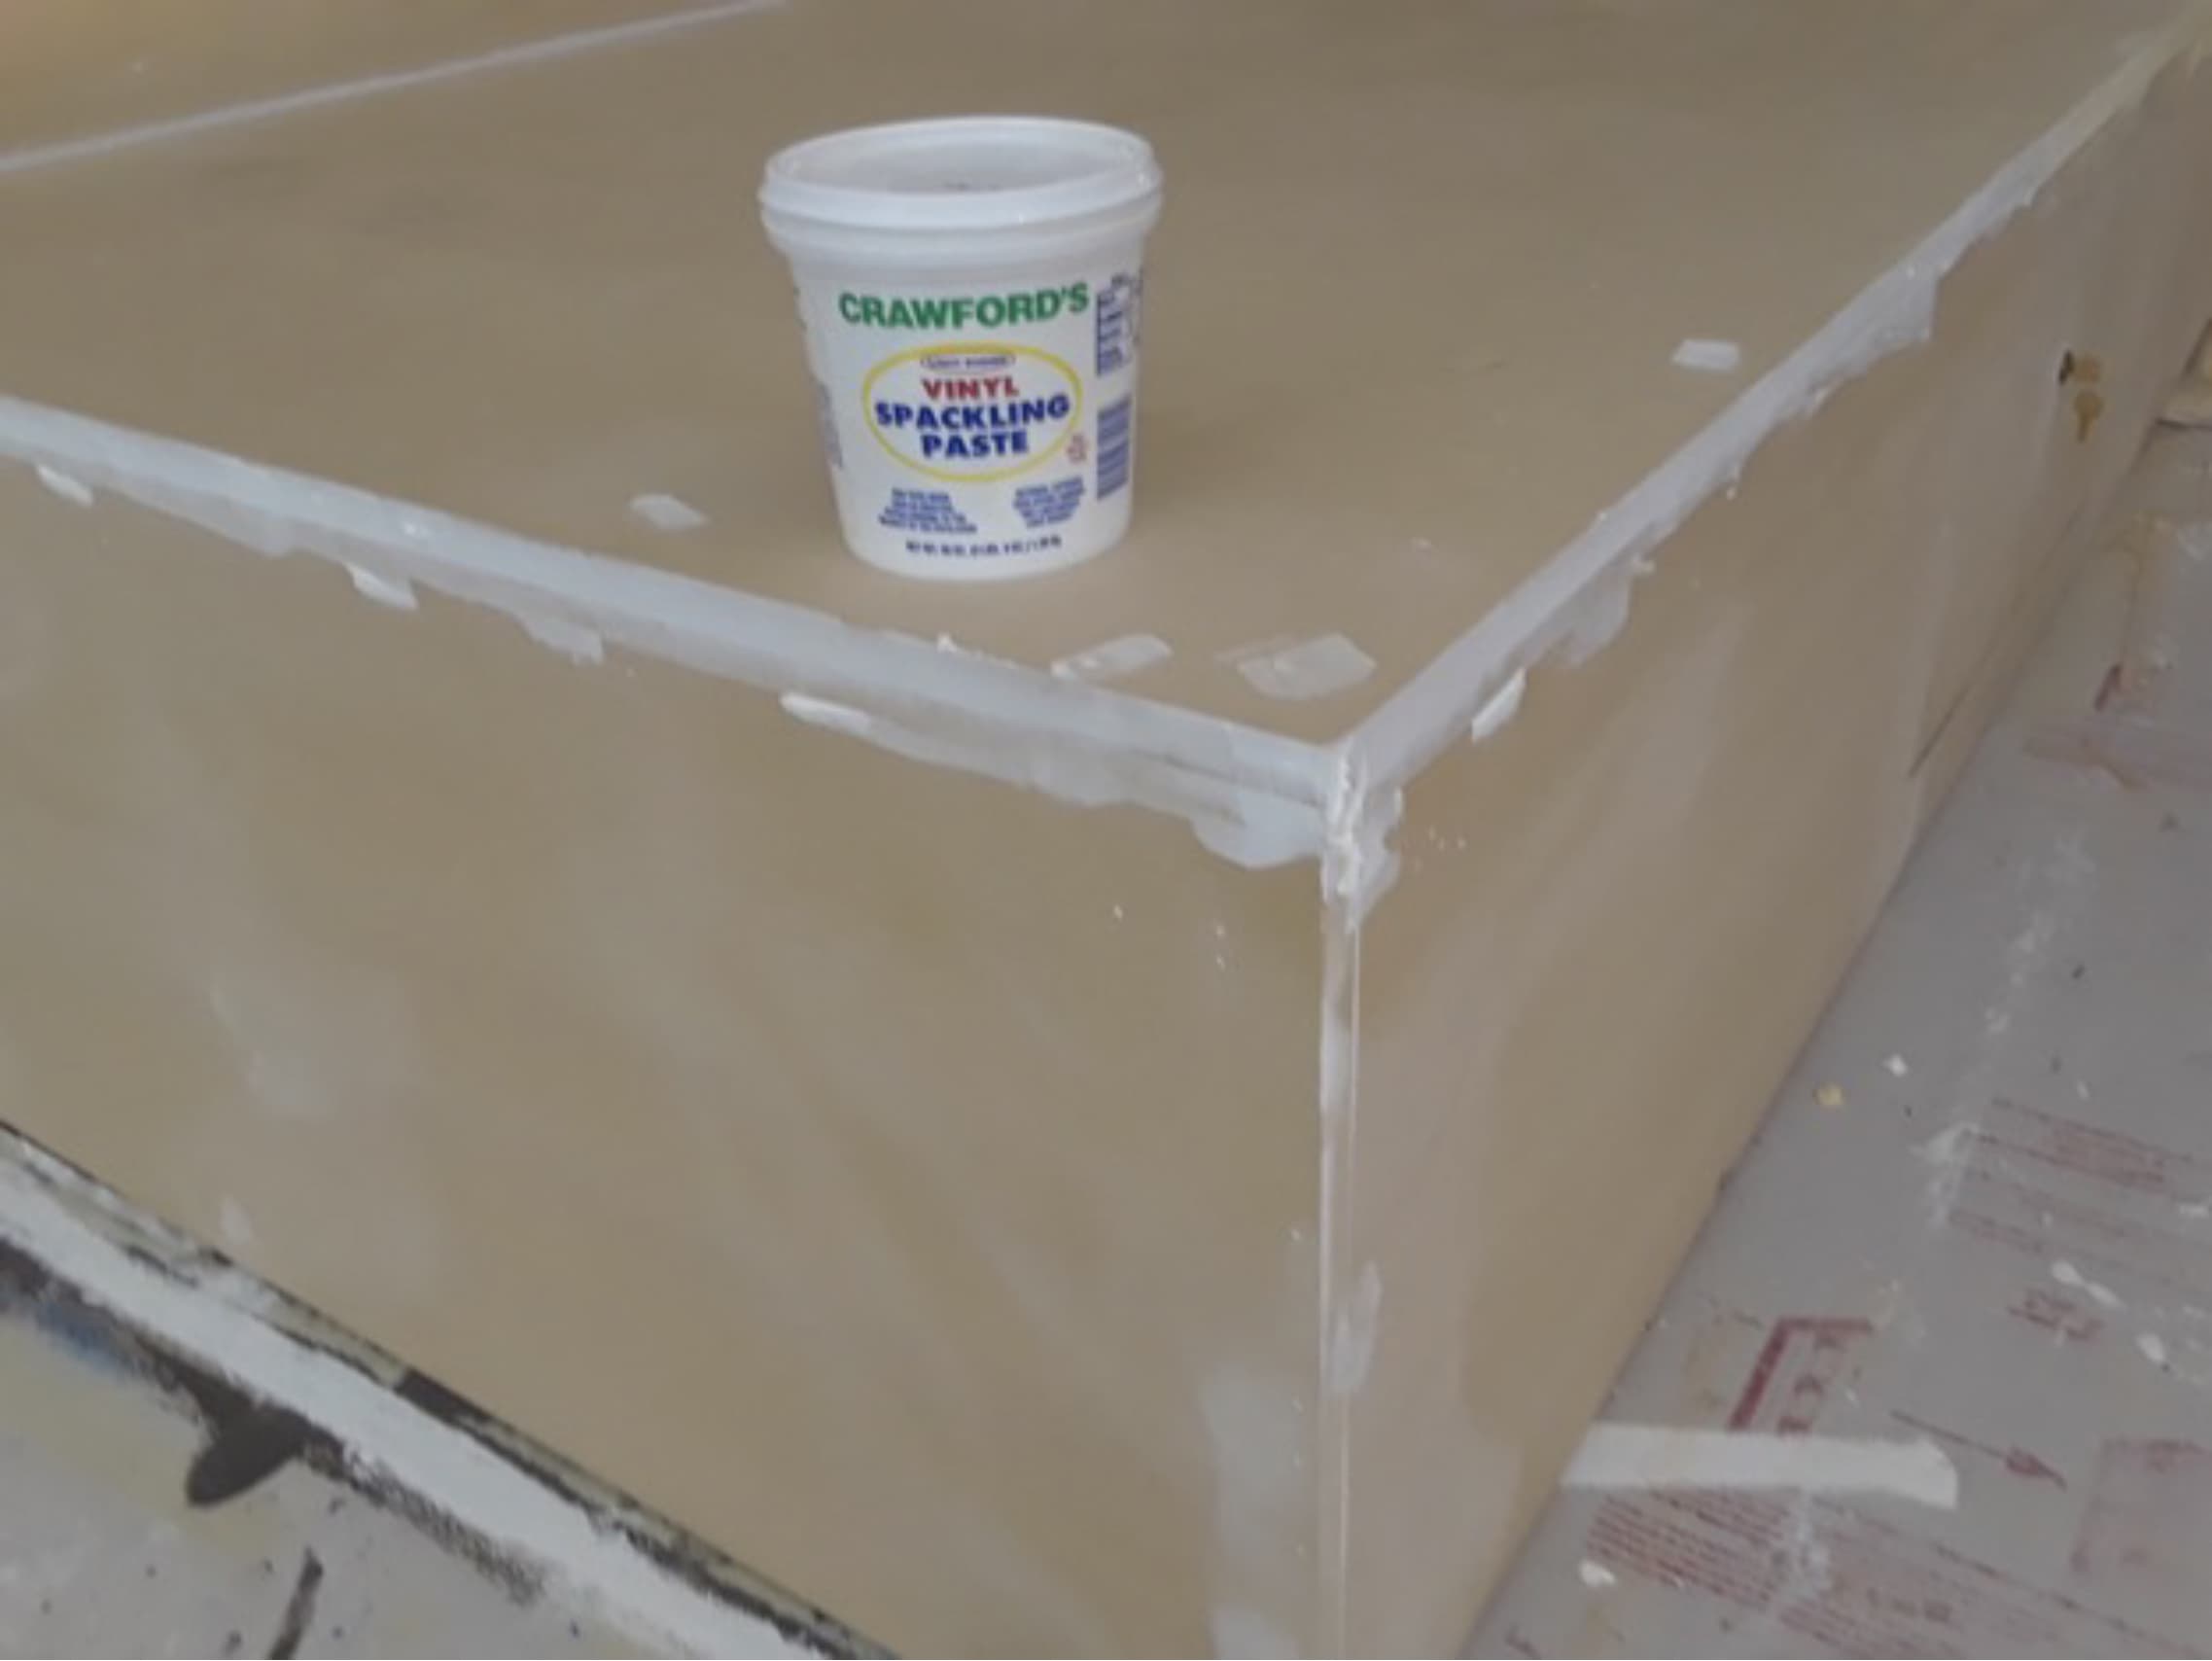
Save yourself a lot of heartache, sand the end grain before spackling. Then go over it with a nice thin skim so you don’t have to create a lot of dust when you sand it again. Once dried sand again then have a look. You will likely have a few spots to reskim and sand by hand or even with a damp rag. This is a process. It just takes time and elbow grease. (Matt’s note: This end grain technique was new to me, I LOVE the little things in our work)
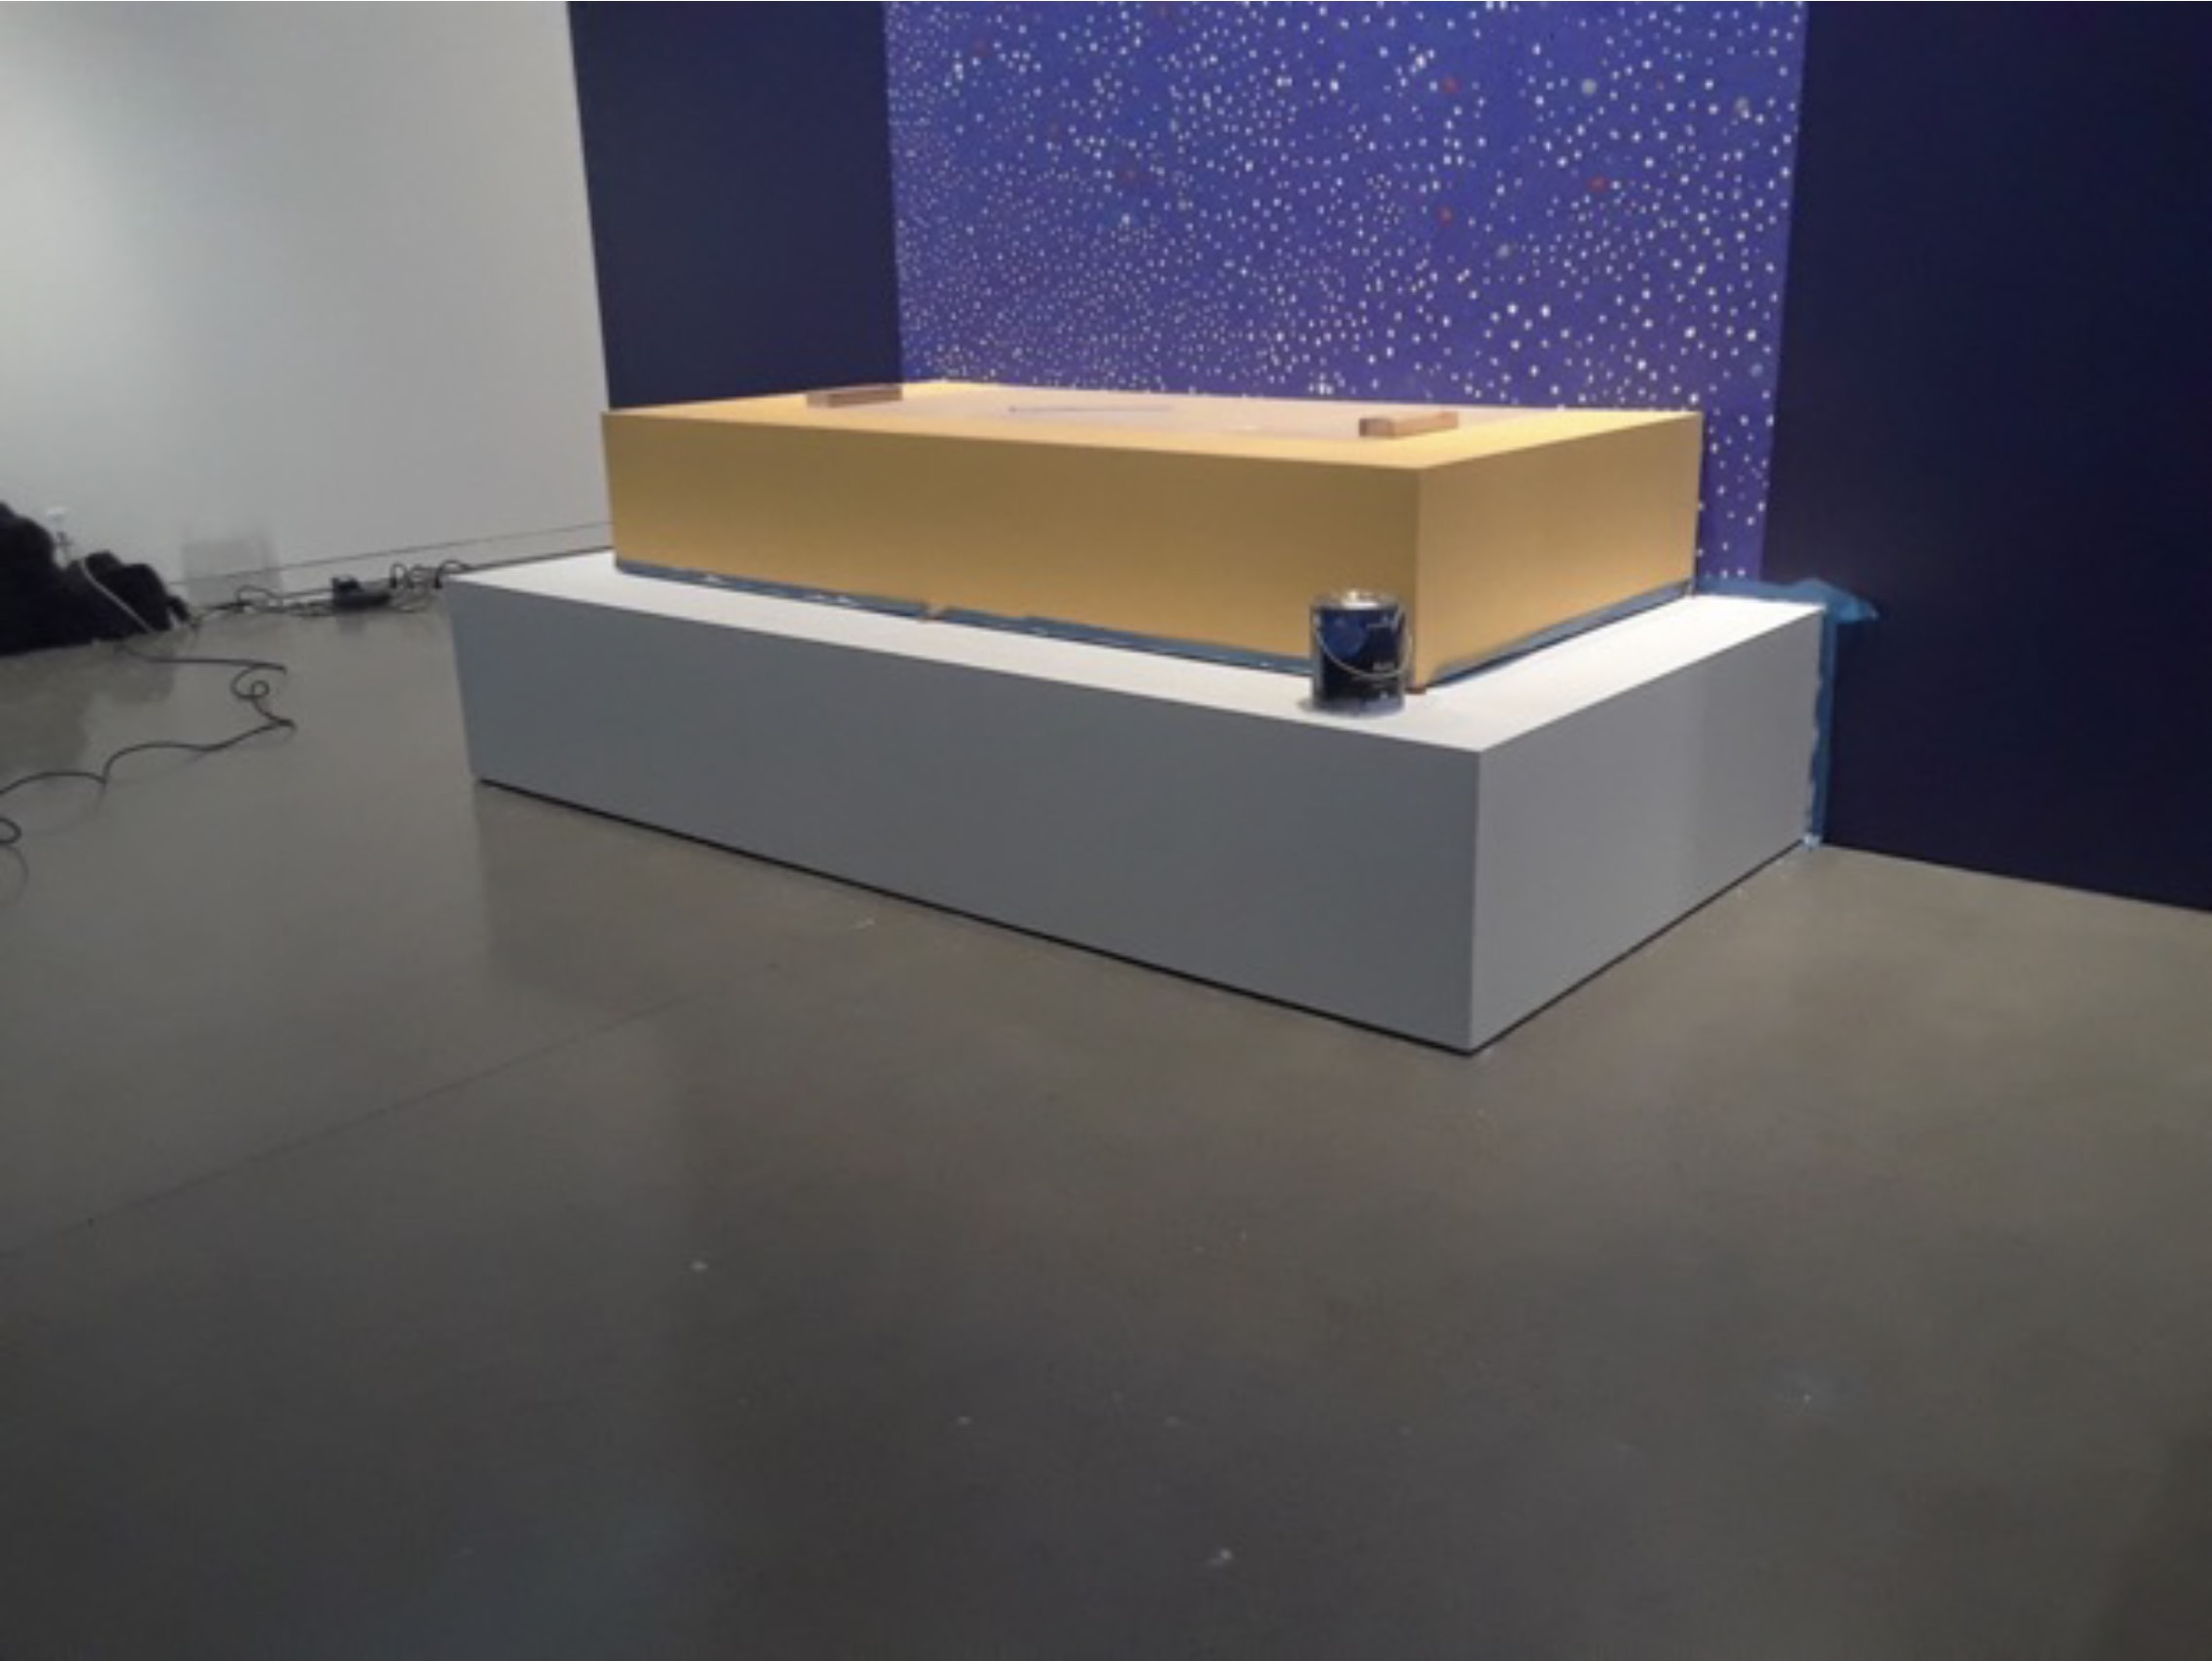
Painting the Beastly Ped
Then we primed the whole thing and painted the sides, but not yet the top.
Templating the Art Installation
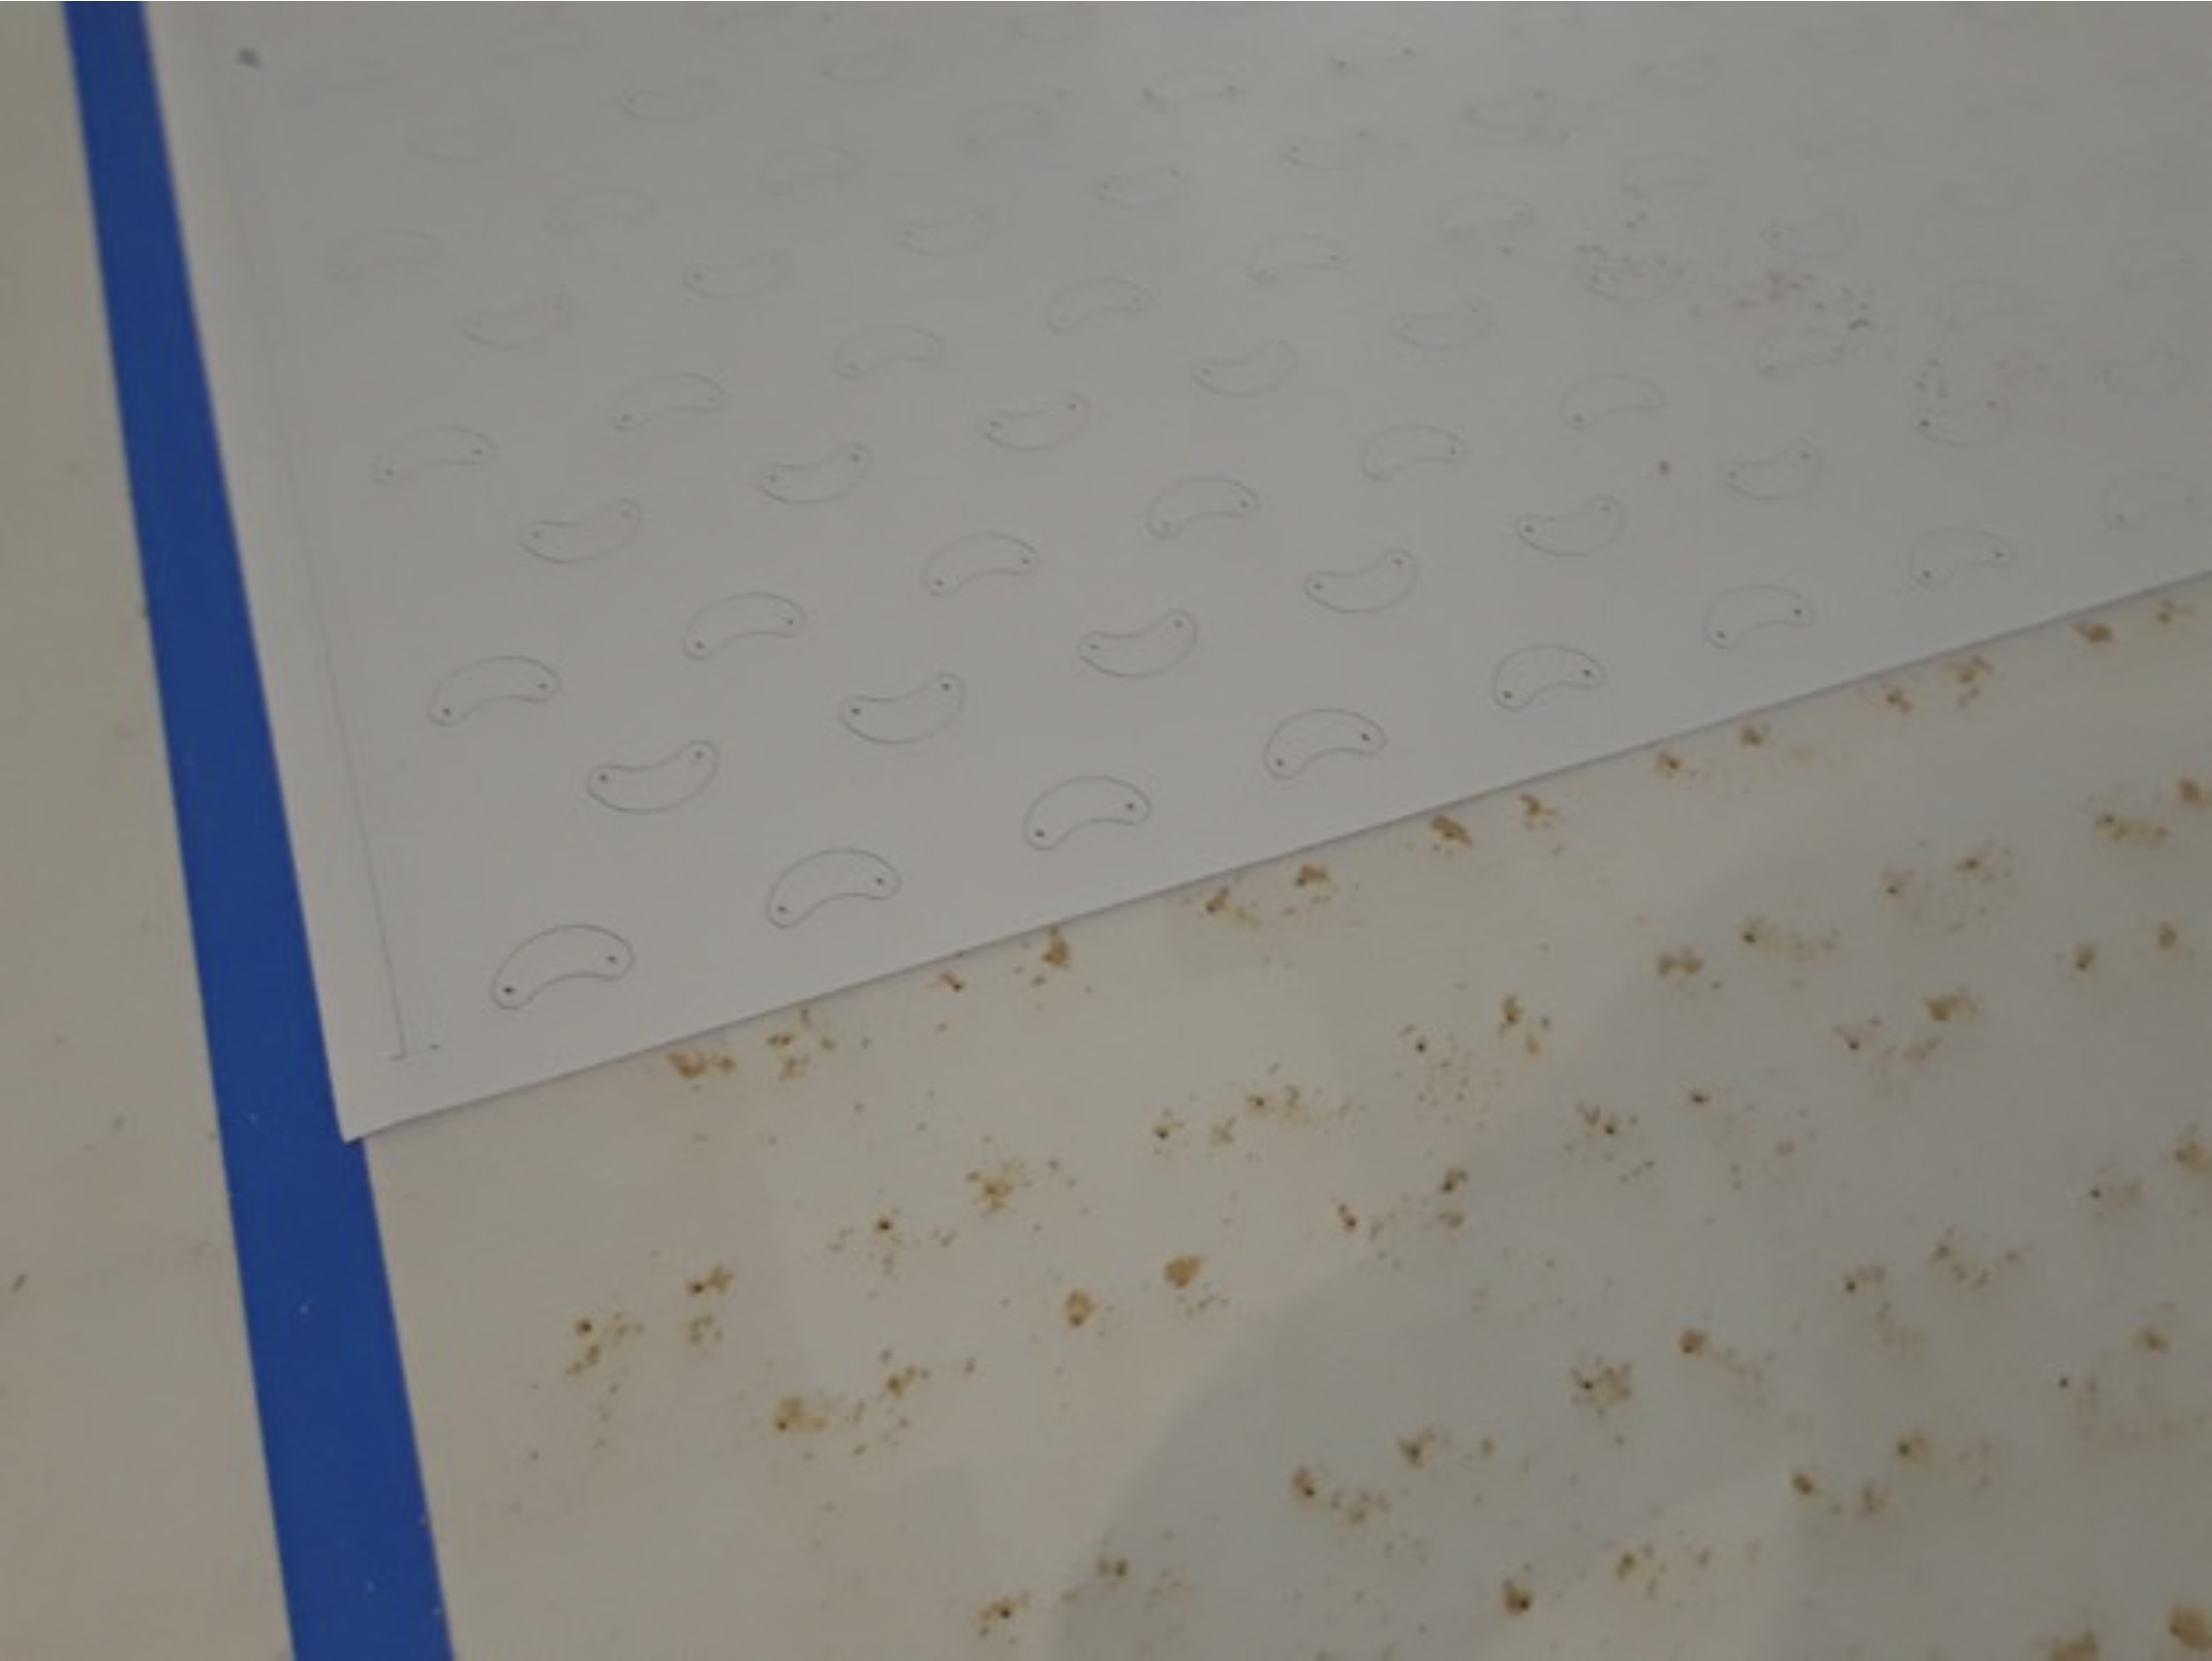
After painting the sides and just priming the top. We used blue tape to map out the general pattern then had our graphics shop print up some templates we could use to predrill all of the holes for the taps.
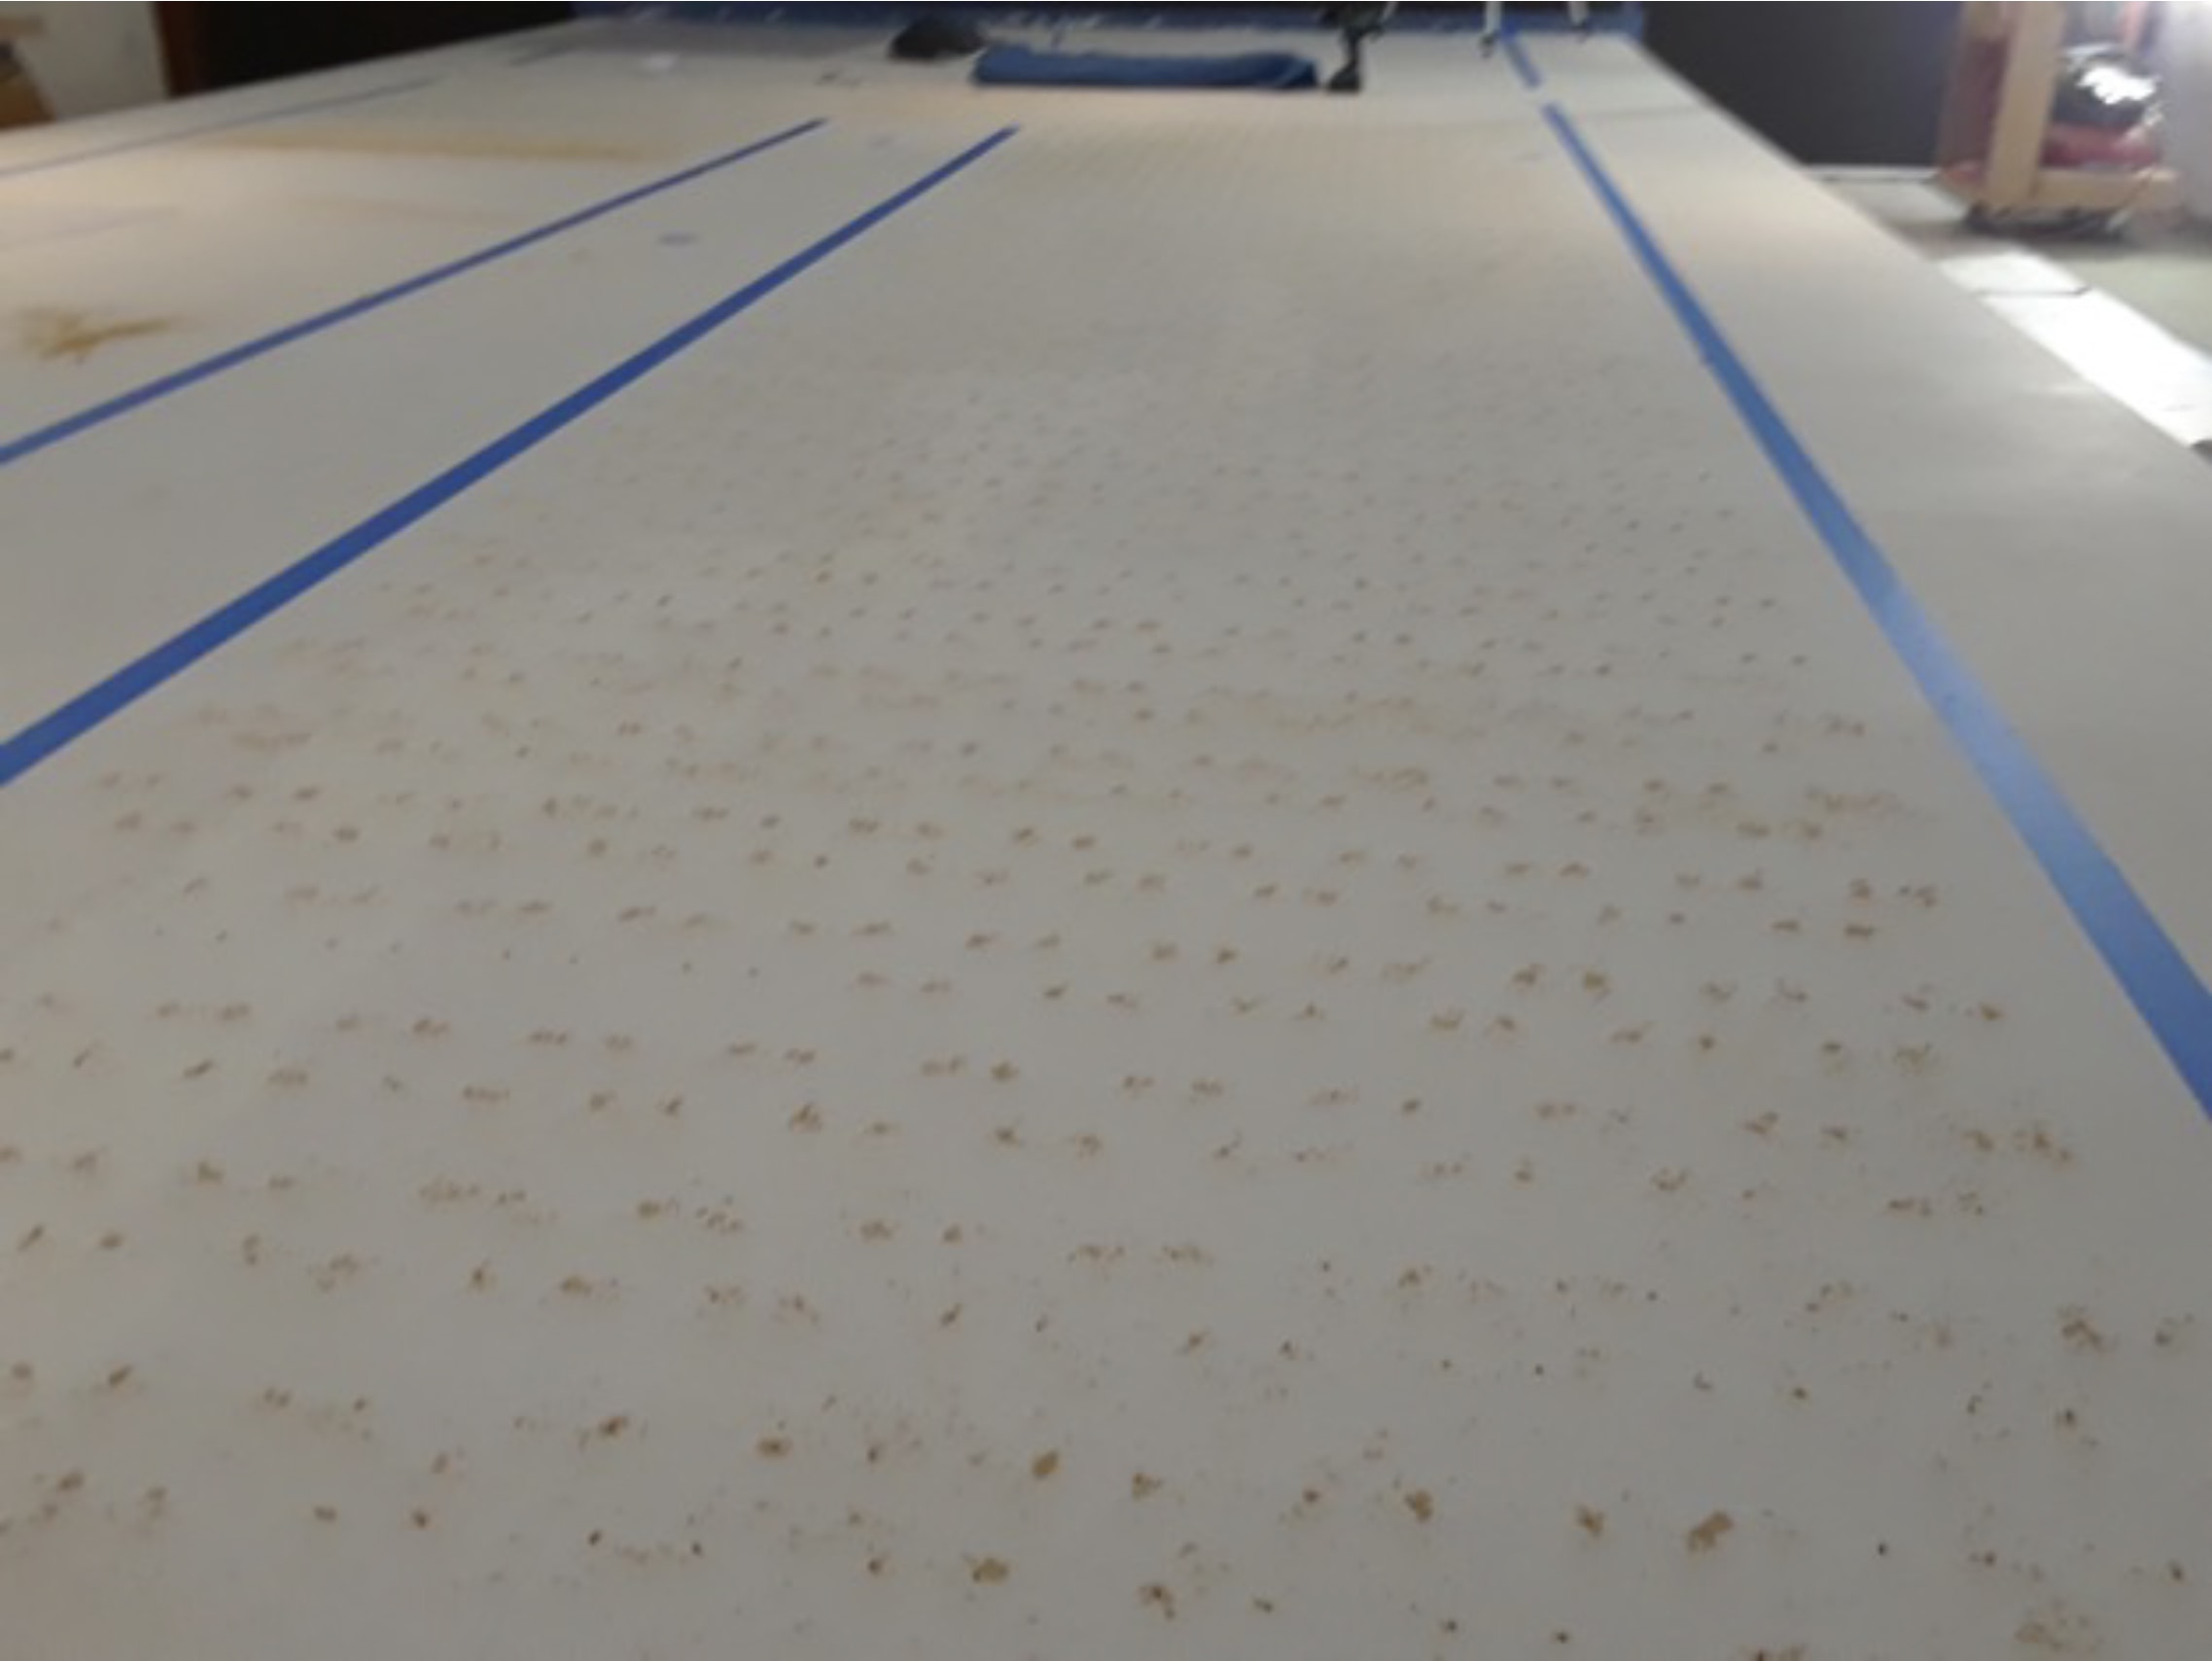
Once the holes were drilled we then cleaned up the mess and painted the deck. Lots of drilling on our knees.
Installing the Art
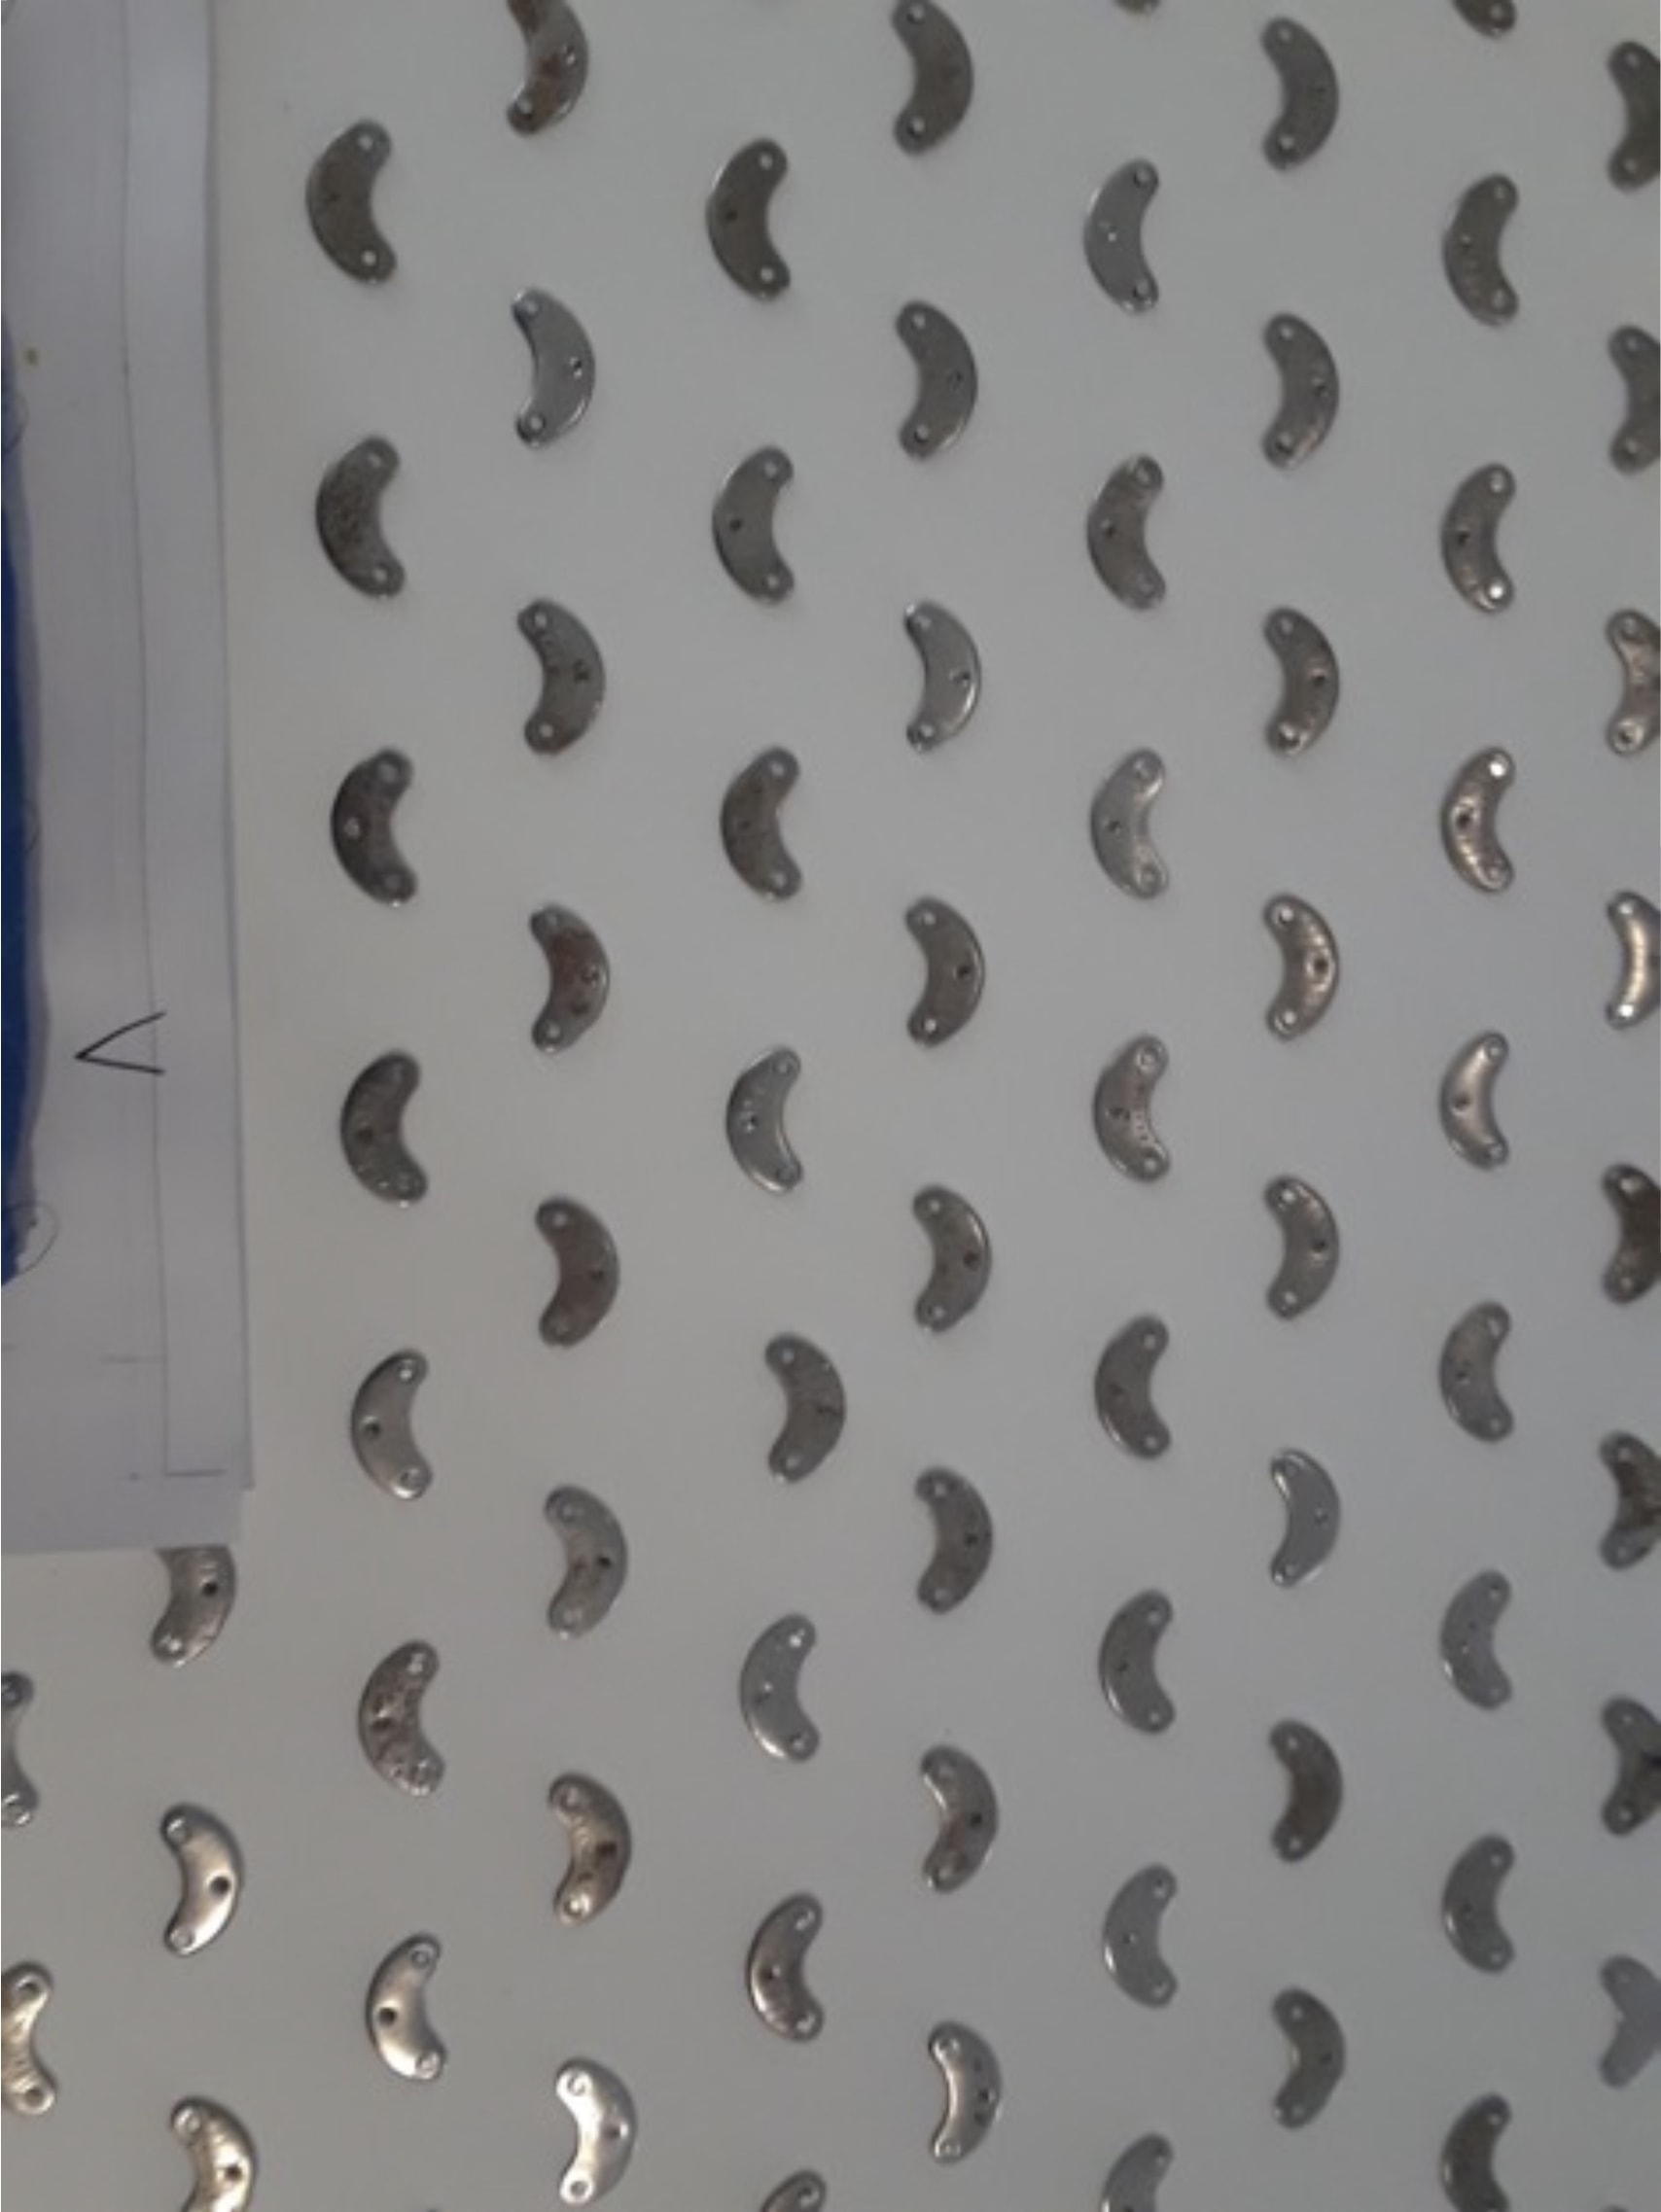
I forget the size of the drill bit we used but it was just so that the nails could be pushed in mostly by hand.
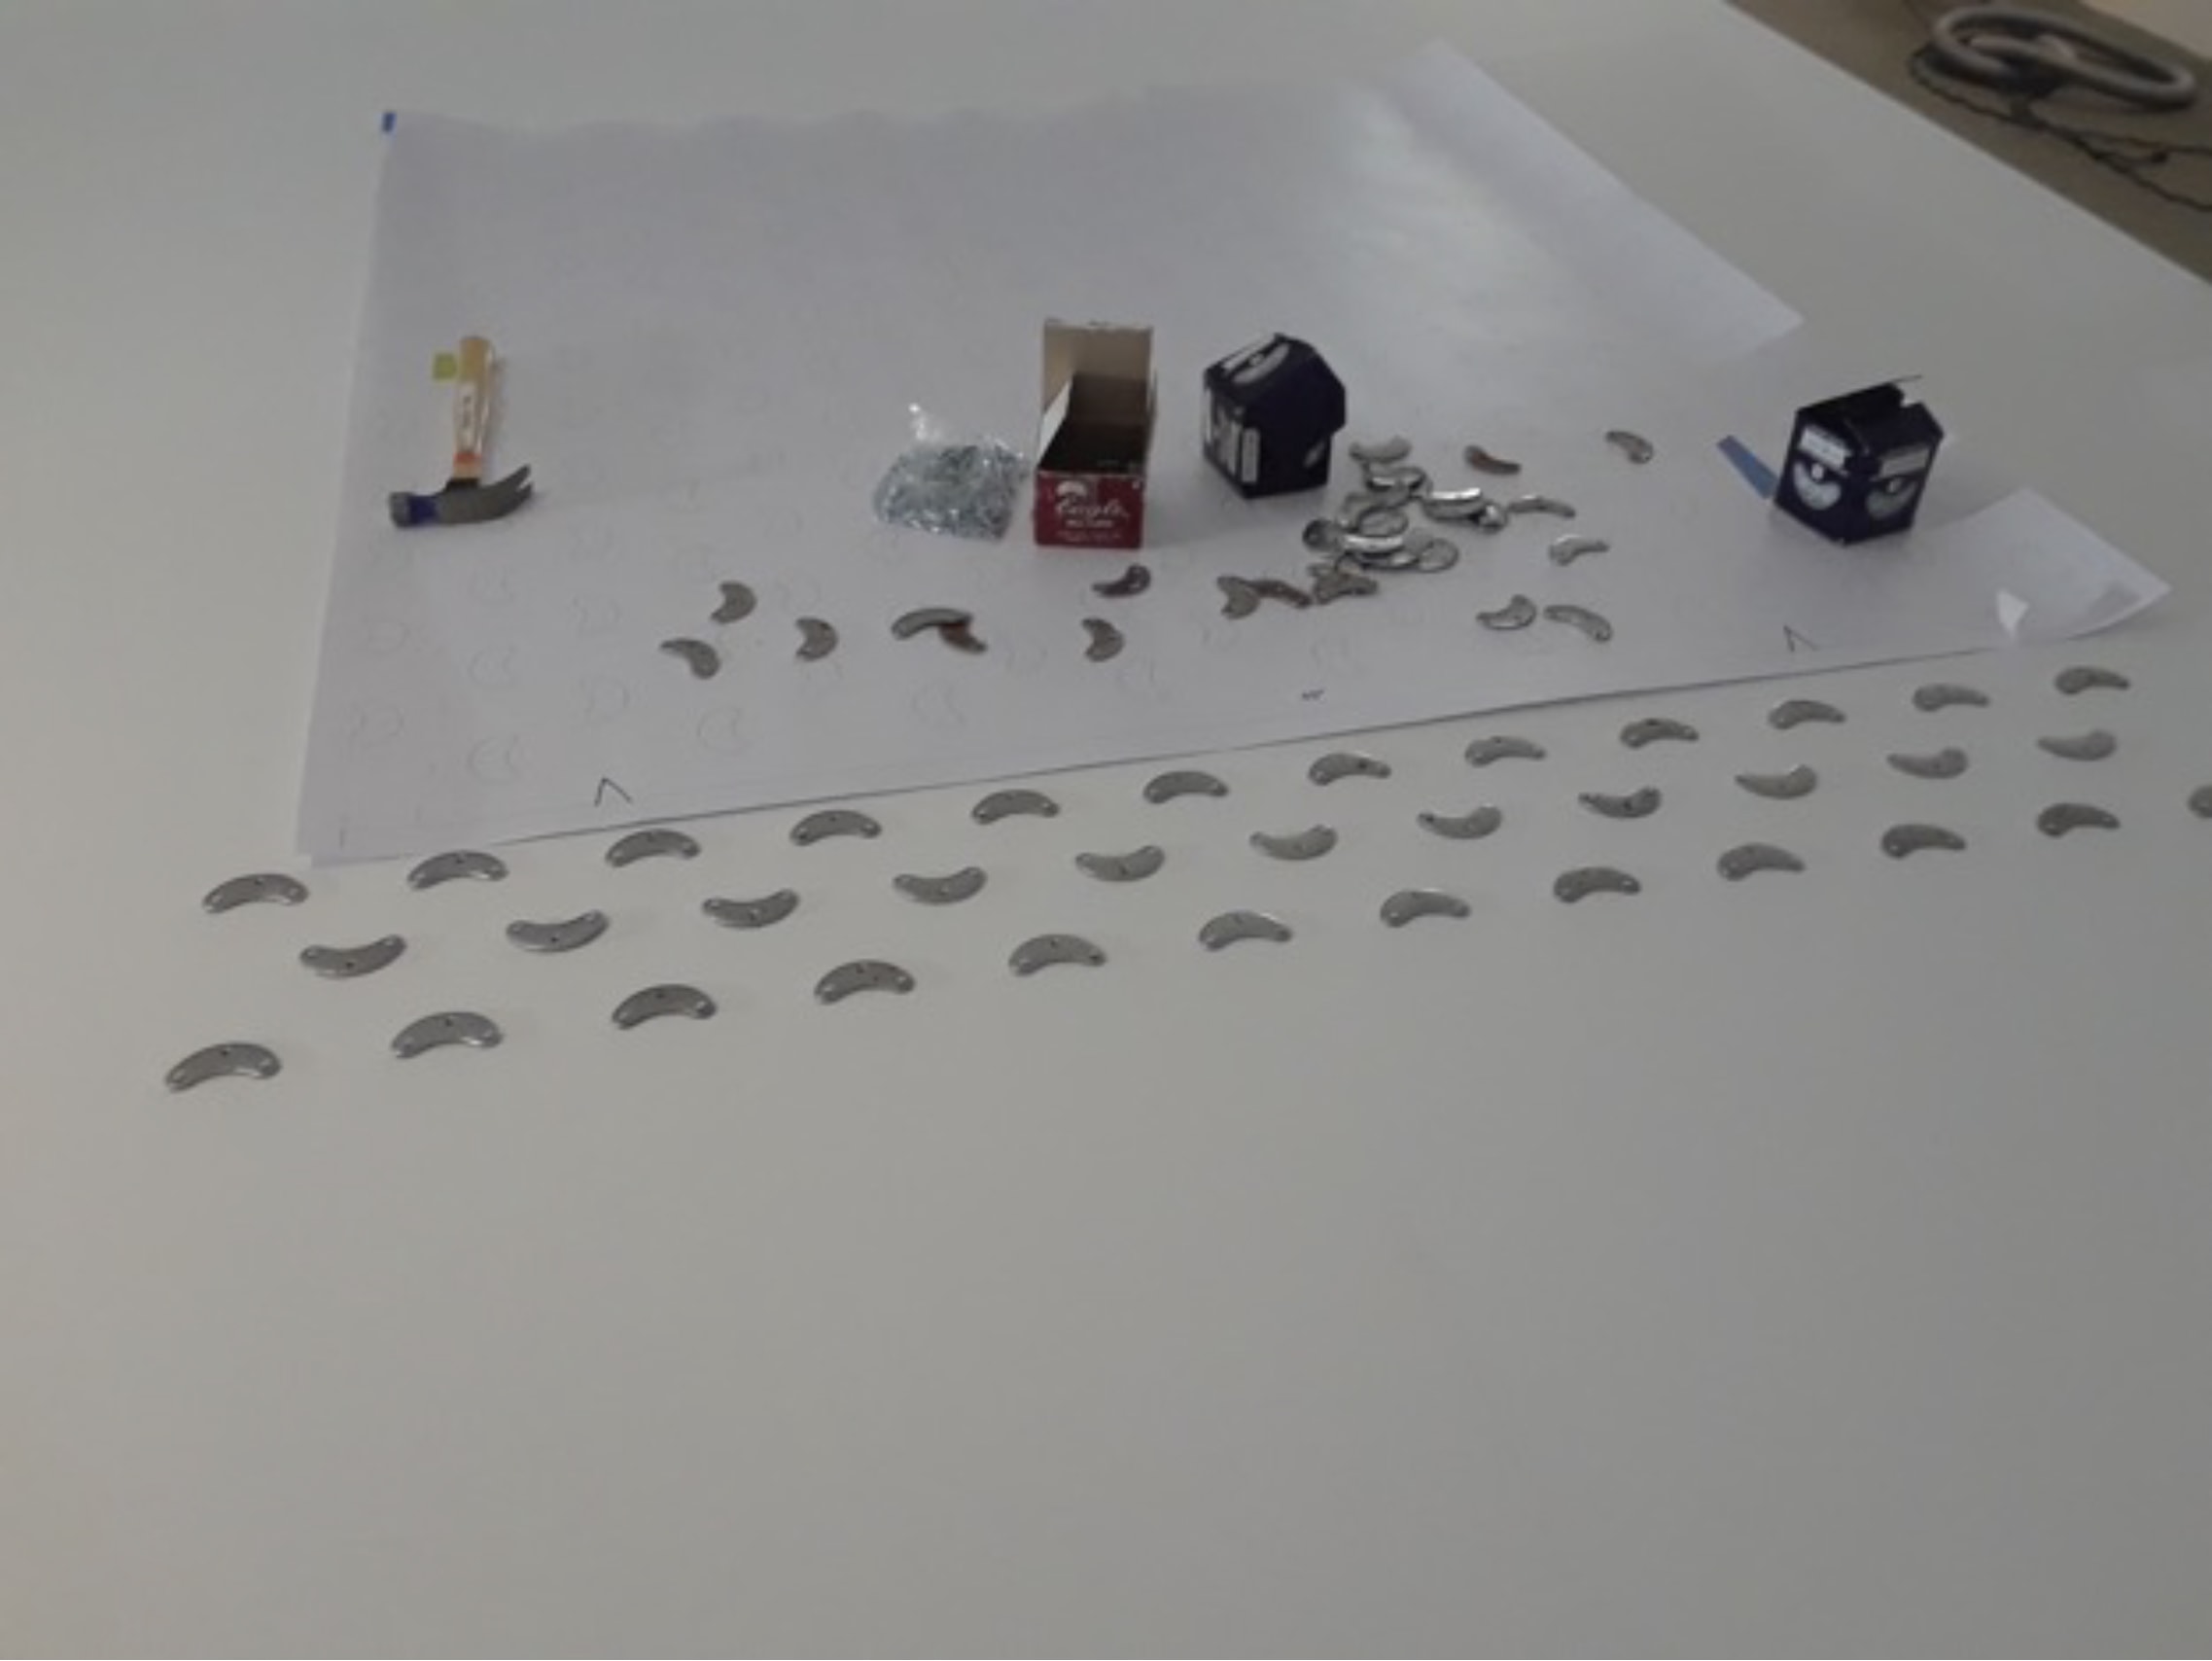
These are taps, as in tap shoe taps that would be under the sole. I think in total there were about 2,400 installed but we had a ton of extra just in case. As you can see they alternate each row.
Time to enlist some volunteers!
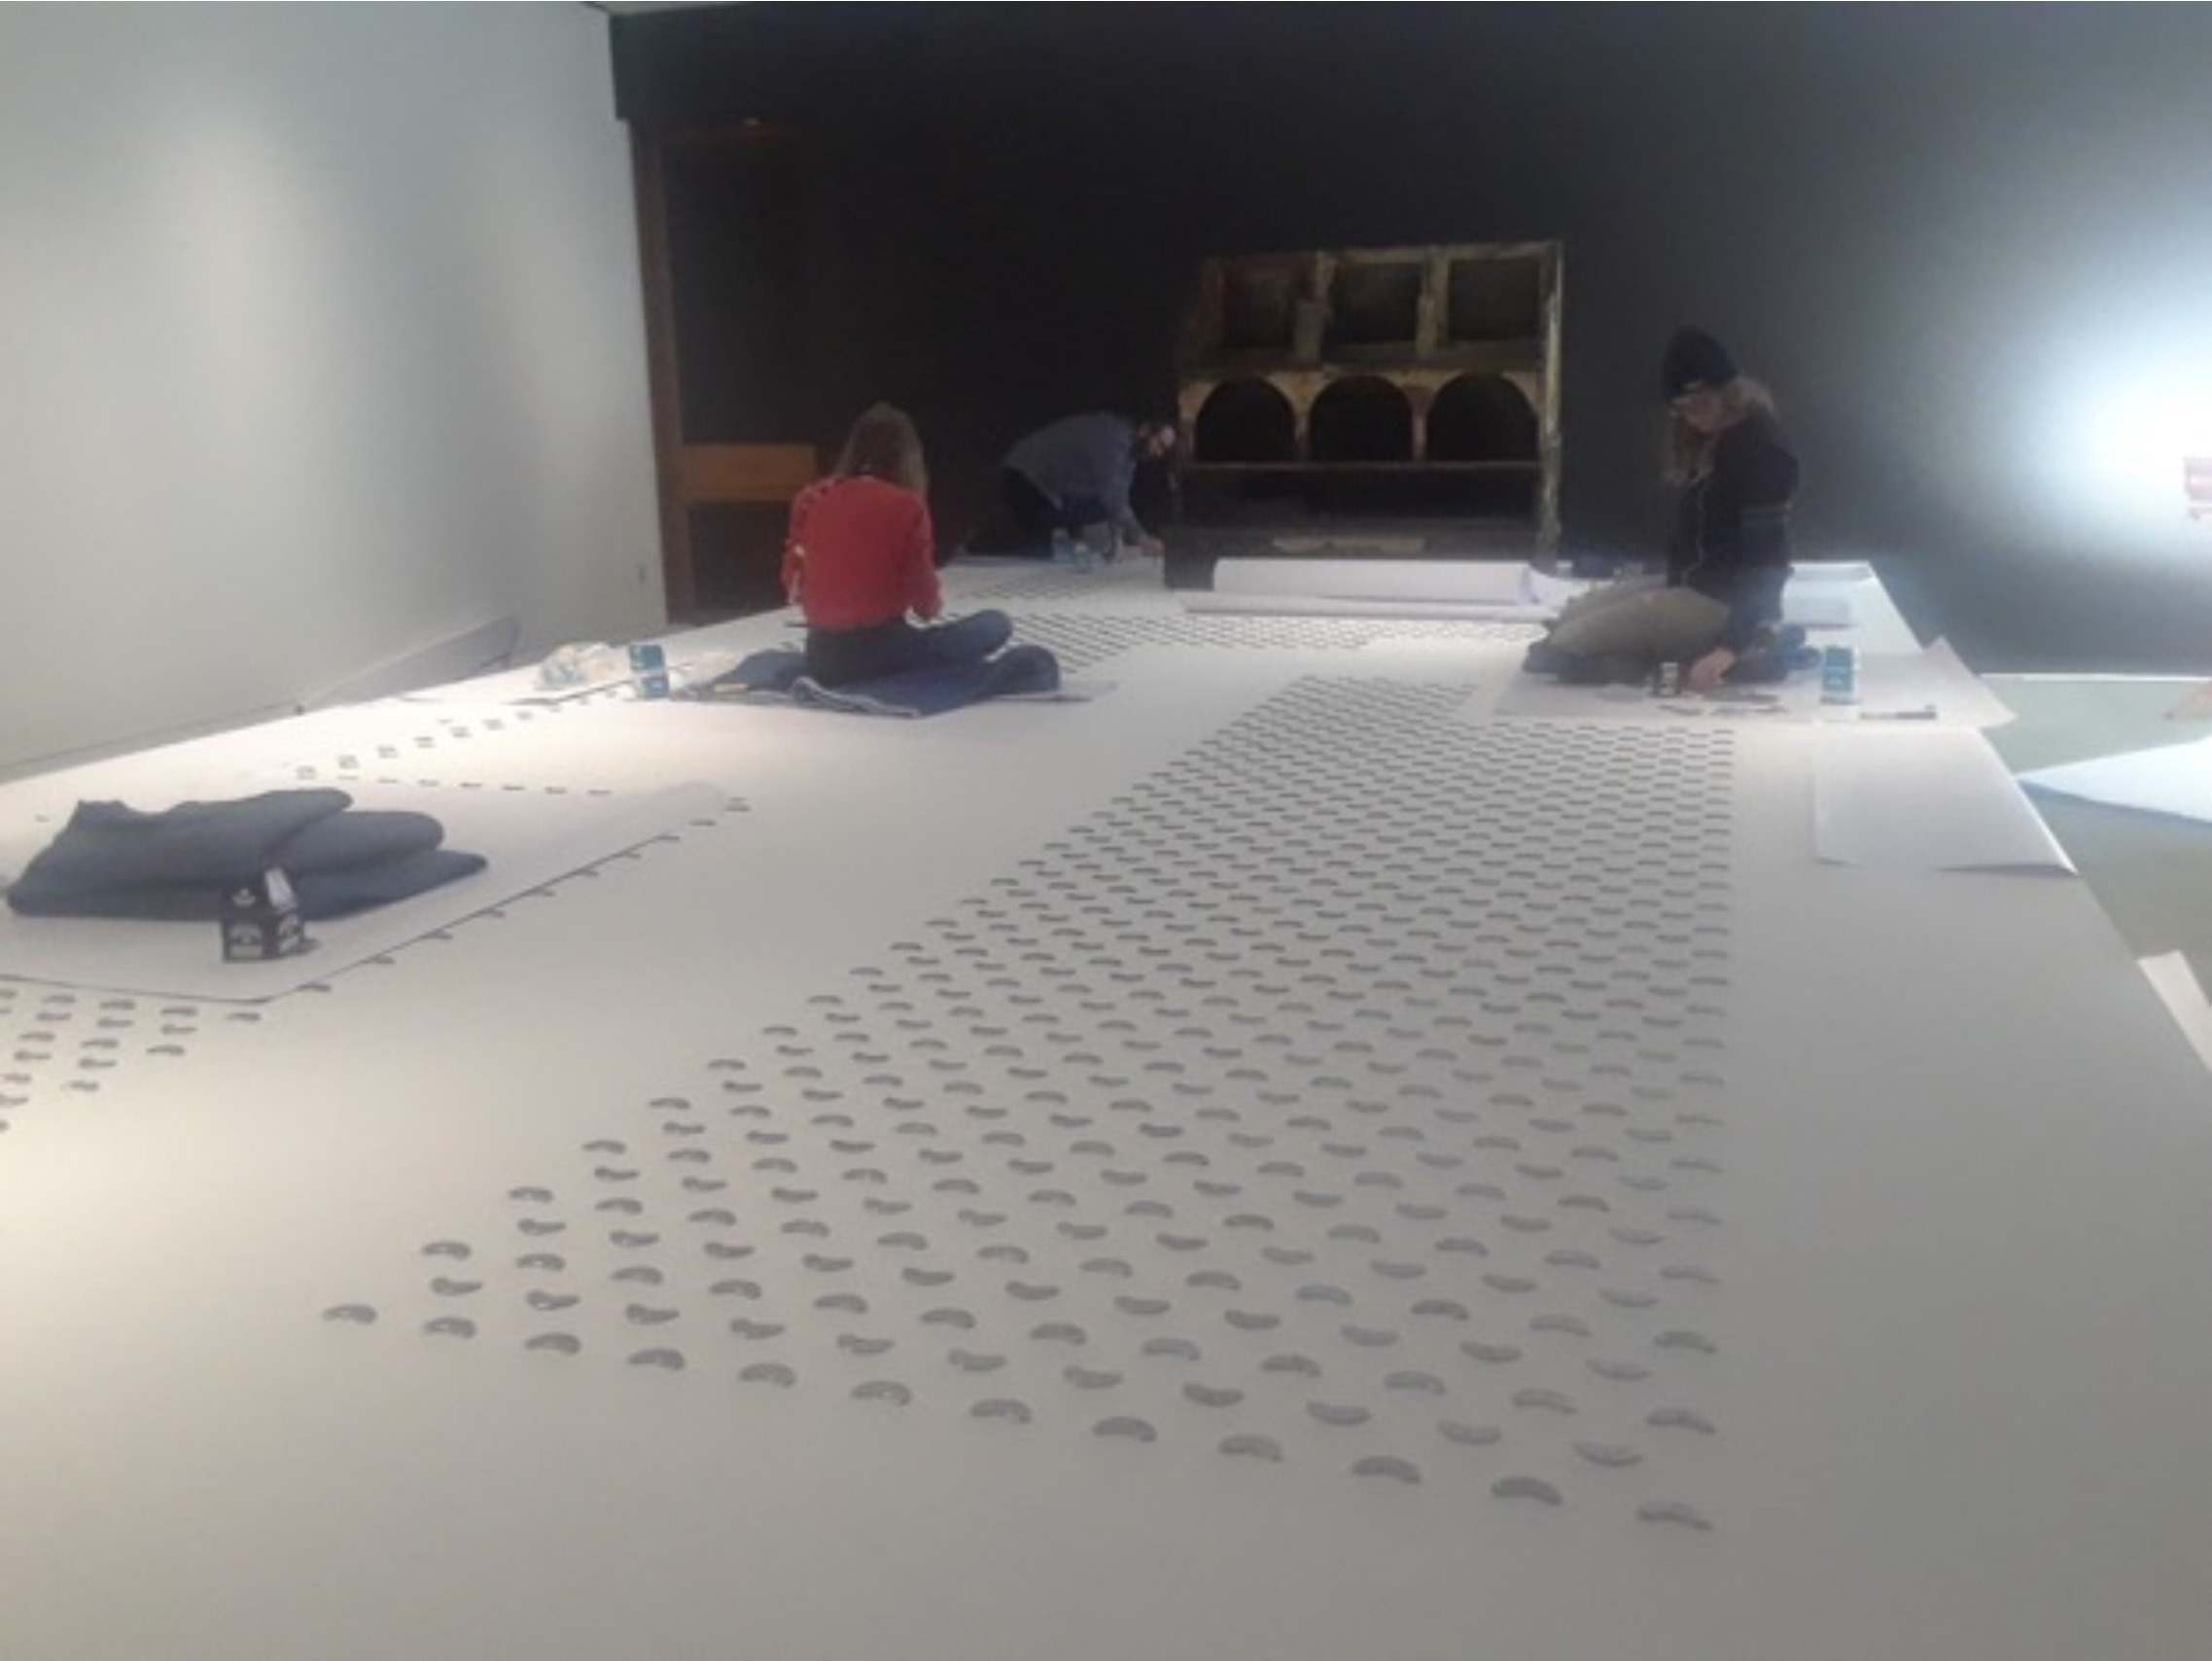
Whoever had a bit of free time was asked to come up and help out.
We used the templates to protect the paint finish and packing blankets to protect our knees and butts from getting sore.
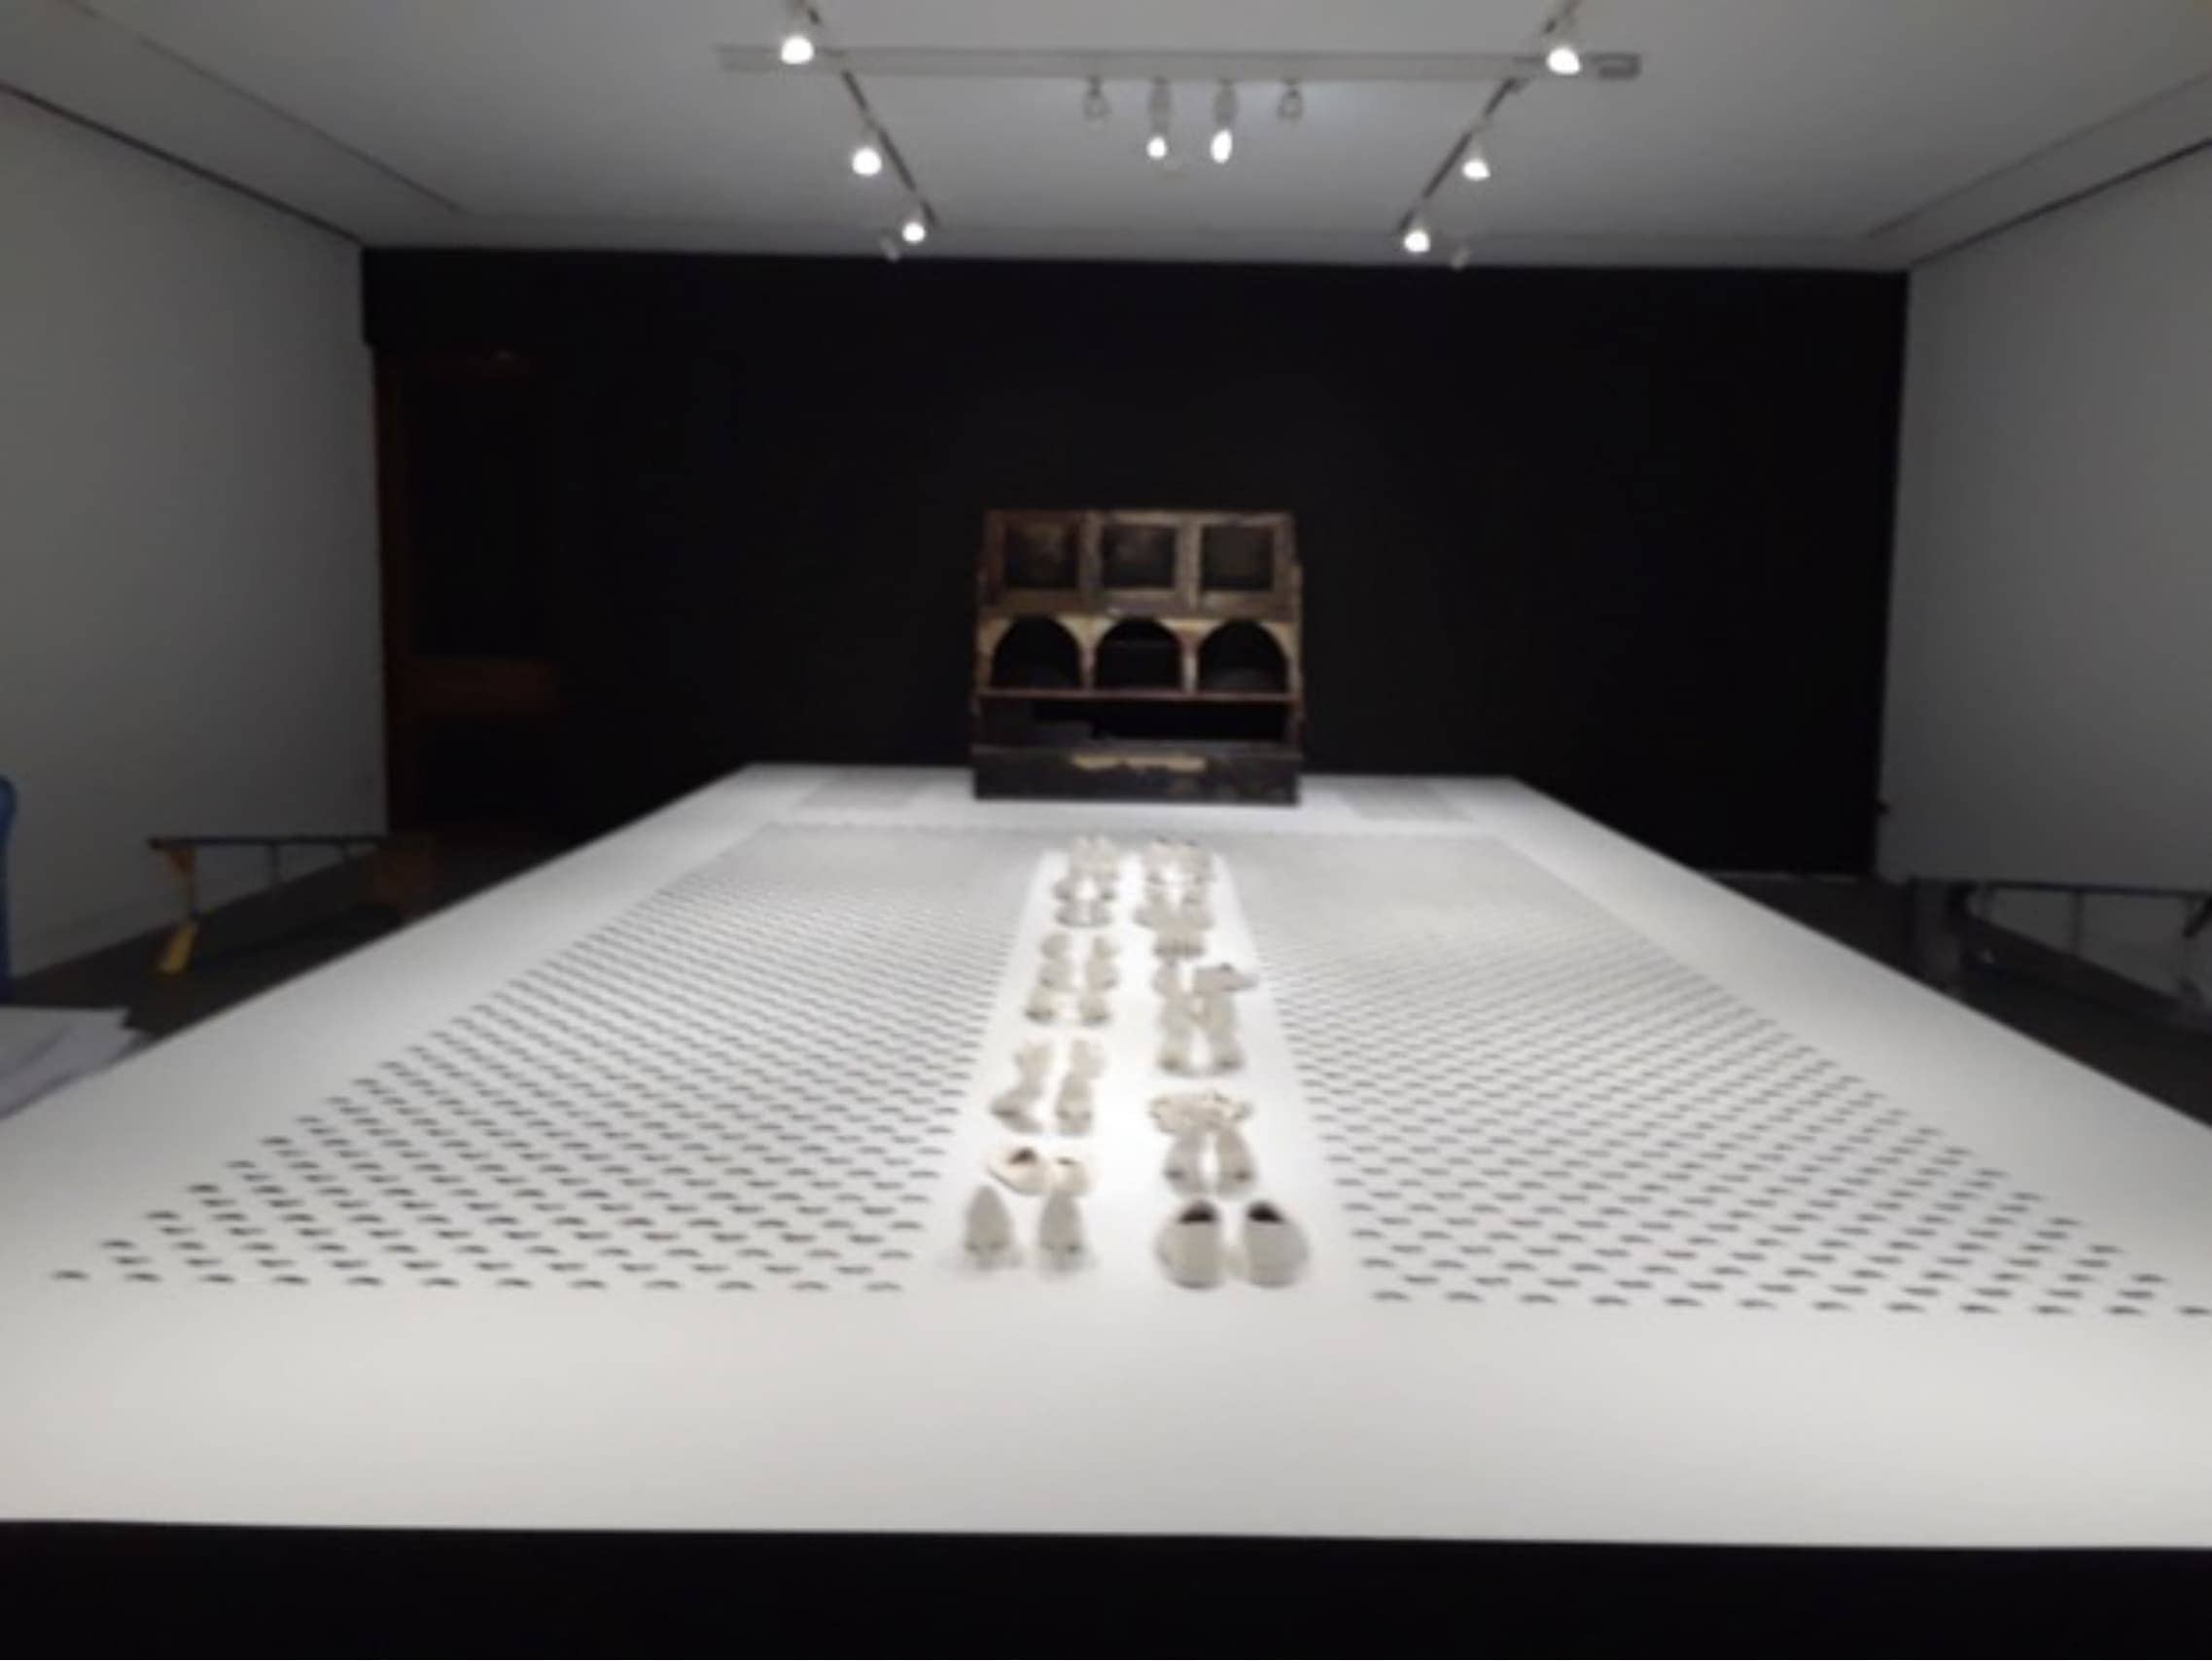
The install of the shoe shine station was another matter as it was a heavy delicate piece of furniture and we did not want to damage the deck. We used a genie lift to get it up then carefully pushed it over using slip sticks. Sorry, I have no photos of this process. Perhaps another article on its own about slip sticks? (Matt’s note: Yes please Greg. Right now I’m guessing it’s two pieces of masonite that slide on each other but placing the two slick sides together)
The symmetry of the lighting was also key and took a lot of back and forth to get it right and not damage the deck. You can see the lights are right above the deck and hard to access. I just used the leftover templates to protect the deck and a 6’ ladder to access the lights. The pictures do it no justice. (Matt’s note: as usual right, generally no one outside our install truly appreciates the magnitude of our work)
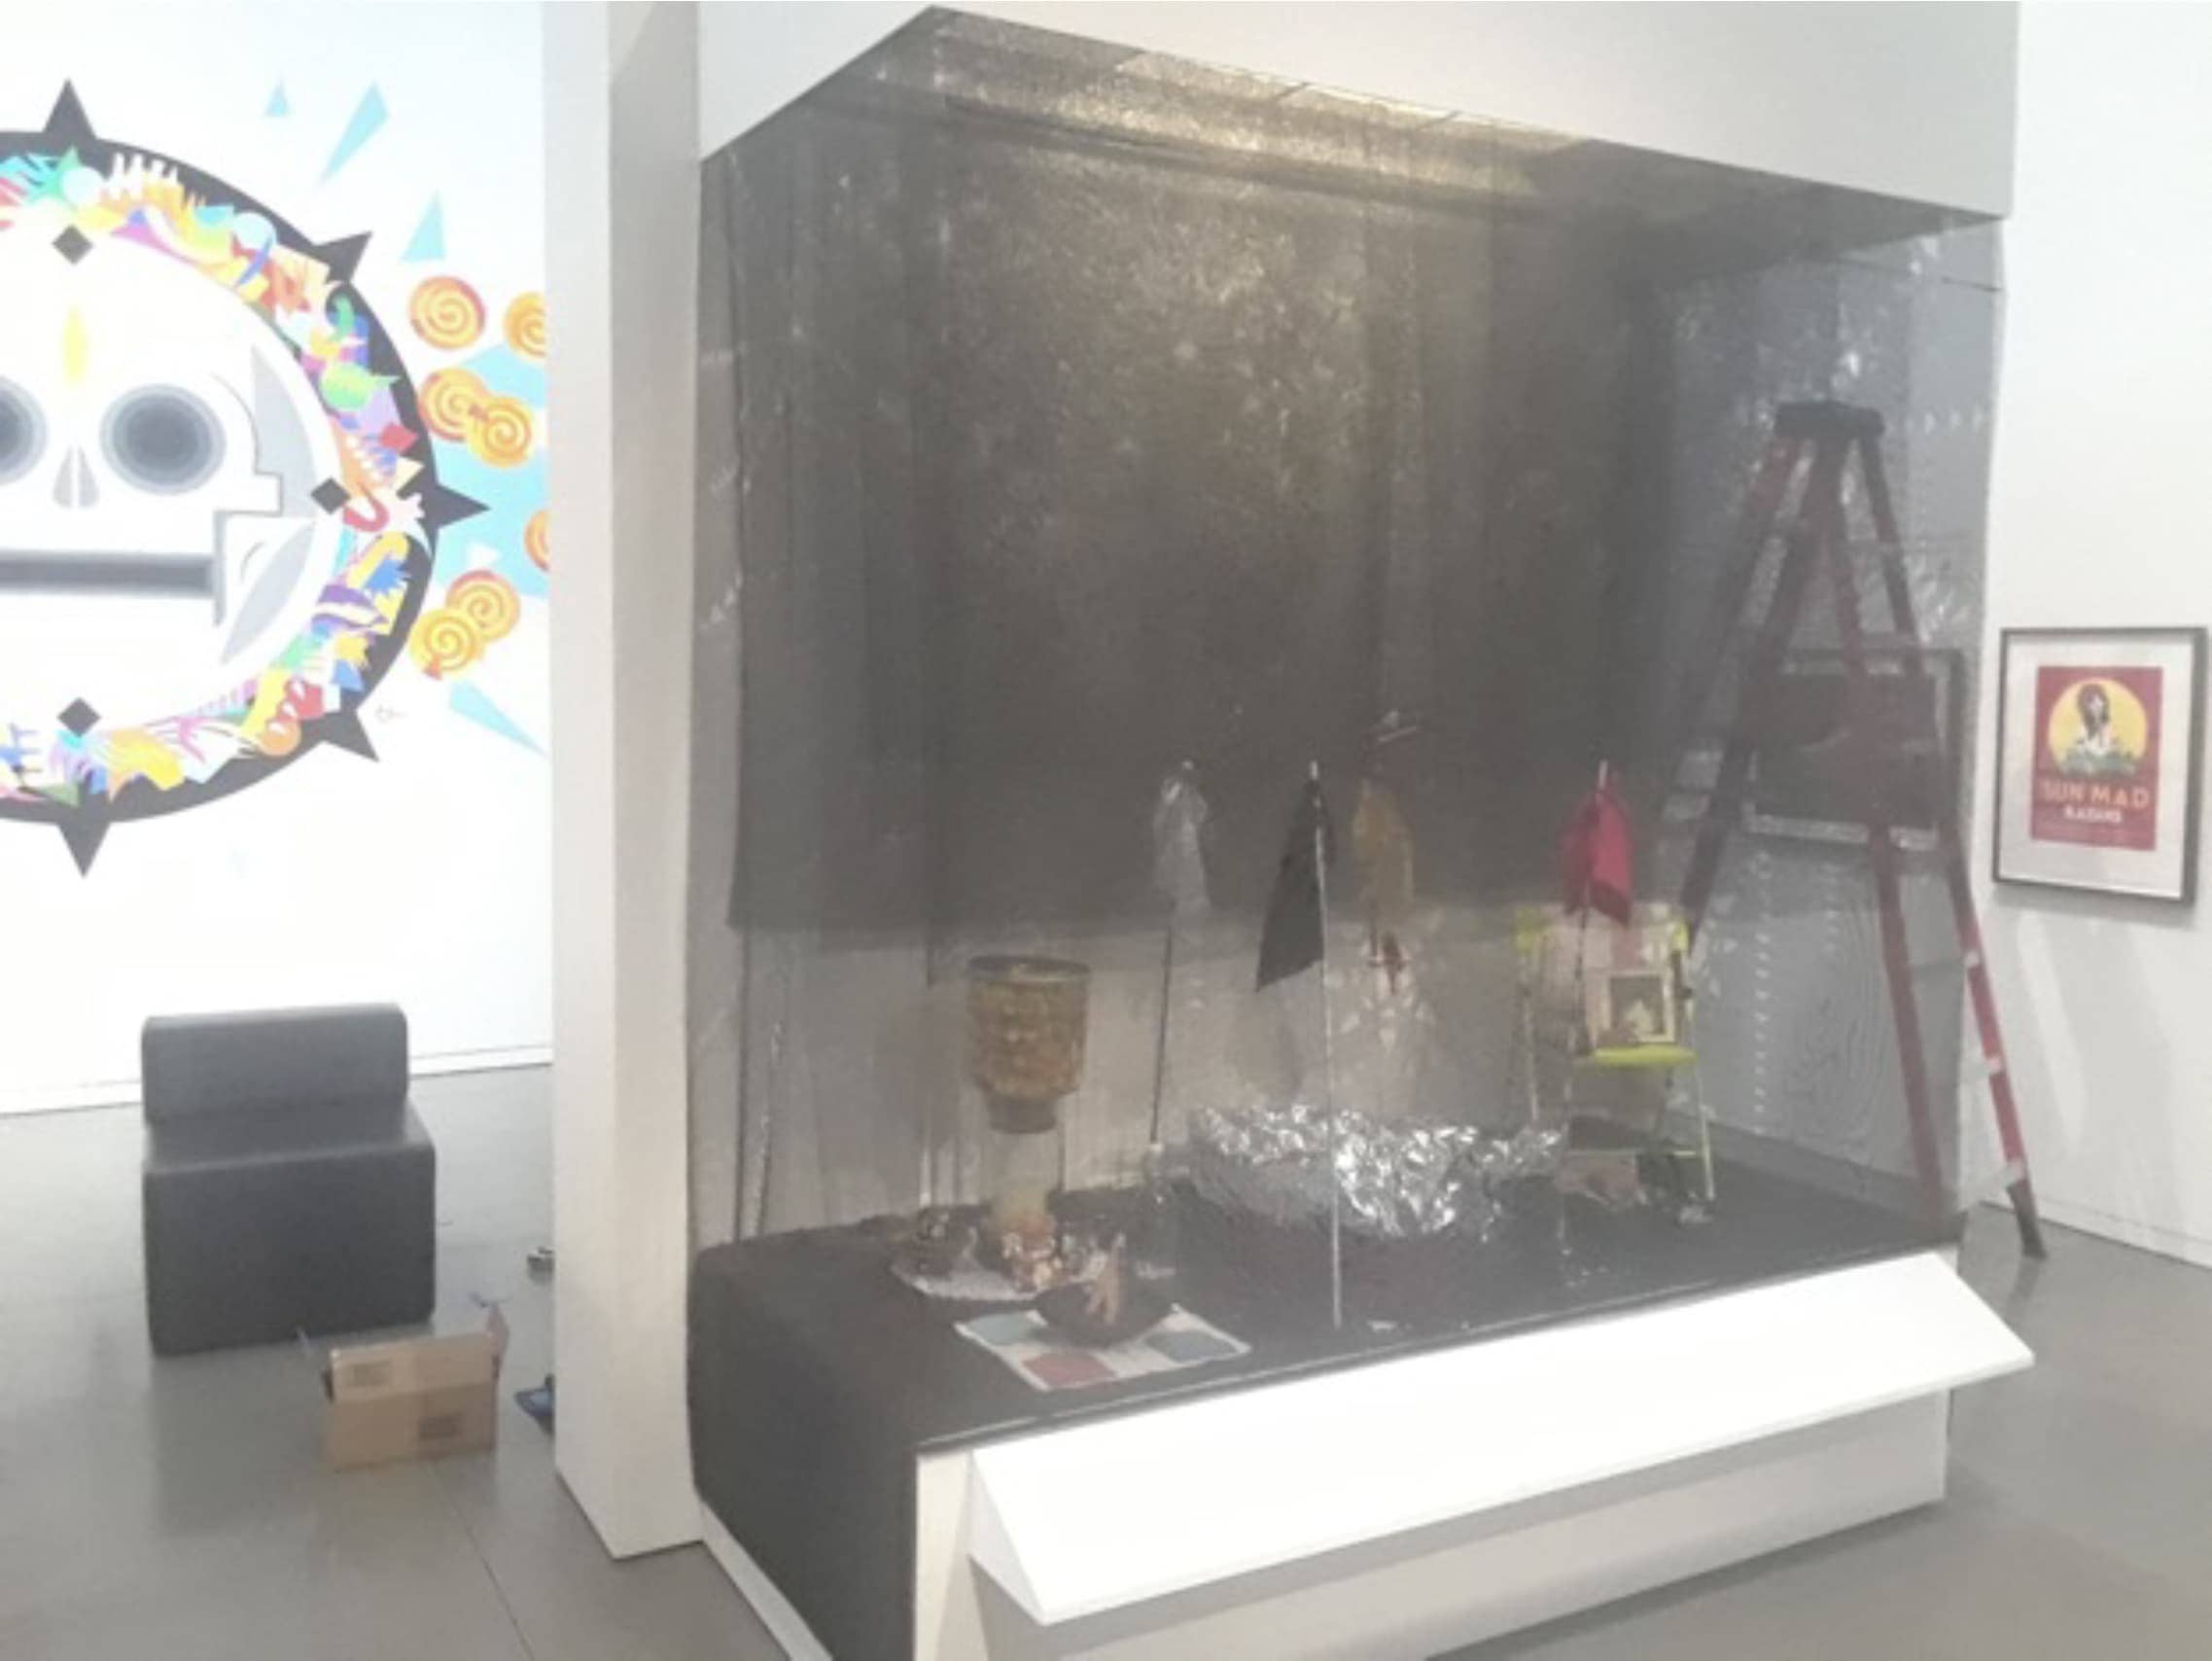
Reuse Projects
ALTAR
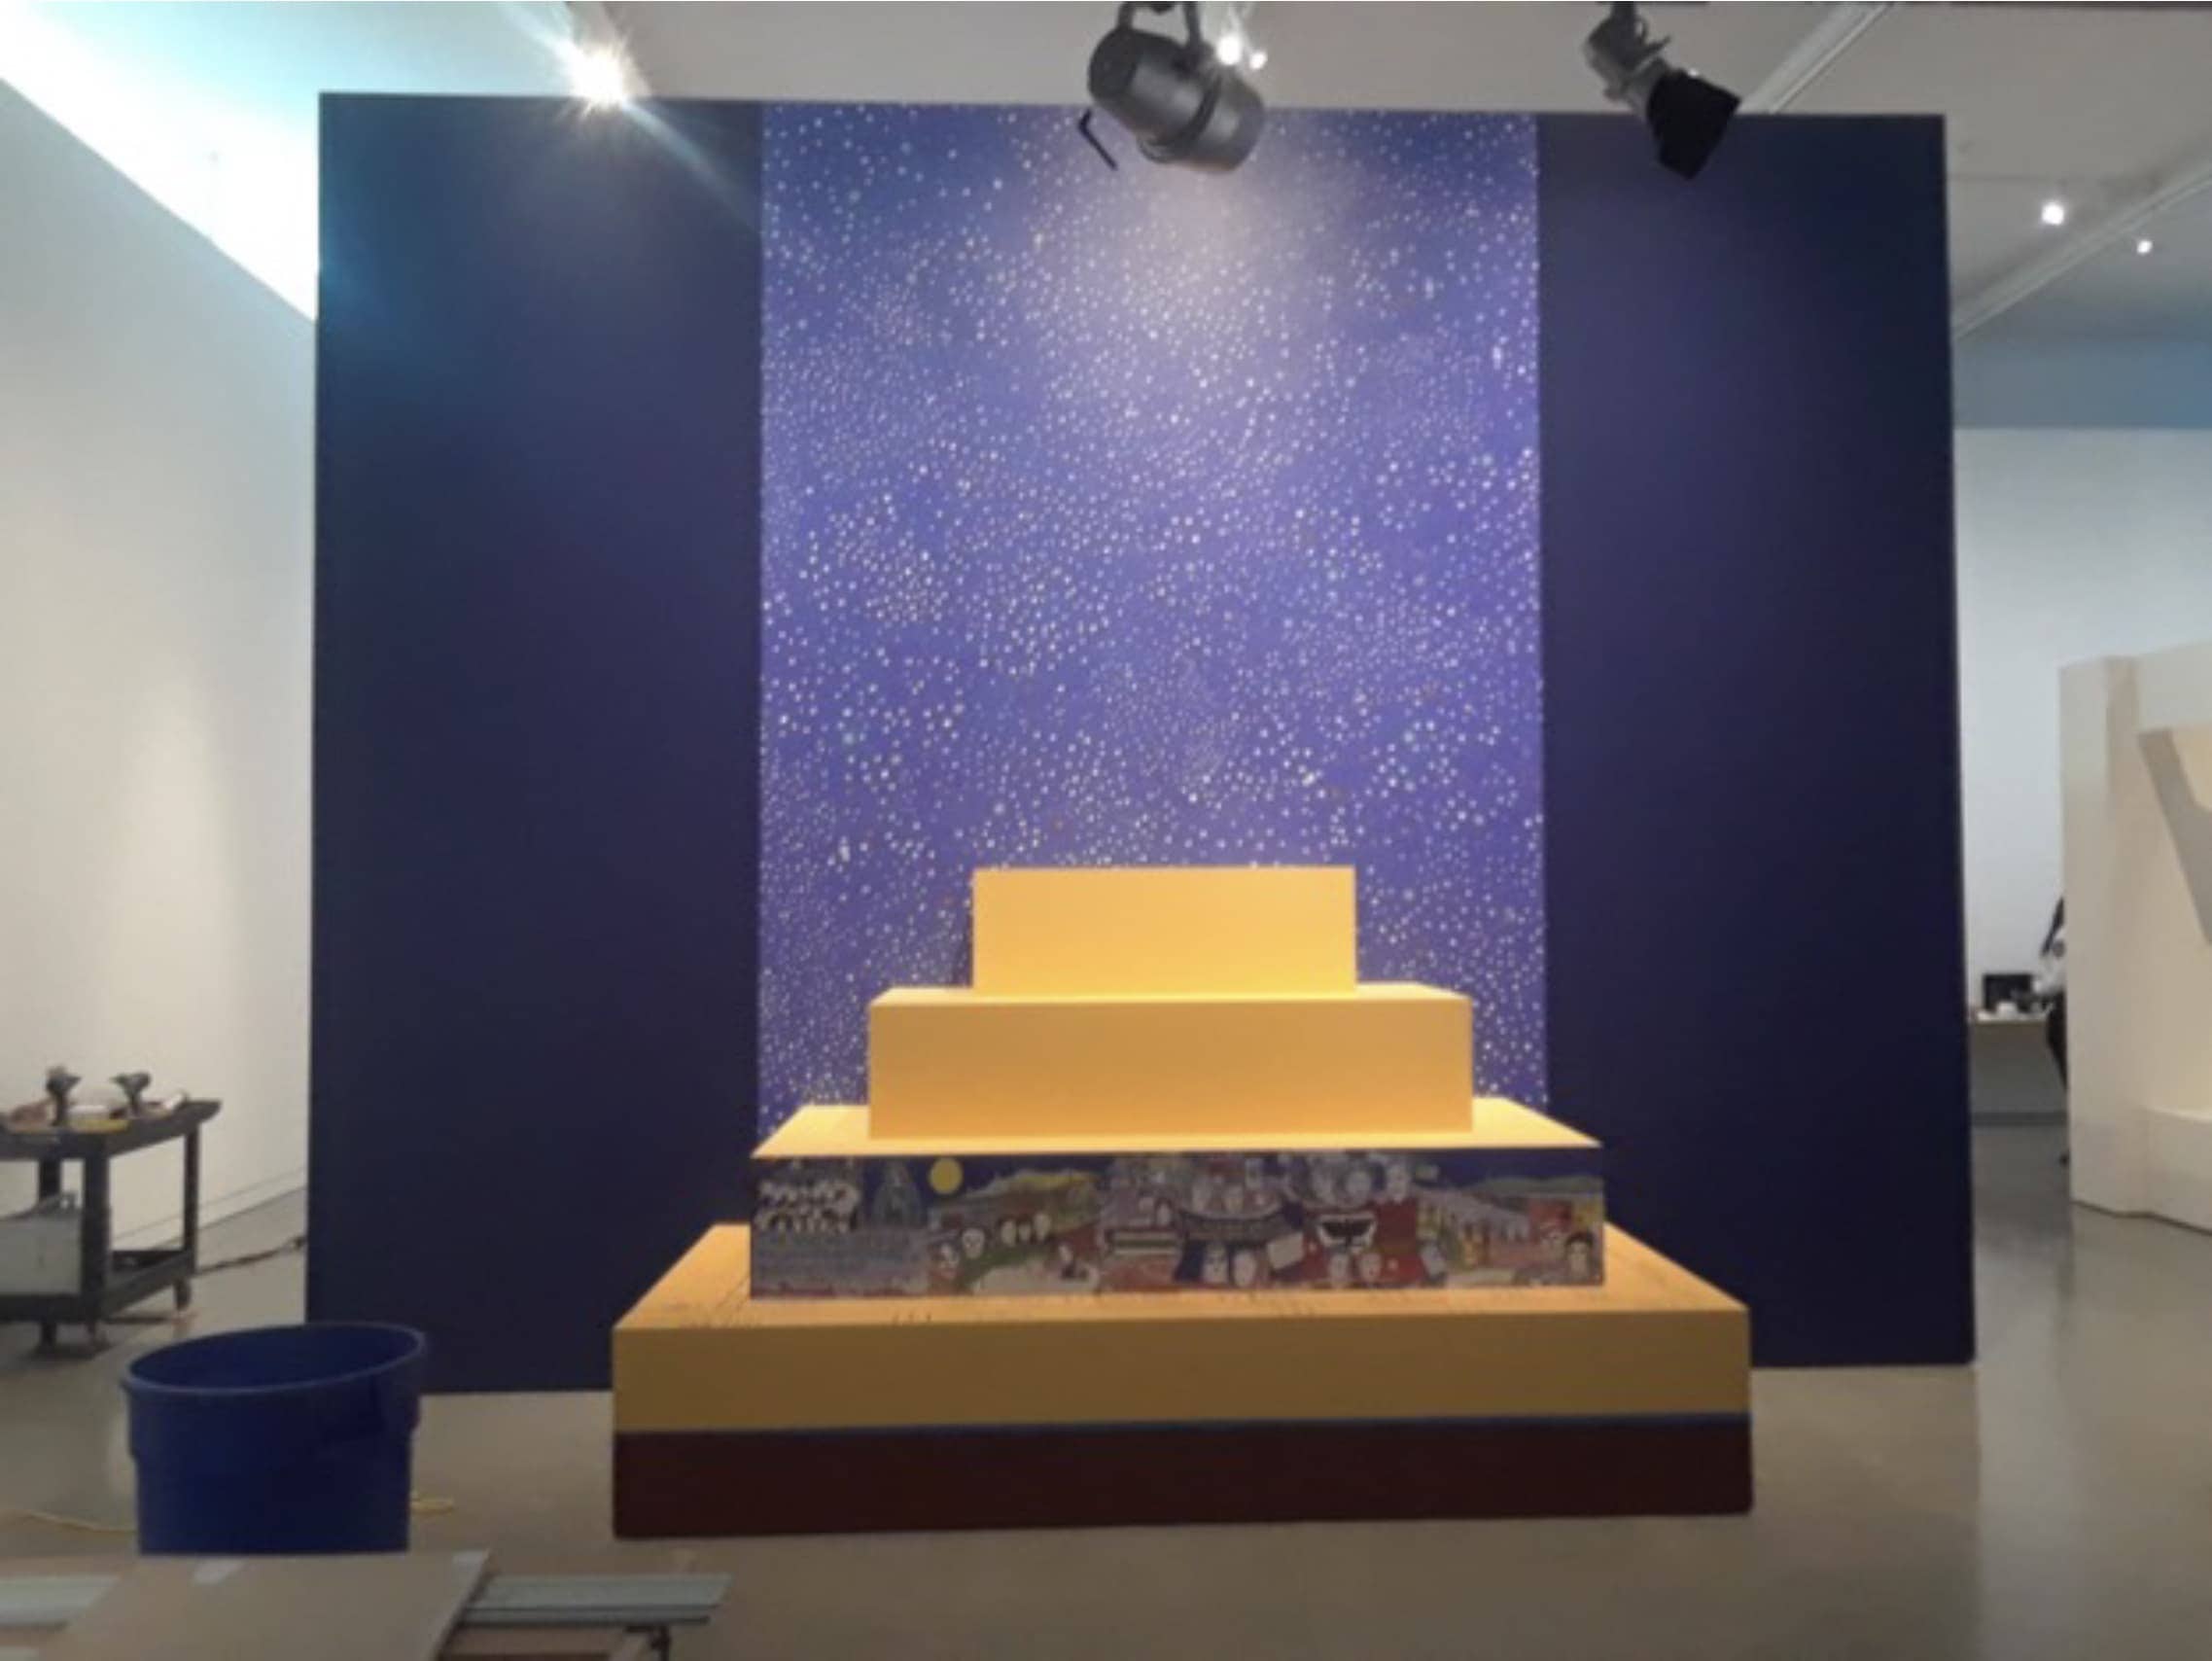
Once we deinstalled this exhibition, we reused the material to create a new deck, a pony wall, and altar, and an angled deck for the following “Dia de los Muertos” exhibition. I worked with the designer in advance to make some of the elements of the show the same heights as the “Taps” deck.
This cantilever free standing altar was a challenge. We had about 300 pounds of weight inside the wall. Then worked with our builder to design a lightweight cantilever that would be strong and not make the thing top heavy. The lower deck was built from the “Taps” frames and helped give the whole thing stability.

PONY WALL
Design rendering for pony wall.
Laying the pony wall out using the frames from “Taps” for the pony wall.
BOTTOM DECK
We also used the frames to build this bottom deck.
The top tiers were built specifically for this altar.
ANGLED DECK
The reuse of these frames made the building fast and easy, which was crucial because we had a larger exhibition being installed at the same time in another gallery and our staff was worn thin.
Matt’s Notes:
Thanks Greg, that was a ton of work in the galleries and a lot of work to bring this to the community. You’ve created the Lego for the art handler and art preparator world. Many of us find ourselves out in the shop cranking out site specific or custom exhibition furniture. Thinking about reuse ahead of time could save us time in the long run and perhaps use less materials. Given the cost of ALL materials in the midst of COVID-19 this concept is more important that ever.
How are you making double or triple use of expendable materials in your museum or gallery? No matter how small or large the savings has been for you, please share it with the MuseumTrade community today! Your ordinary is someone’s epiphany.
[/vc_column_text][/vc_column][/vc_row]
Leave a Reply
You must belogged in to post a comment.