What makes being an art preparator, museum technician, art handler so much fun is solving problems and puzzles in not enough time. This was a fun and weird one that I solved, but not with 100% satisfaction.
PREPARATION
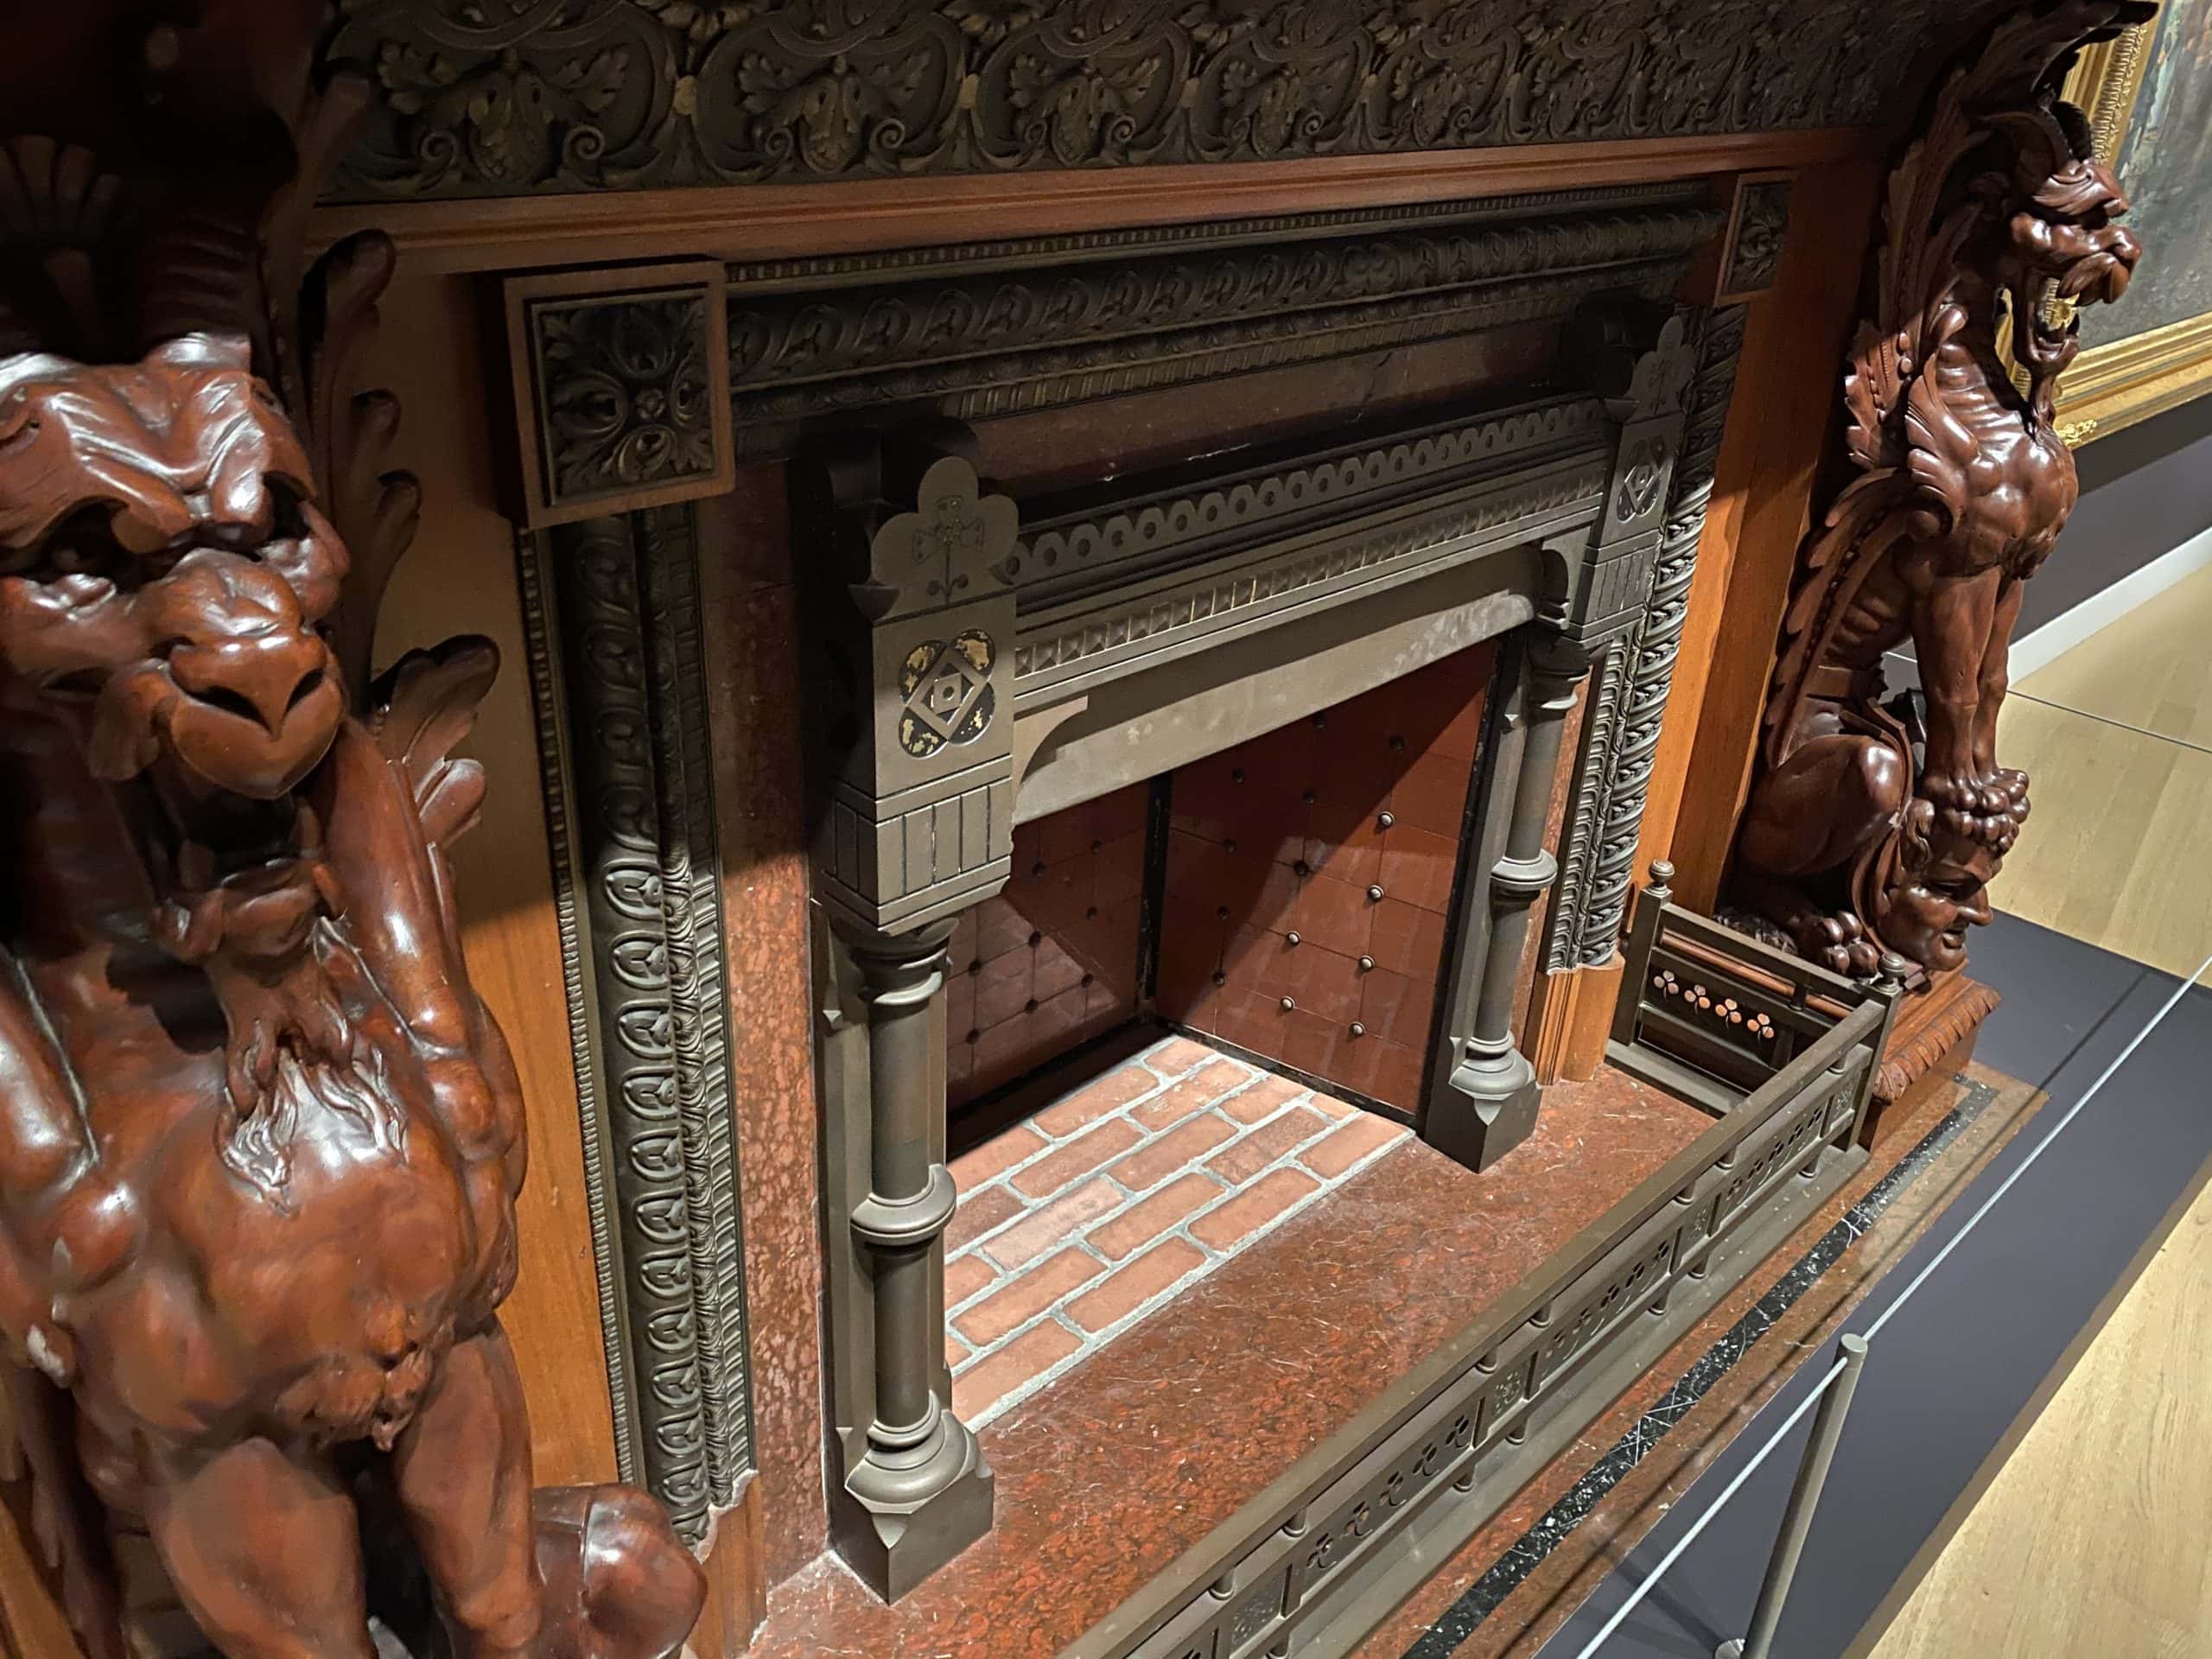
So why would we need faux brick in the first place? We were being offered a set of furniture, commissioned by the Flood family, from someone selling his home. Time was short, we knew the place would sell fast in the San Francisco Bay Area. We employed Ship Art International to go investigate. It took A LOT of work, but those art handlers were able to pry it out of there (without having to pull the side of the house off, which seemed to be on the table for about 12 hours). There’s so much more to that part of the story, but I’ll save that for another time. The moral of the story is that all of this happened very fast.
The time we had to make the space ready was very short. We ended up taking the opportunity to give the entire space a new paint job, all of the 22′ ceilings! Additionally, we raised the central wall up 4.5′ (1.37 m) and we had to cut a hole into the wall to make room for the fireplace, which happened to be right where a major structural beam ran through the building. If you come see this and you pull your tape measure out you’re not wrong, the fireplace is off by one inch because of this beam.
IDEAL
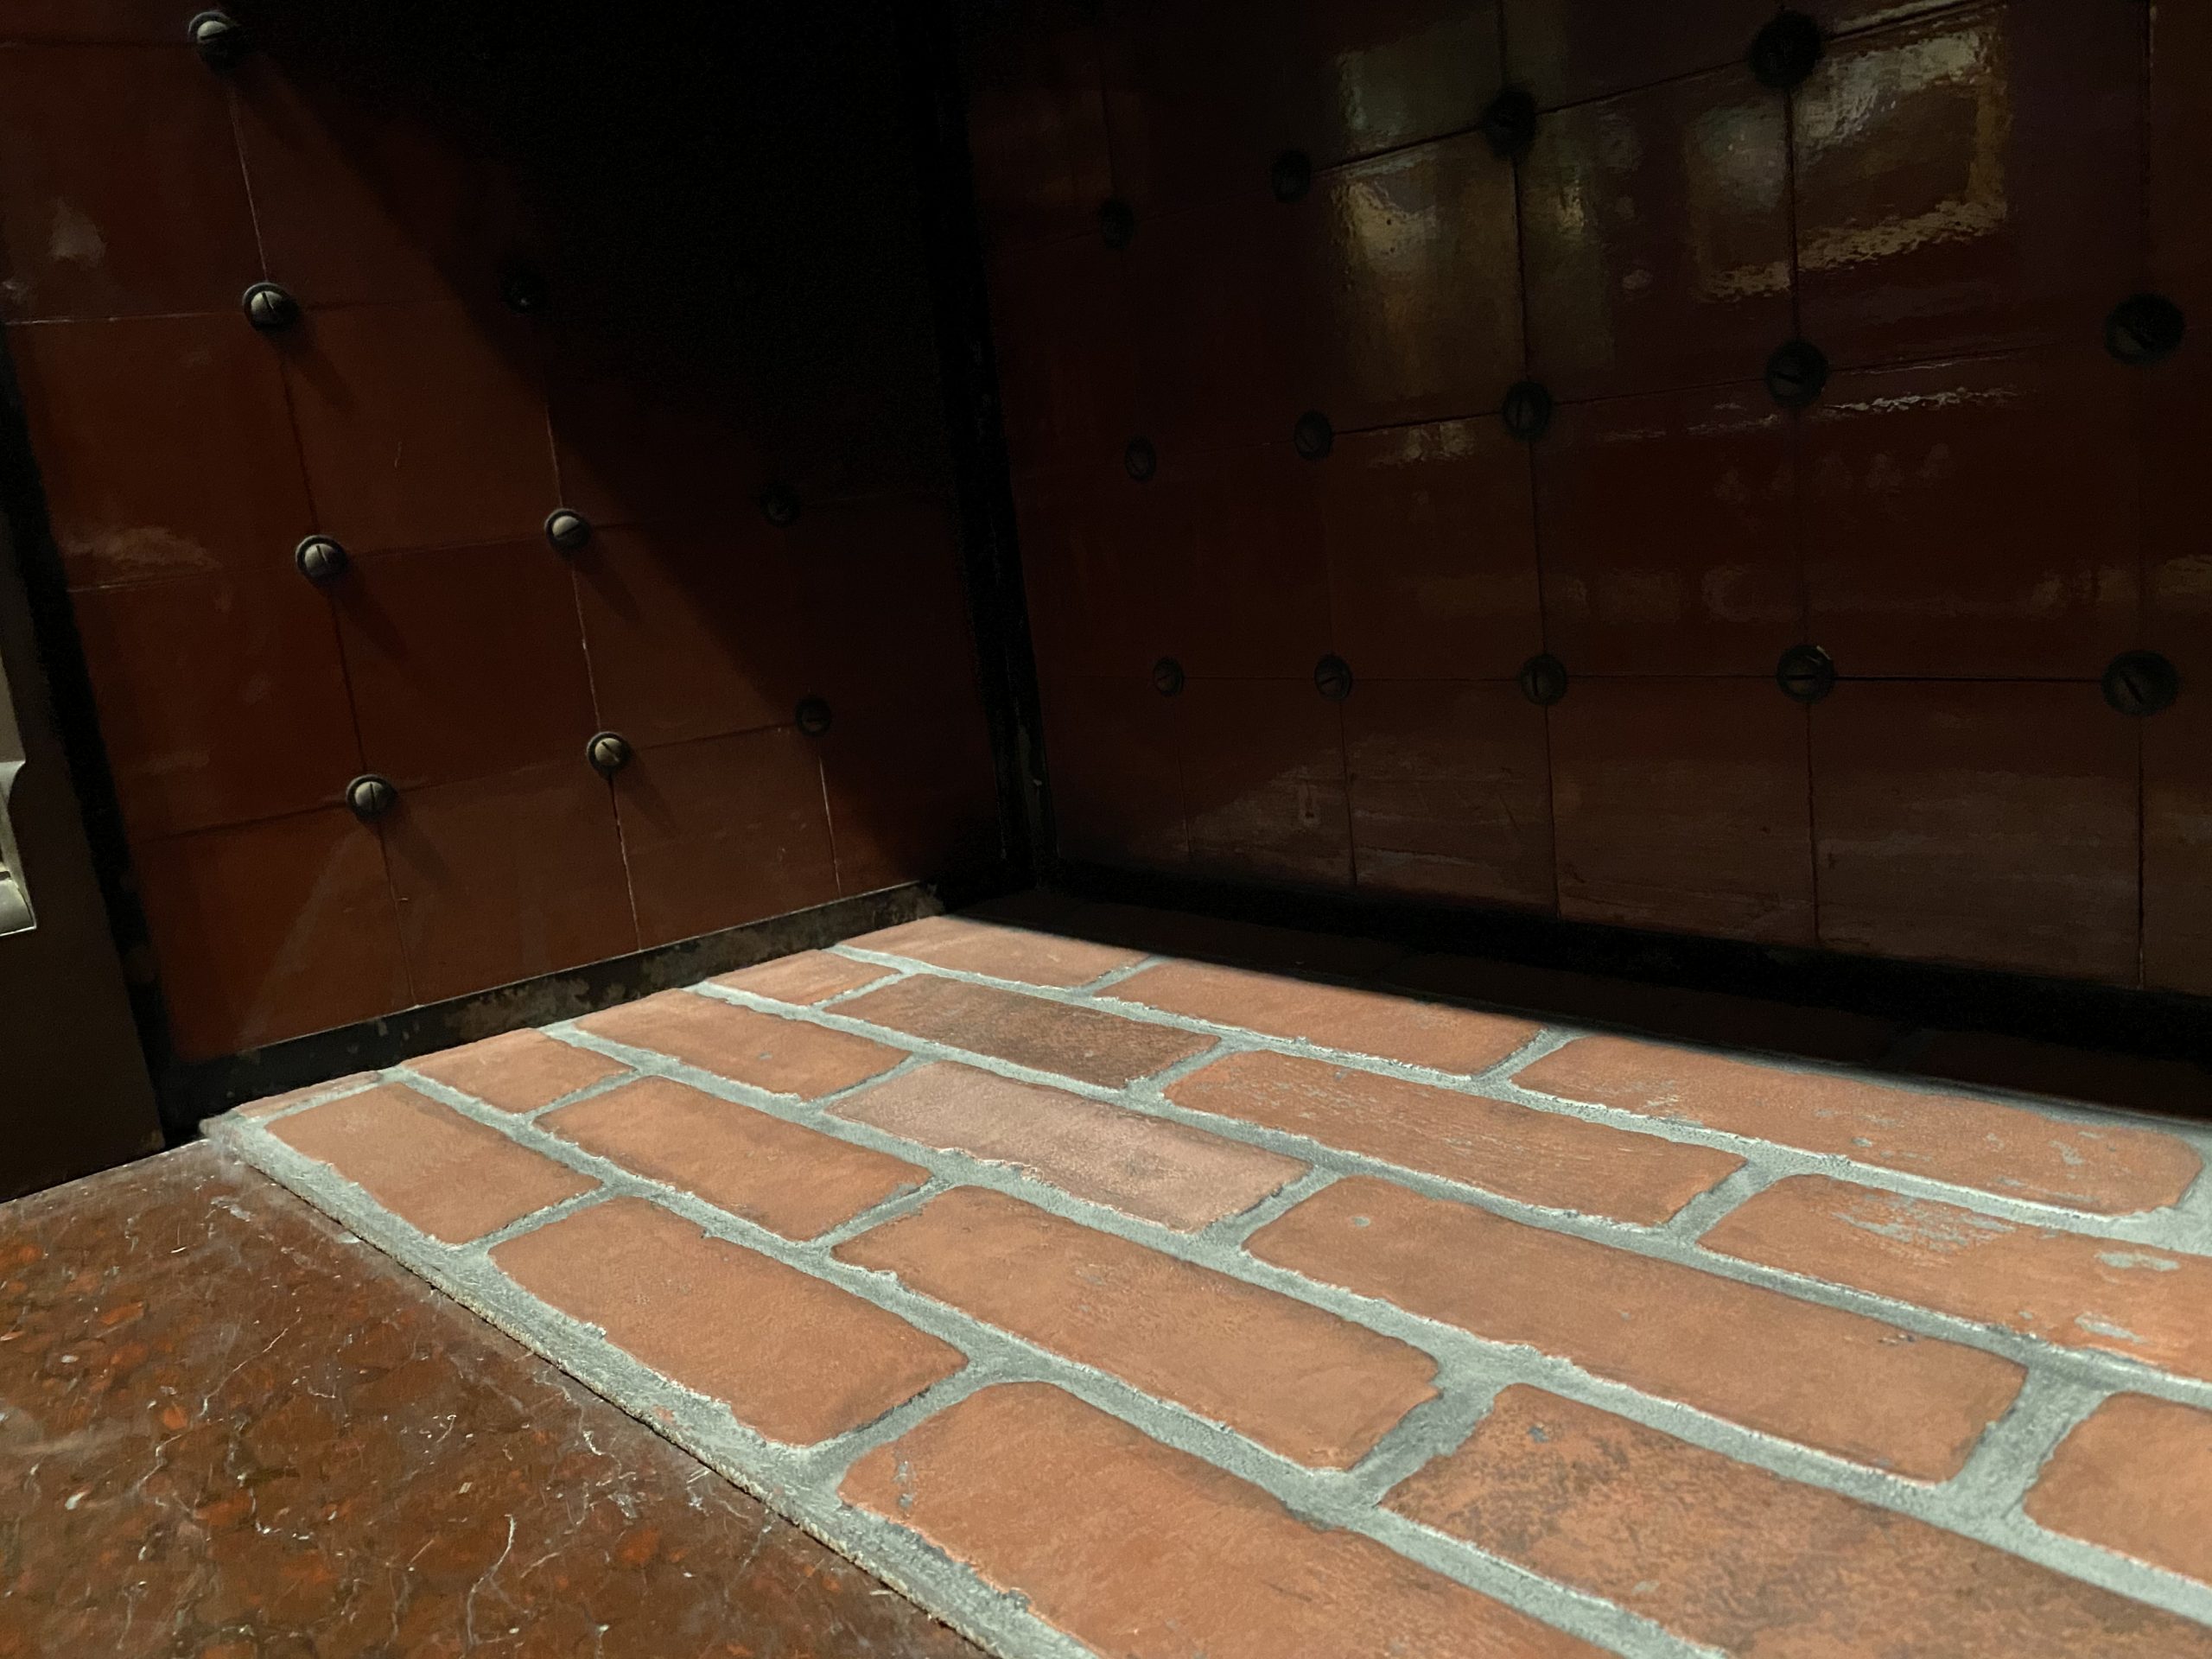
We heard small brick was used, but never had a sample to work from, I searched the net for a real mini brick supplier, but couldn’t find the right item. It was either way too small, the wrong color, or wasn’t in stock. We kept our hopes up to find the ideal supply for this job, but it never came so I had to pull the rip cord on out back up: Faux brick paneling from a building supply warehouse. If you looked at it in the store, you’d think no way this is going to look believable. So I set to work, making it look as good as it possibly could.
ITERATIONS
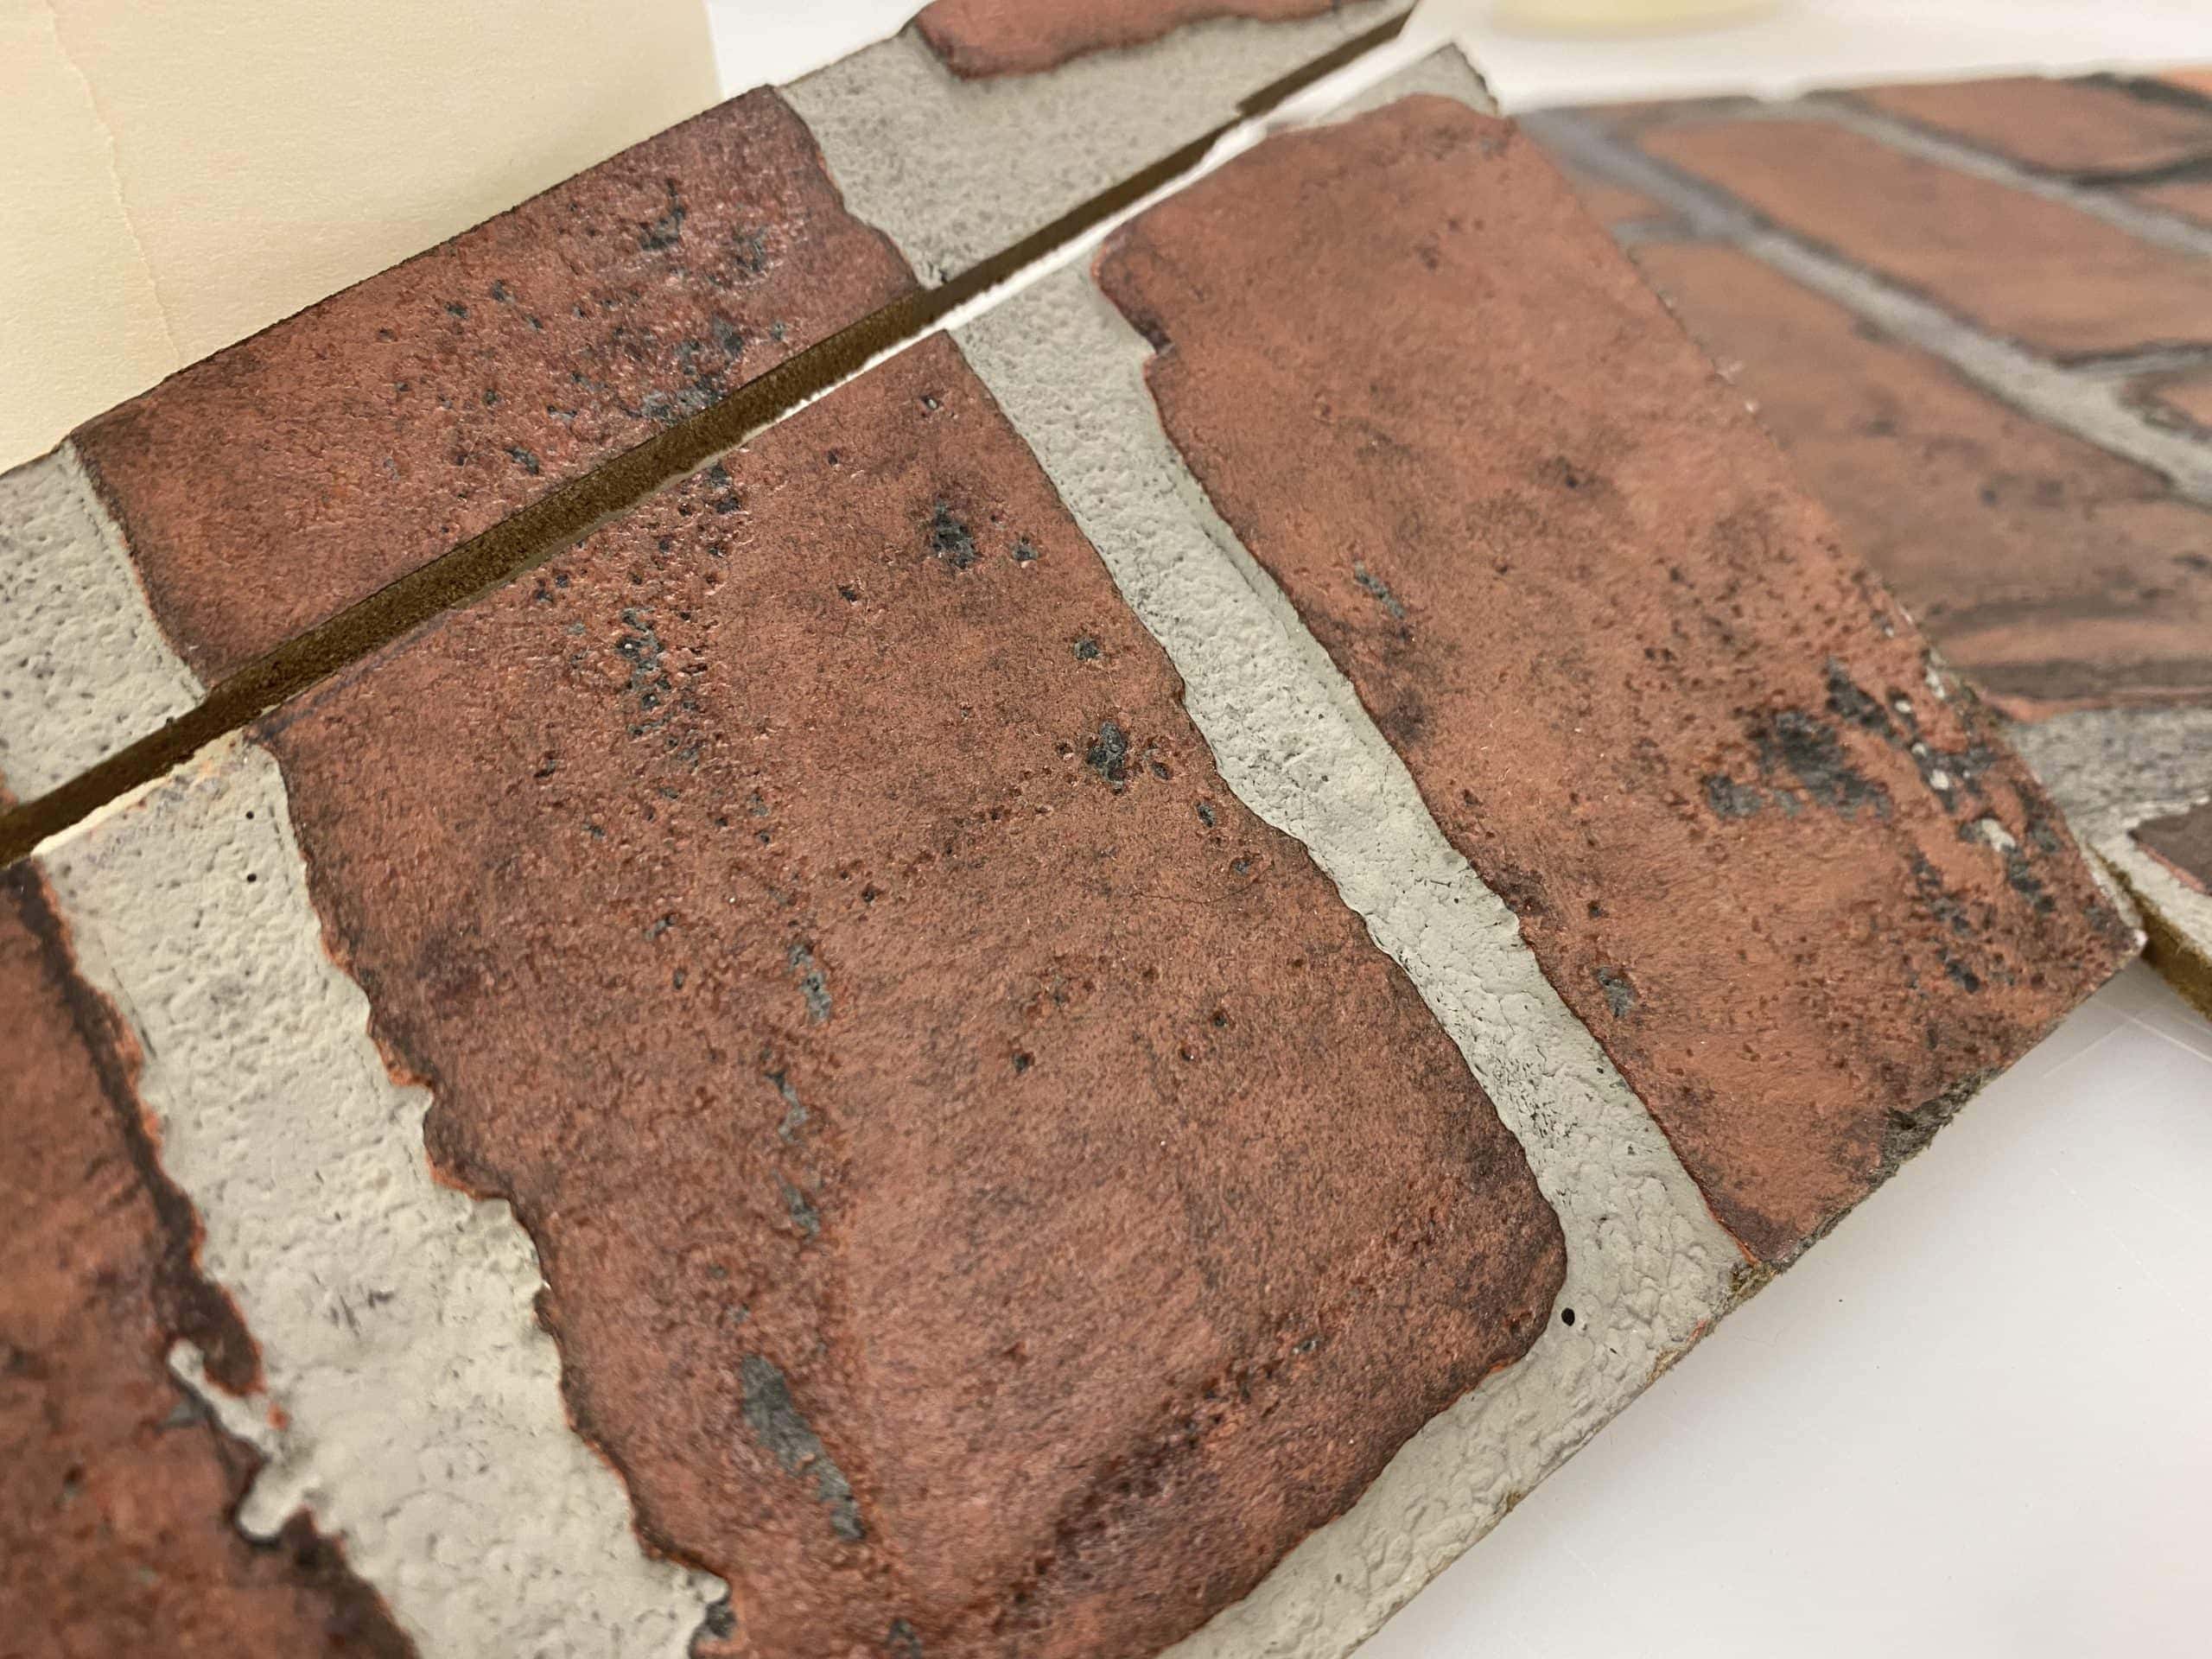
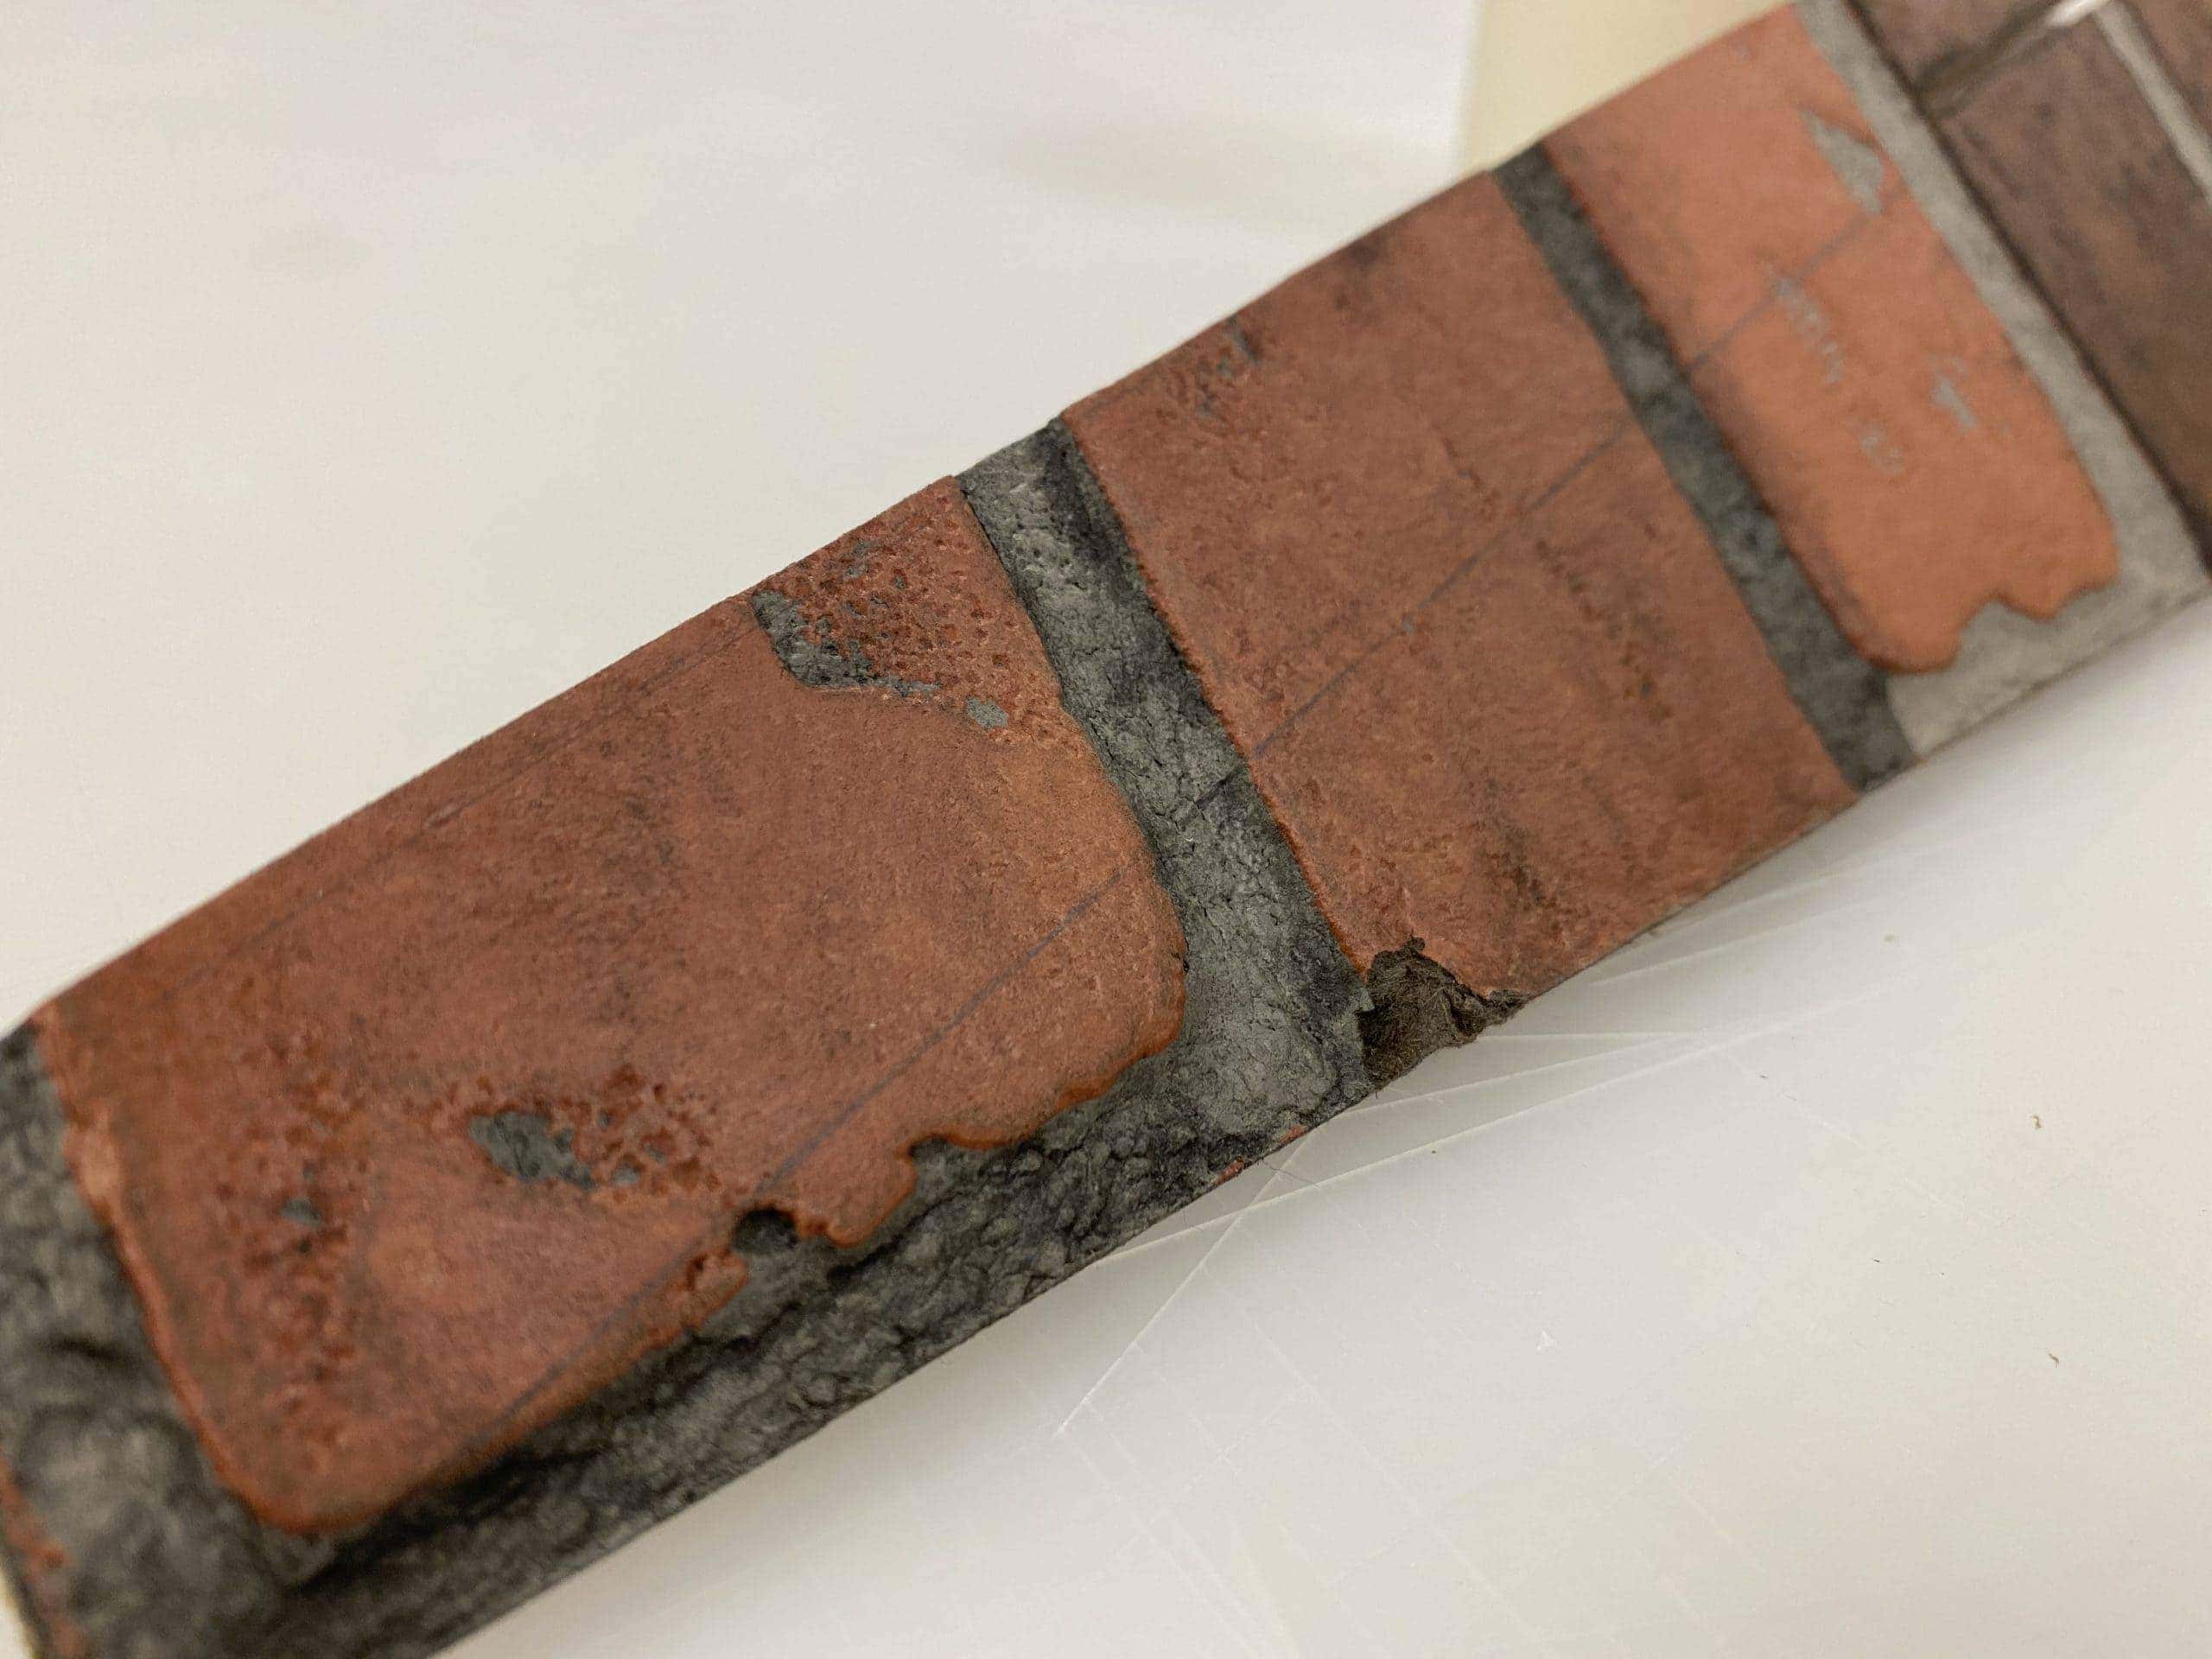
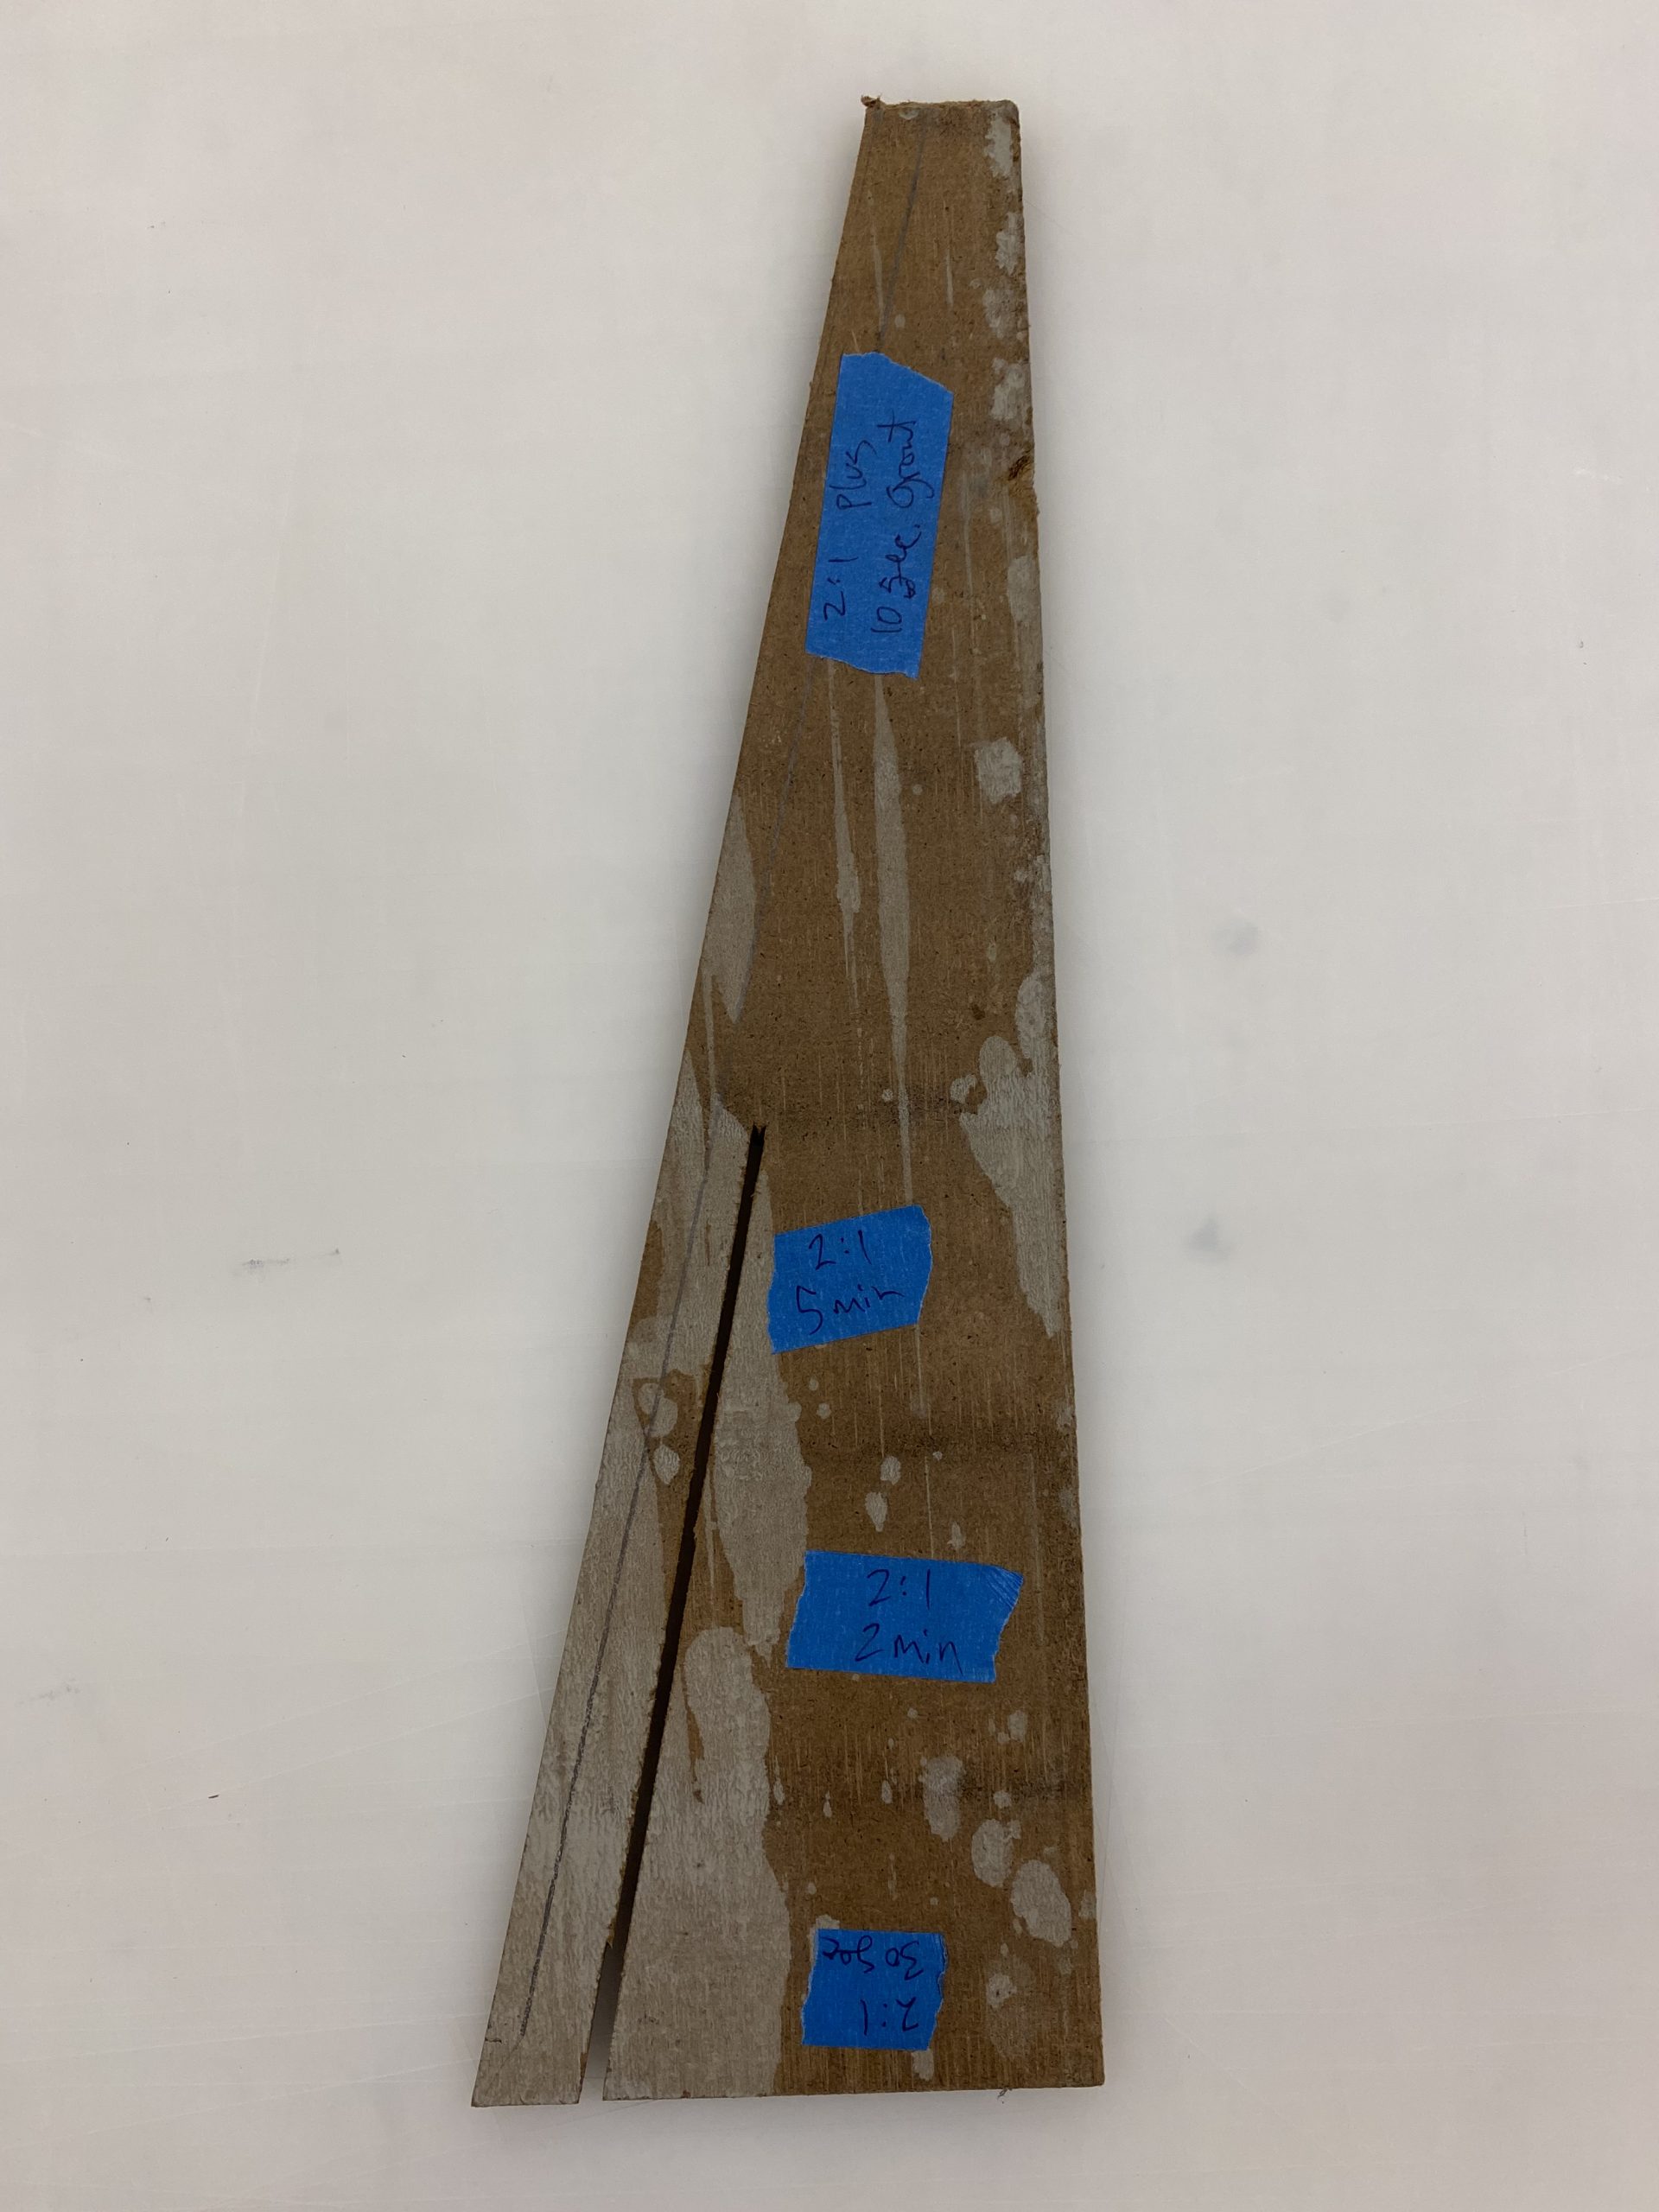
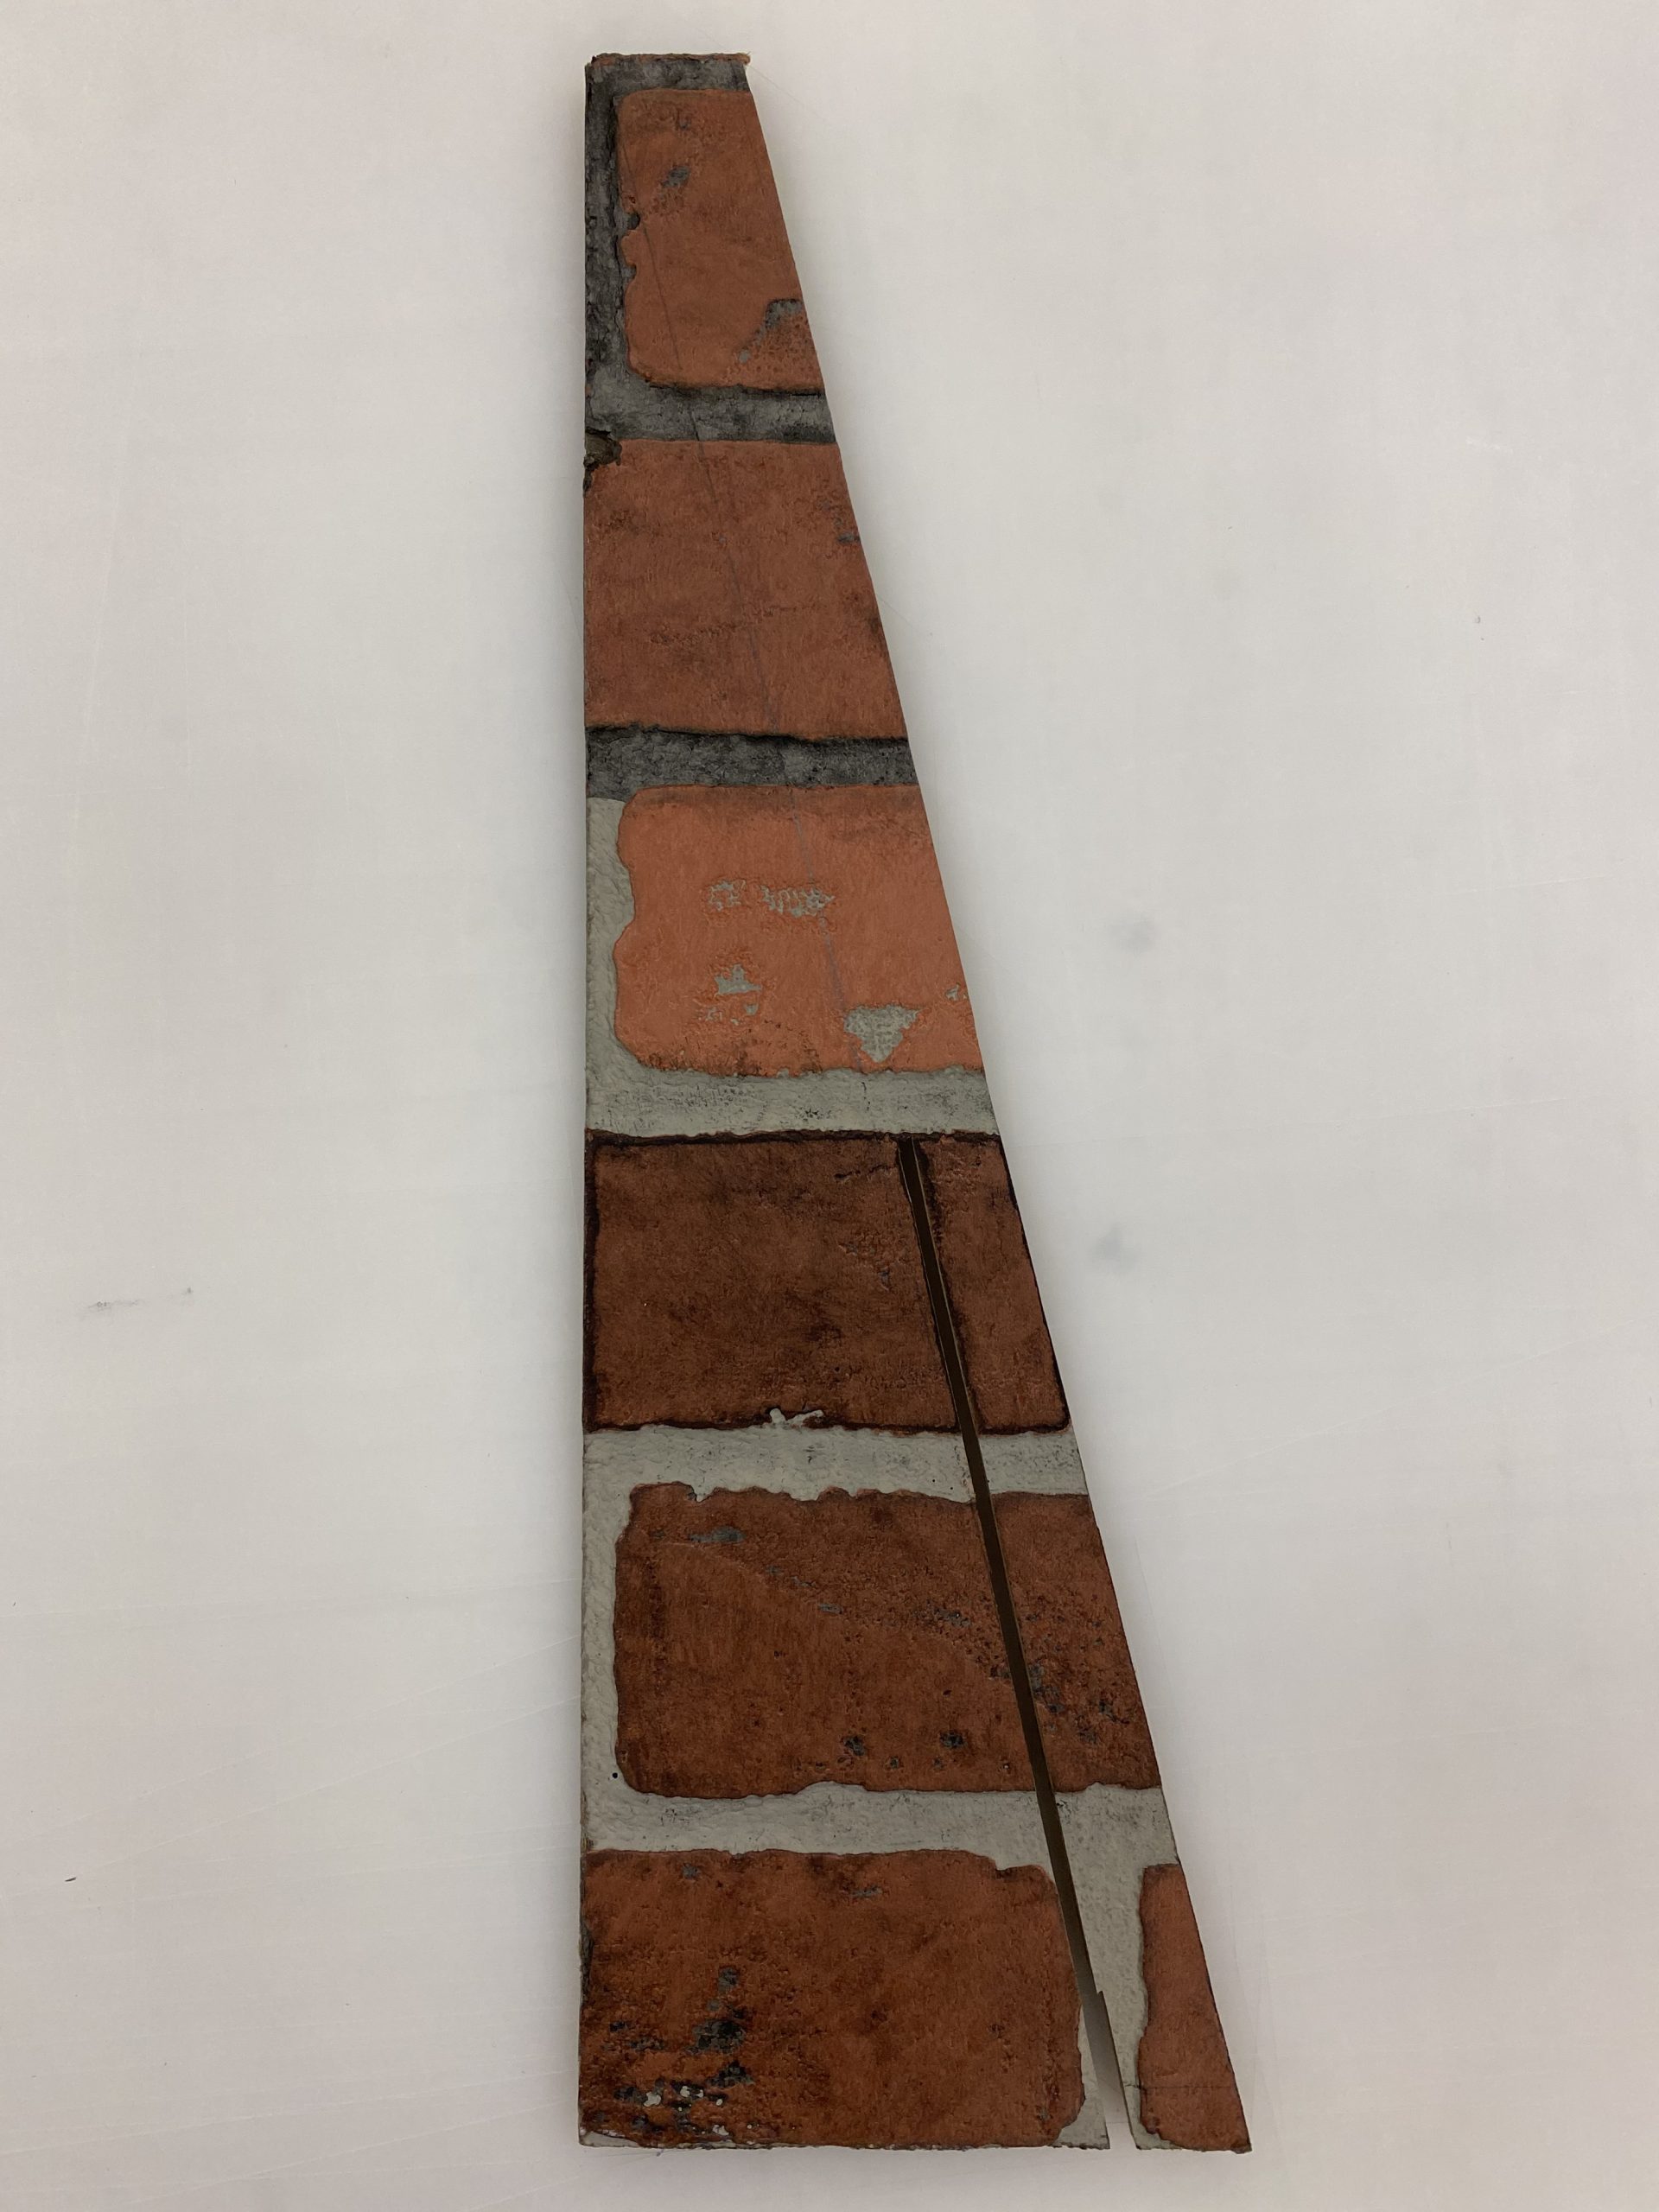
I saved enough time for us to try various surface treatments. One thing that was rejected right away was grout in a tube that could be squeezed on like caulking. It was just too thick to look right. What did have promise was a wash of pure black acrylic paint. I varied the ratio of water to paint as well as the time left on the surface before wiping it off. I decided that a clear coat (be it flat, matte, or semi-gloss) wouldn’t look right, raw paint was the most realistic looking.
FINAL
In the end we use a combination of a 2:1 ratio of paint to water that was wiped off right away PLUS an additional application of wash just on the grout that was wiped off after for ten seconds. It was fun to get the right look and made a HUGE difference. The finishing move was a 3/4″ backer strips glued in to add some rigidity to the 3/16″ faux panel. That should prevent any curling for some time.
So if a visitor someday decides they need to vandalize the brick, we can now recreate the look with this article. I’ll leave with a request, if anyone out there knows of a dependable (quality) mini red brink supplier please let me know in the comments below or directly to me on my profile page here on MuseumTrade. Ideally it would be around 3/4″ thick and somewhere in the neighborhood of 1.5″ x 3″ (LxW).
How have you overcome adversity in less time than you would have preferred? Share your successes and failures with all of MuseumTrade.
Cheers








Leave a Reply
You must belogged in to post a comment.