Hi Everyone,
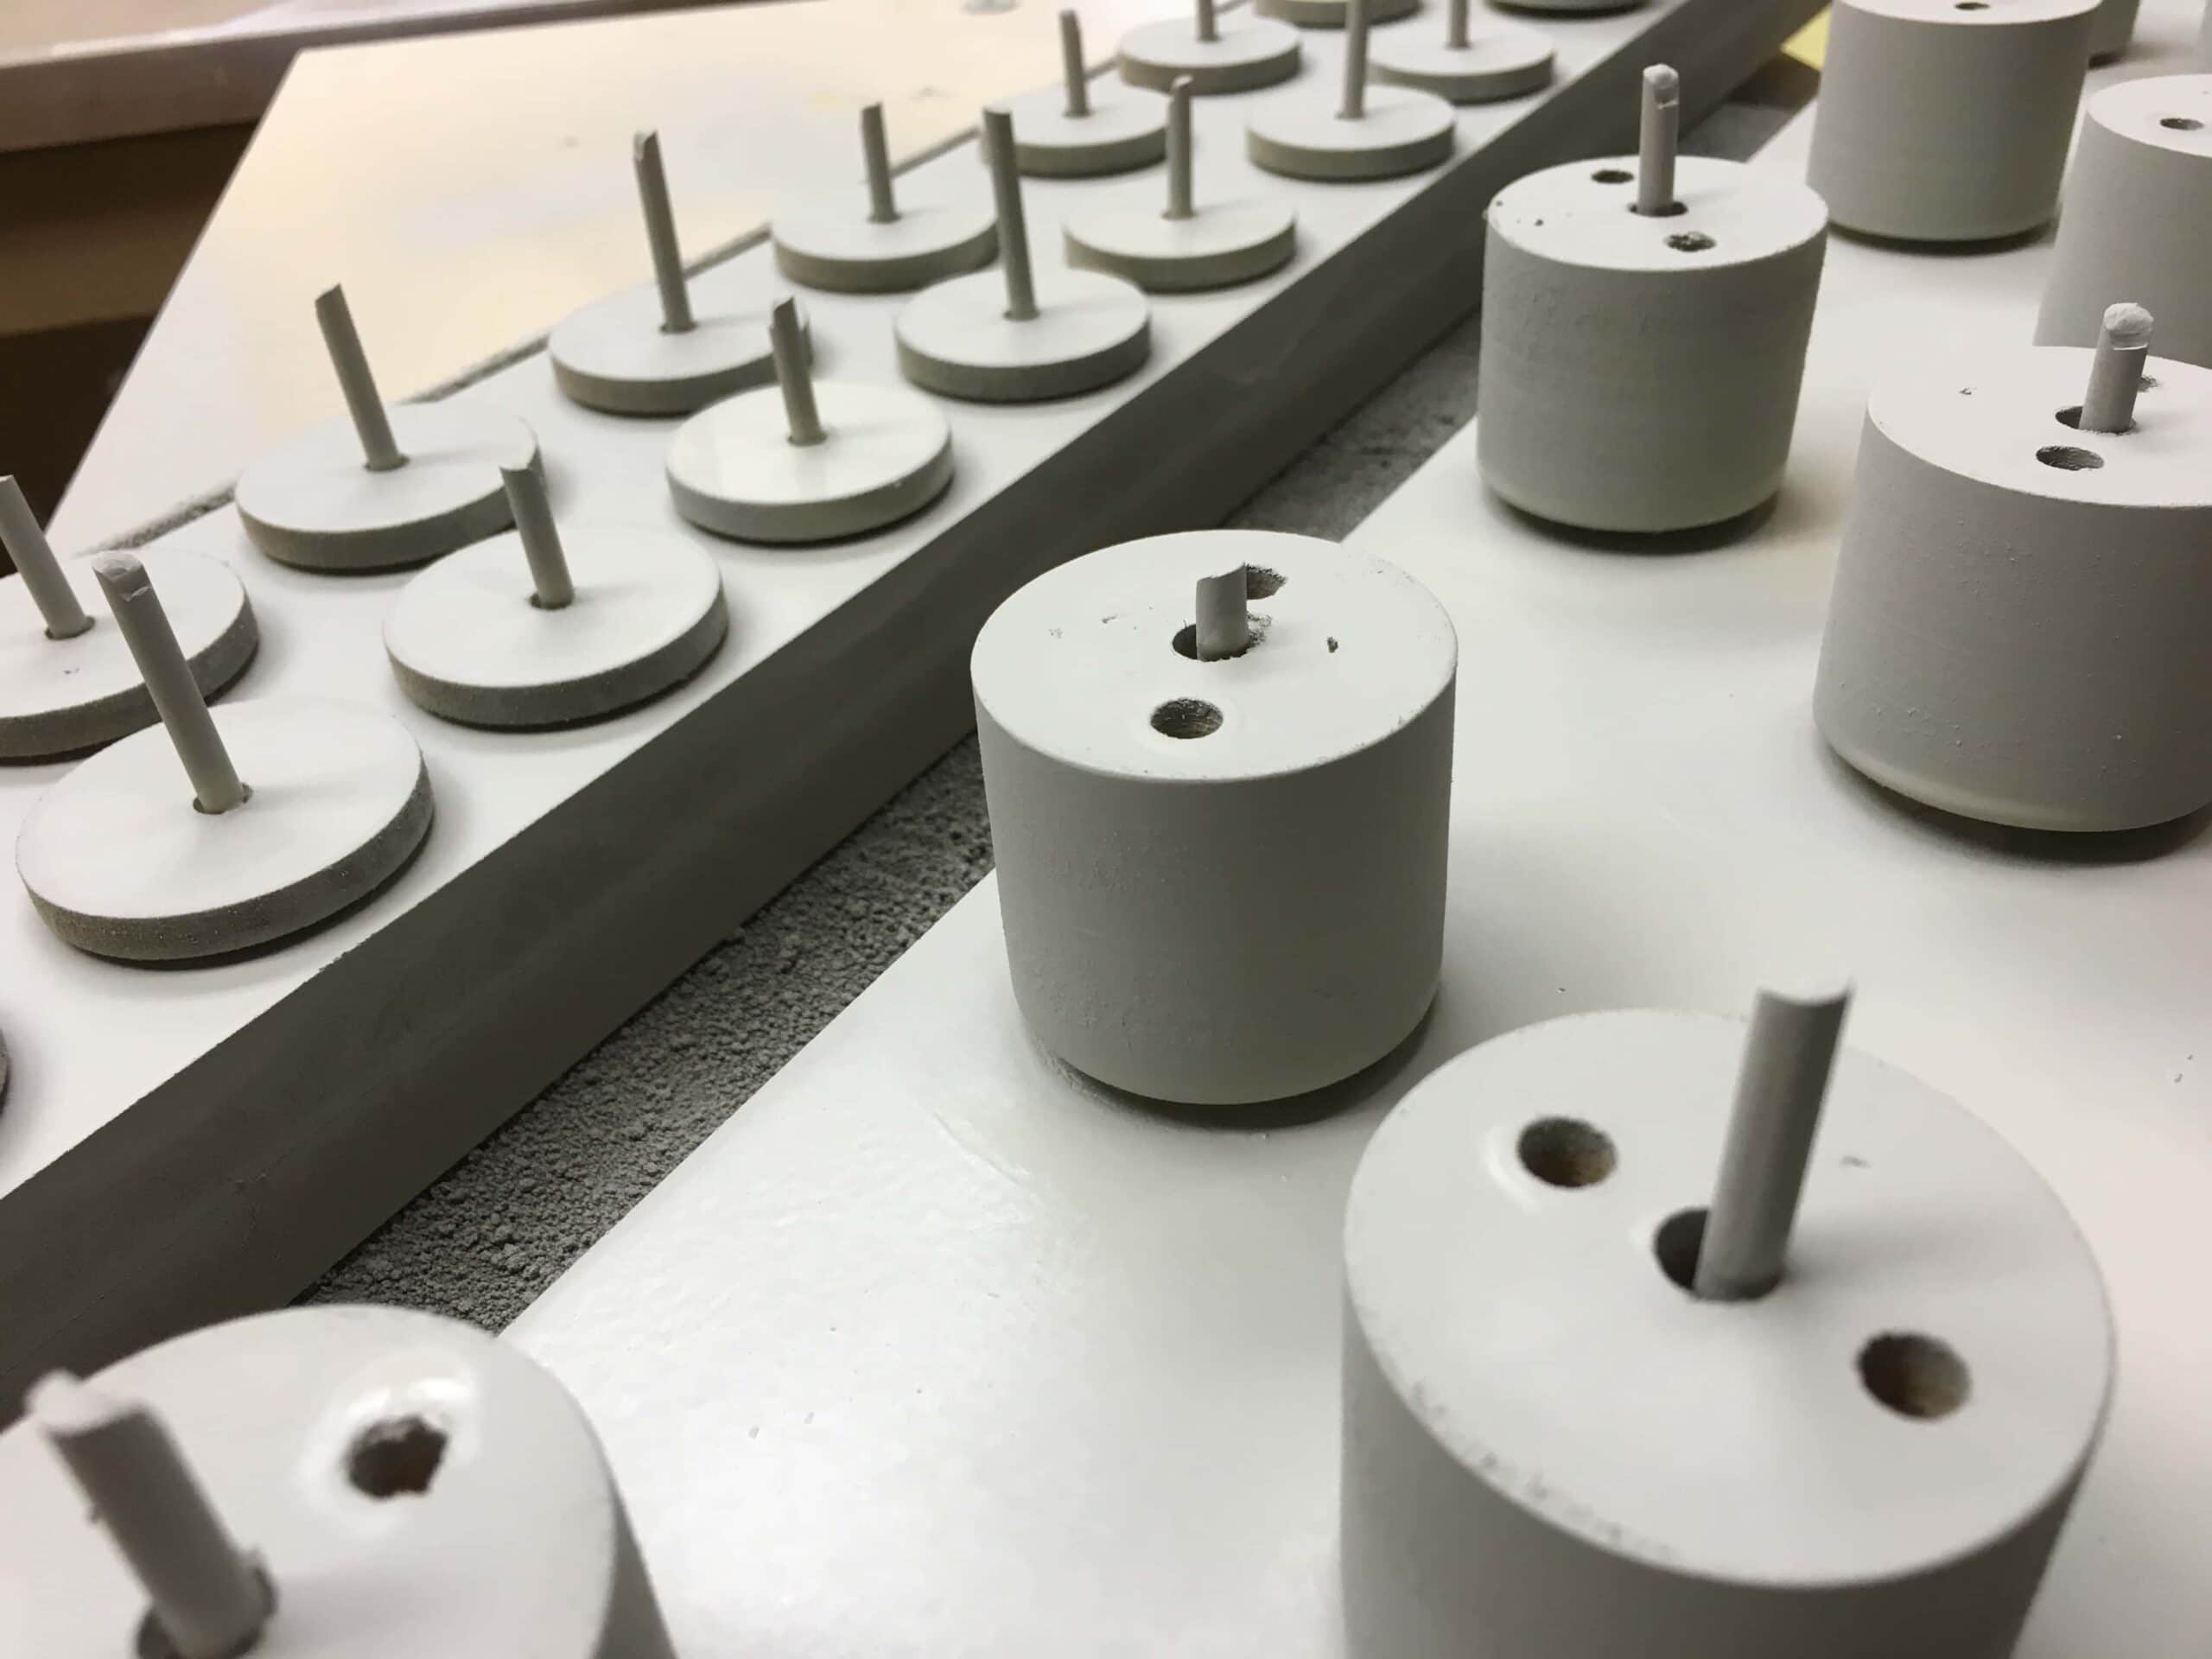
Here’s a two-part series on stanchions. In this segment I’ll show you how we make wall terminals for stanchion cord, the next will be a review of Line Logic’s stanchion set. It won’t matter which you’re using – Line Logic, Absolute, or any other stanchions system – this is a universal solution. First you laminate two pieces of 3/4″ MDF using wood glue and maybe a little light weight on top. Let that dry overnight so the glue doesn’t gum up the next process. Take a hole saw, pictured here, and drill out as many of these plugs as you need, then make a couple extra. Put your laminated board either in a drill press or on top of another scrap board because the center pilot hole will go through both pieces and out the back side. A drill press will make for a straighter plug, but you can do this with a hand drill as well. So you’ll drill through one side as far as you can, then flip it over and drill from the other side.
You’ll have that pilot hole in the center to follow on the backside. Drill down until the plug releases. Use the same hole saw to make wooden “washers’ that will mate with the plugs. We use 1/4″ MDF, you could probably get away with 1/8″ MDF if it exists. This is a good material for this project as particle board and plywood would chip and splinter and have striations that will be tougher to mask. Solid wood would also be ok, but you’re less likely to have solid wood at the thicknesses needed for this project. Do not use masonite for the washers, it’s too fuzzy on one side and won’t mate well with the plug. At this point make sure the cord you have chosen fits through the pilot holes made by the hole saw, if not then open up the hole with the right size drill bit. We use grey cord from Absolute and stanchions by Line Logic for what it’s worth.
Next, you’ll drill the holes that will be used to secure these to the wall. In the future we’ll make a jig (for reasons explained at the end) for drilling the two holes, but for now you can put them any distance from the center hole that you like. Obviously, the further out you go from center the more stable they’ll be. Again if you have a drill press use that, but this can be done with a hand drill and a steady hand. We use square head screws at 2.5″ long. The nice thing about the square head screws is that they have a slimmer profile and the hole needed to accommodate the head is smaller than a standard phillips head wood screw. This is a two-step process. First, drill two holes large enough in diameter to accommodate the shaft of the screws, maybe just small enough so the threads engage with the wood on the way though. Drill these holes all the way through. Then, in the same two holes, you drill the next hole large enough to easily accommodate the head of the screw. If using a hand drill put a piece of tape on the drill bit so you know when to stop drilling. Drill down about 3/4″-1″, whatever distance works in your situation; do the math so your screws stick through far enough to engage with something substantial. For us we have 5/8″ gypsum board over 3/4″ ply. So we need to seat this screw far enough down to where the screw can properly engage with the 3/4″ ply behind the gyp. If using a drill press you can either use the same tape technique or utilize the stops, the press will then bottom out at the same distance each time.
Now you’re ready to finish the surfaces. We cup a piece of 120 grit in our hand to sand the sides(the cupping helps mimic the curve of the plug for better and even sanding). There will be a little line where the two pieces are laminated and MDF has a habit of being a little porous on the sides so a little sanding can flatten some of that out. Don’t get too crazy with it yet, we find it’s easier to put a coat of primer first, maybe even two coats before sanding again. Now the crevices are filled up a bit and sanding will be more effective. Sand it down until you are satisfied with the look. You may consider a quick sand between every coat of paint for a refined finish. It depends on how close you are to opening the show! Be sure to sand where you drilled the holes as they could prevent the two surfaces from mating well. Now just add your final coat to match your wall color and you’re done. We like to spray ours, but you could certainly use a brush, but it won’t be a smooth. If using a brush consider watering down the paint a bit to get fewer brush strokes, or gently patting down the strokes with a sponge brush to flatten out the textures. When spraying the plugs we use an extra piece of wood, dowels, washers (to help them spin), a pencil and a paint sprayer; check out this video:
[iframe id=”https://player.vimeo.com/video/163442095?portrait=0″ align=”center” mode=”lazyload” autoplay=”no” grow=”yes”]
In the next version, we’re going to try to add a dowel to the front wooden “washer” that can then snug into the two screw holes, thus keeping the washer in place. Right now we use either a dab of white glue which can be easily broken or very thin double stick tape. Either way, it’s not very elegant. Stay tuned for version 2.0!


Leave a Reply
You must belogged in to post a comment.