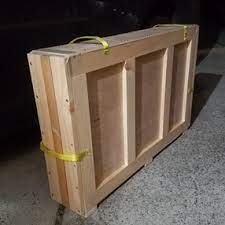
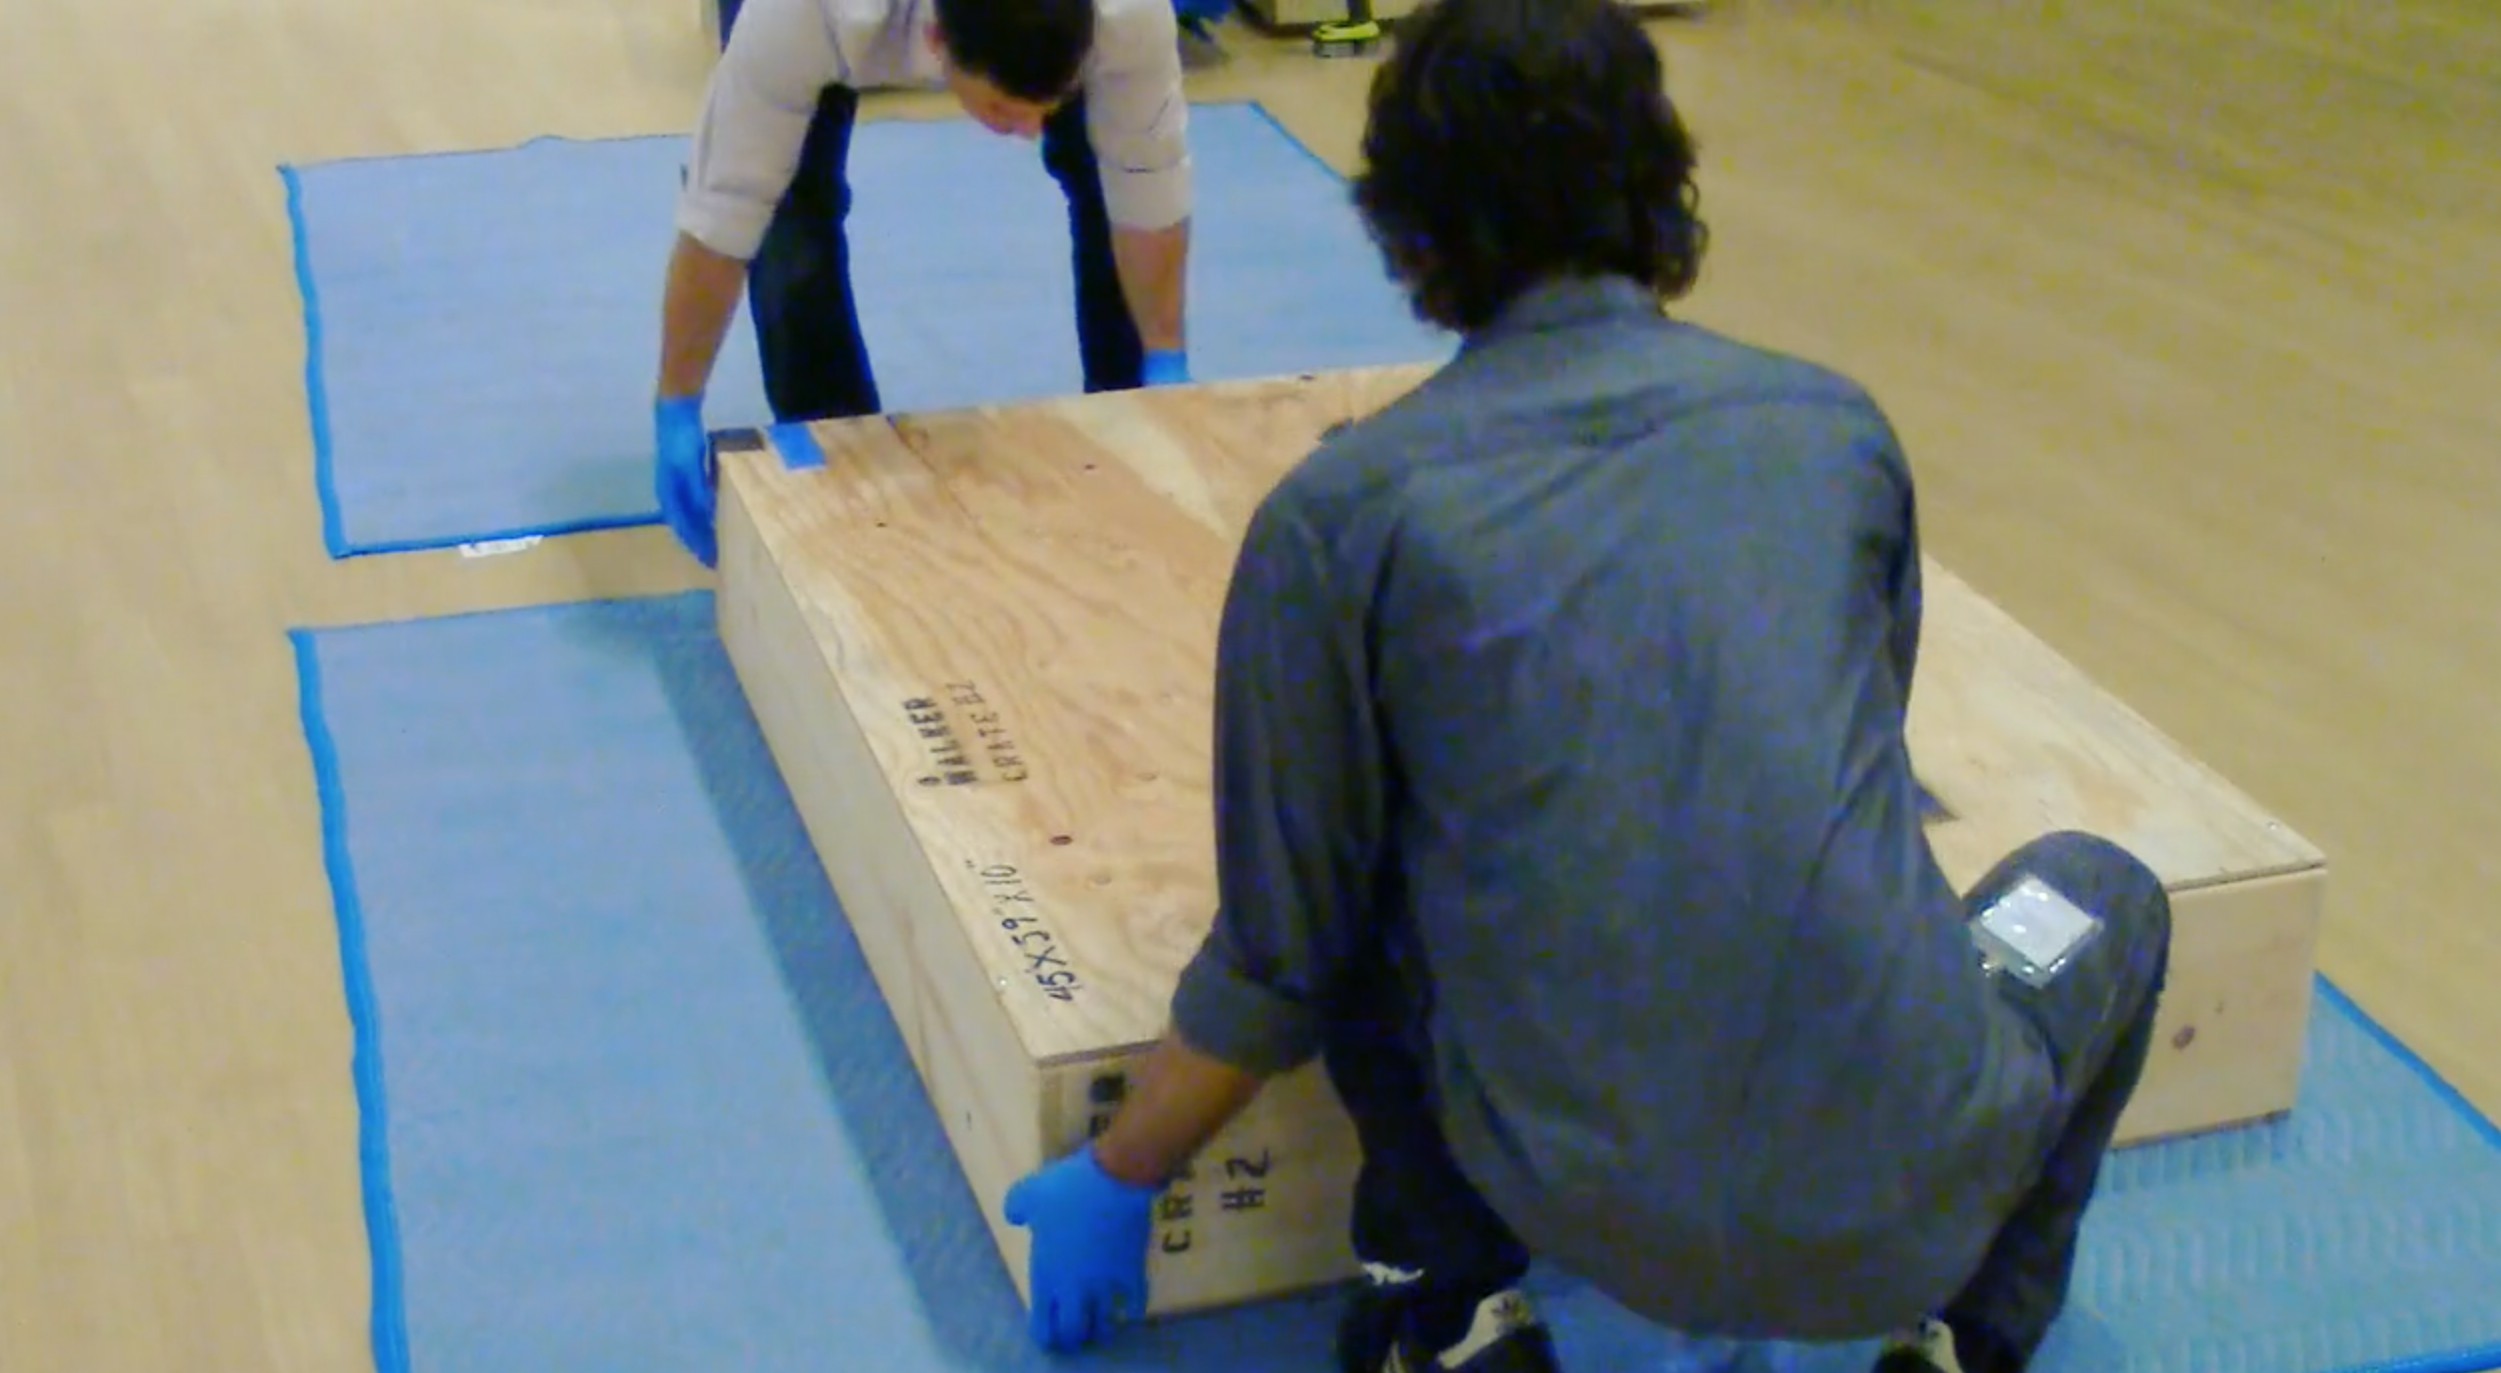
There are many ways to lift thin but large art crates, and many more ways to modify crates on the road. The profile of this crate is anything from 10-75 lbs, from 2-8” wide, from poster or milk-crate up to door or chair volume. The basics to consider in building a great handle or lifting solution are how the hands, back and feet are accommodated in the task. A crate handle should be there first for the handler, then the goods will follow better.
If the handler, preparator, or technician manipulating a crate is safe – they will not get fingers and toes smashed, or knees and backs broken (even when lifting properly with the knees, backs always go into hefting every crate), their faces and necks are not smashed into the crate when lifting – the contents will be properly conveyed. With this consideration given to their well being, an art specialist will tend to make better, safer, professionally oriented decisions in their care of the case. This is the main point of a great crate handle – conveyance of the goods without risk or damage to anything or any-one in the course of transport.
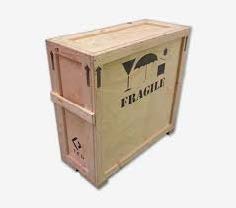
The challenge for a great handle on a thin crate are complicated by the lack of material for a solid attachment, tending to direct fabrication away for a really solid handle. This lends one to use good labeling or instructions on the crate exterior towards use of assistance from another person, lifting bands or movers straps, j-bars, tip-loading, A-frames, floor scoots; telling others how a crate is best handled helps them think through their options. Clear labeling, simple instructions, and definitive notes or diagrams are the best means for informative protection of the handlers and contents around the globe and at all levels of cartage.
All the same, there is always a desire to modify a crate; do so only when permitted by the shipment originator or others with relevant opinion (Registrars, Collections Managers, Curators, Directors, Owners, etc.) for a smoother ride. We are not all able, nor should we be expected to be able or willing, to use our shoulders/arms/hands for a solid long term press-grip lift or a rock climbers hang hold on a crate full of $2mil of someone else’s materiel. 
You can’t and shouldn’t always grab/ reach/use the bottom of a crate with your hands to get through the passageways and for the scale of the container.
Having boiled all of this down, you still really want to clap on some handles or grips quick , let’s look at some of the ways to modify a crate by adding on new handles. Many options I have seen in use on crates and their comparative features:
Ledge Blocks or Cleat Blocks
They are screwed to the wall only. This is a simple add-on and looks right, yet it often easily sheers off a crate in handling alone, and especially in loading against other crates, they also tend to be very thin or shallow for fingers and hands.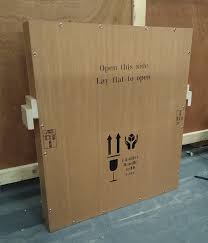
Straps or Ropes
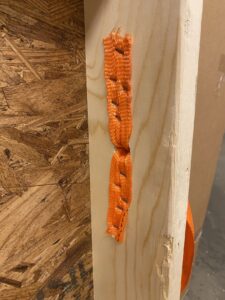
They can be stapled to the walls (exterior or interior) of the crate.These are another great looking solution, but when on the outside can sheer or tear off, and when passing into the crate allow for moisture and pest intrusion, plus straps can abrade or crush hands and fingers.
Ropes
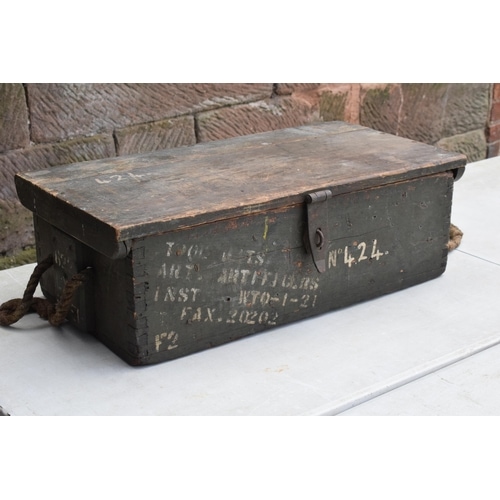
Passed through a block attached to the side of the crate or through corner battens.These tend to be an “old school” method, posing all the same risks as straps, but offer better attachment to the crate when attached UNDER battens or blocks, but then begin to cause risks of intrusion.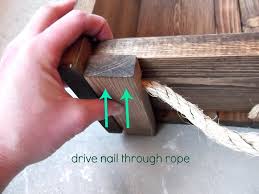
Battens
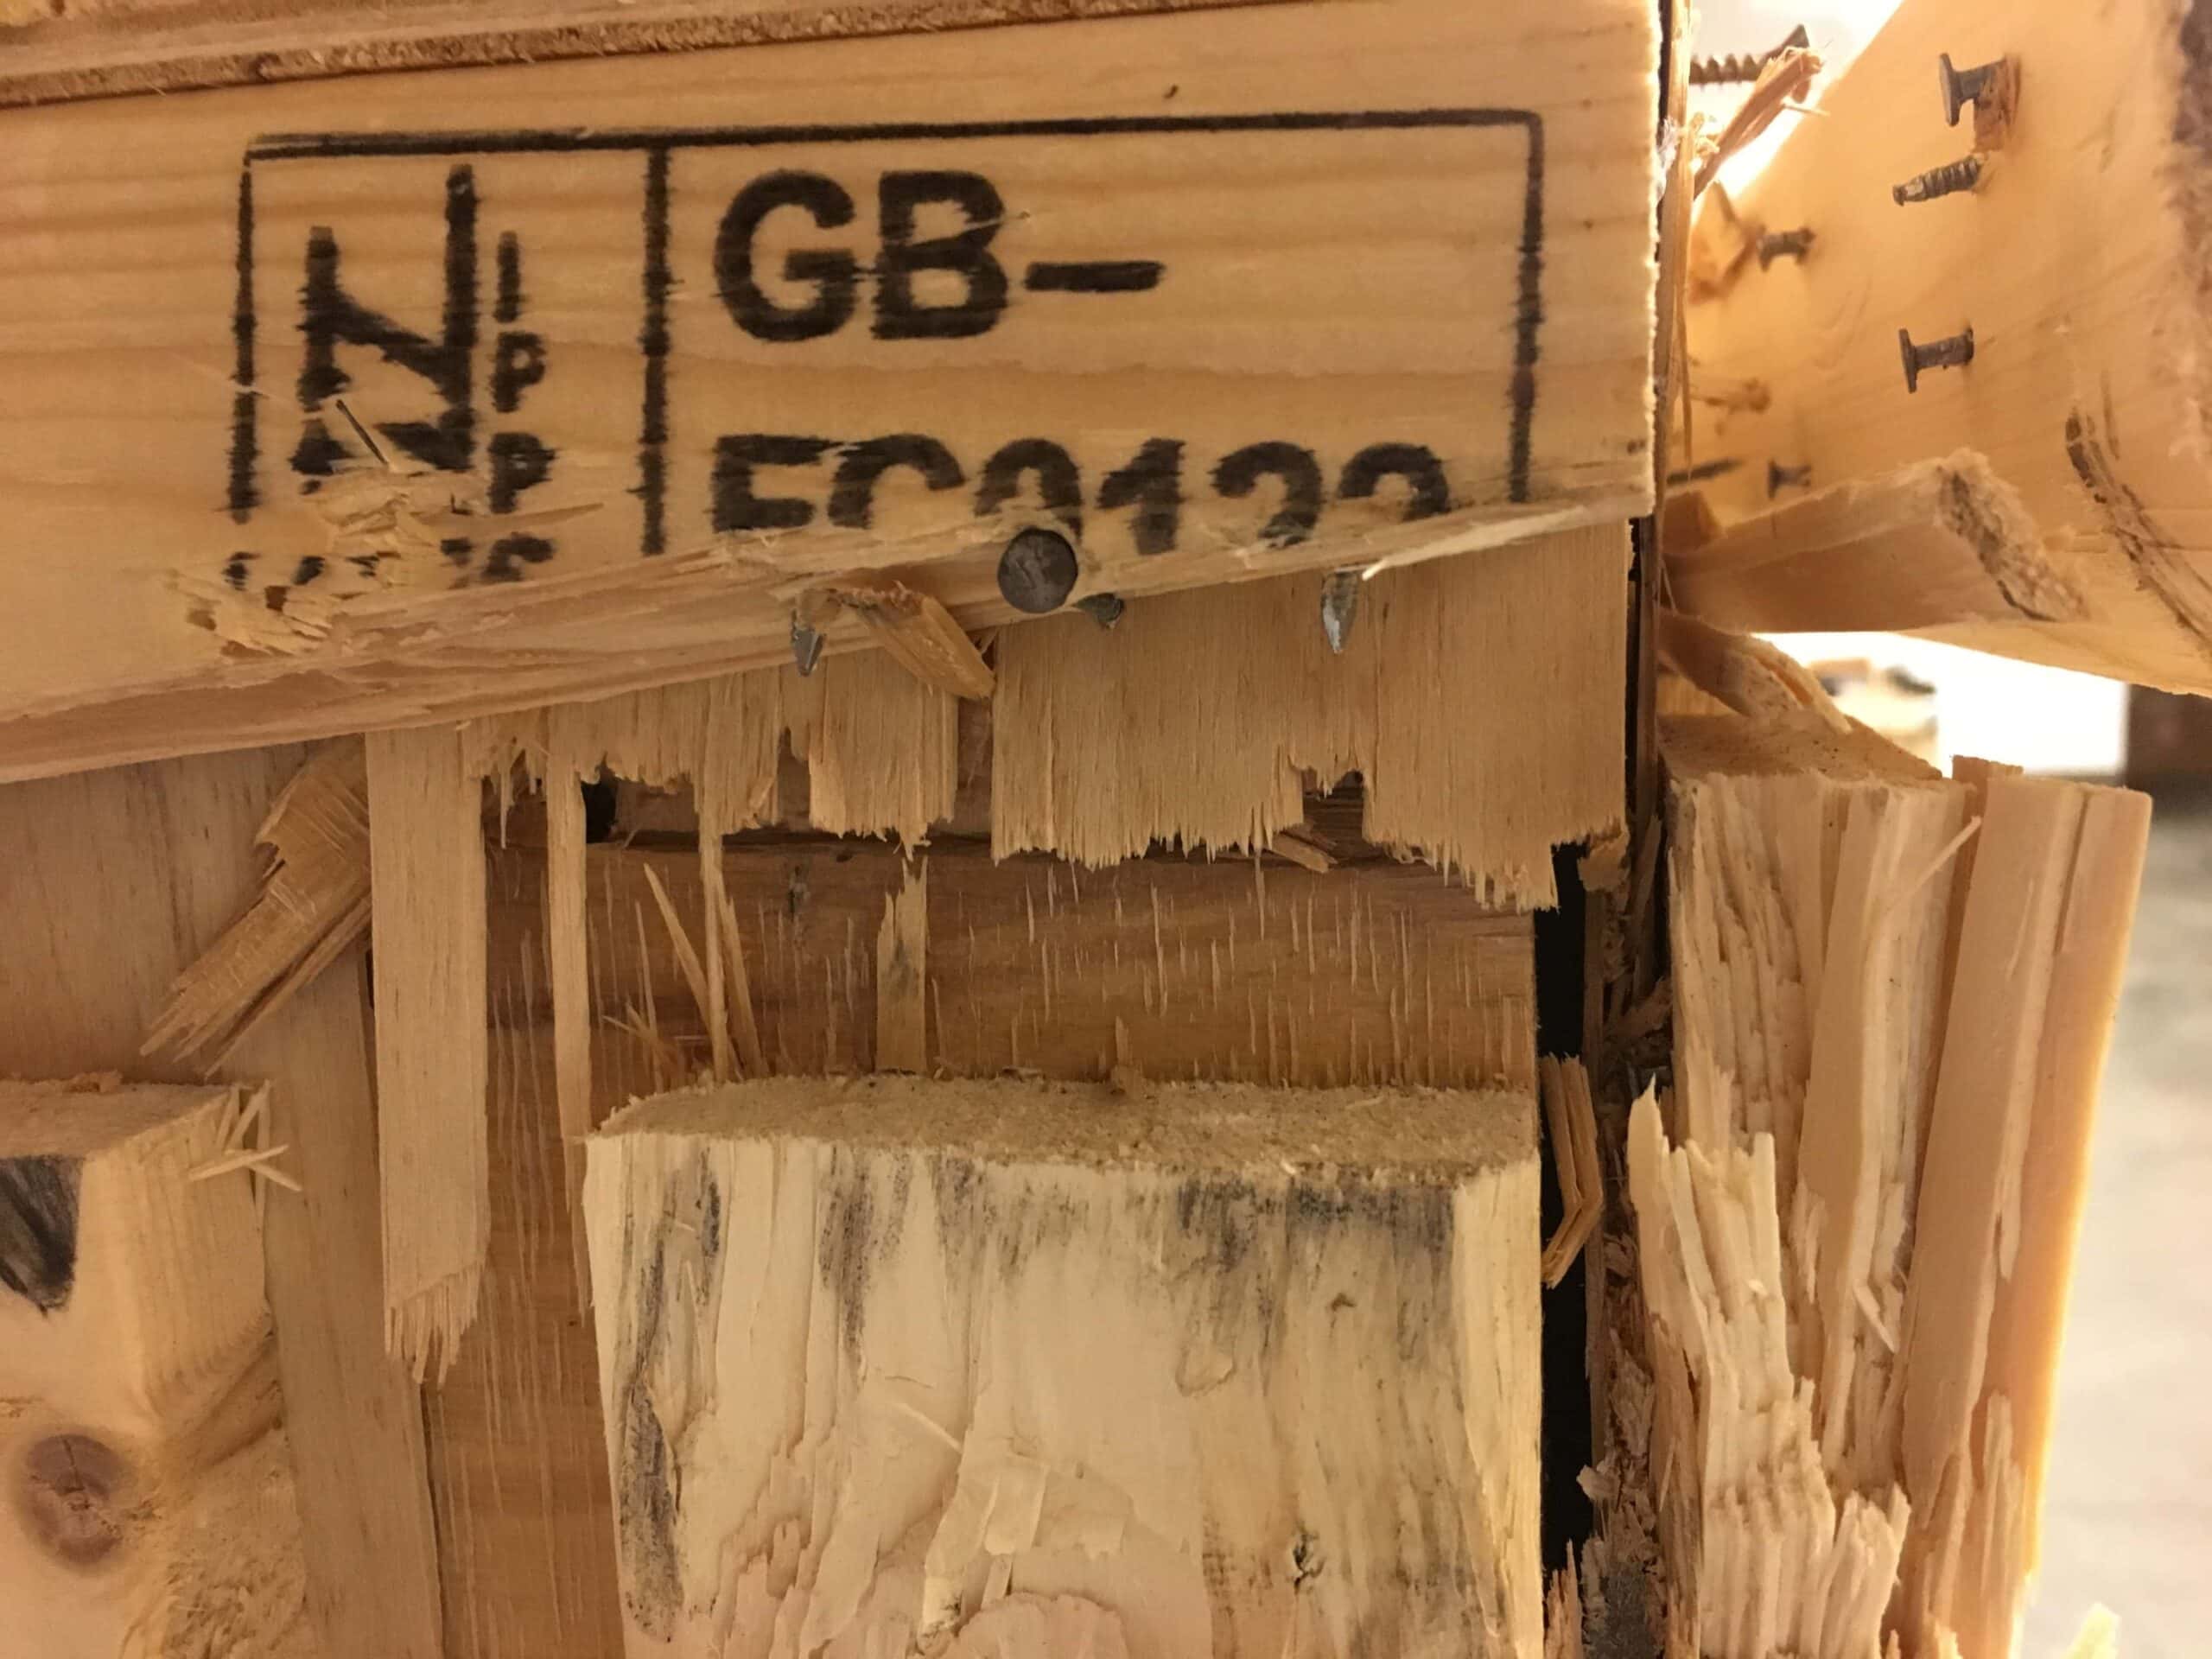
Otherwise known as corner braces and used as board edges ONLY. This pretty much states “DO NOT LIFT BY HAND”, or tip load onto wheels, or be a serious rock climber/guitarist.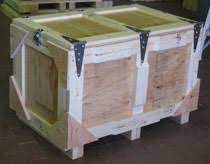
Metal Collapsing Grips
These are a great standard, however they require substantial reinforcement for a solid attachment, and interior barrier mitigation, placement of this type can also be very difficult for ideal art handler ergonomics and safety (hand crushing, bad balance or lift points, limited mobility).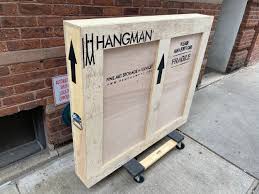
Full Side Rounded Batten
Rounded or smooth wood battens spanning the sides of the crate, secured to battens and sides. This is the big brother of the ledge block/cleat style, it requires with more fore-sight and fabrication effort, but is the most comfortable, durable, with lowest risks. 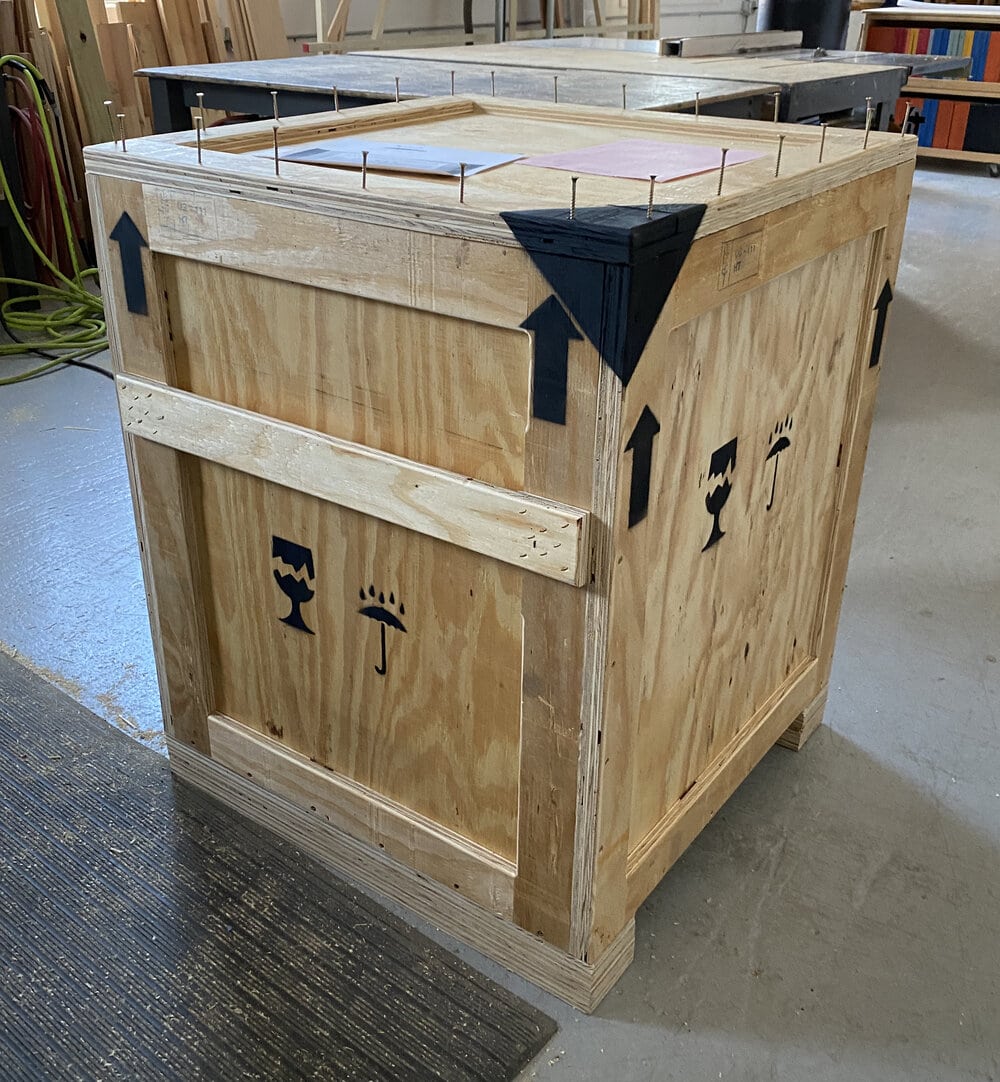
So What Makes an Ideal Crate Handle in Museums and Galleries
• The handles do not compromise the structural and environmental integrity of the crate this usually means no holes through crate walls, or if so then all hardware ports are sealed or capped off with linings or other moisture or pest mitigations.
• The handles are easy easy to utilize for the size, shape and mass of the loaded crate these are economic, properly positioned for standard person height (28 to 34” as crate stands on floor) and common hand size (4 to 6” wide).
• The handles do not create an obstruction or complication for loading or moving around this often looks like a solid bar or collapsible clasp that sits within the largest outer dimension of the entire crate and all battens.
• The grip points are ideally situated to the balance point of the loaded container, and multiple grips provided if larger than a single point will safely balance sometimes a handle may need to span the entire side width of a crate, allowing for options as the load is handled over various terrain or levels.
To Sum Up
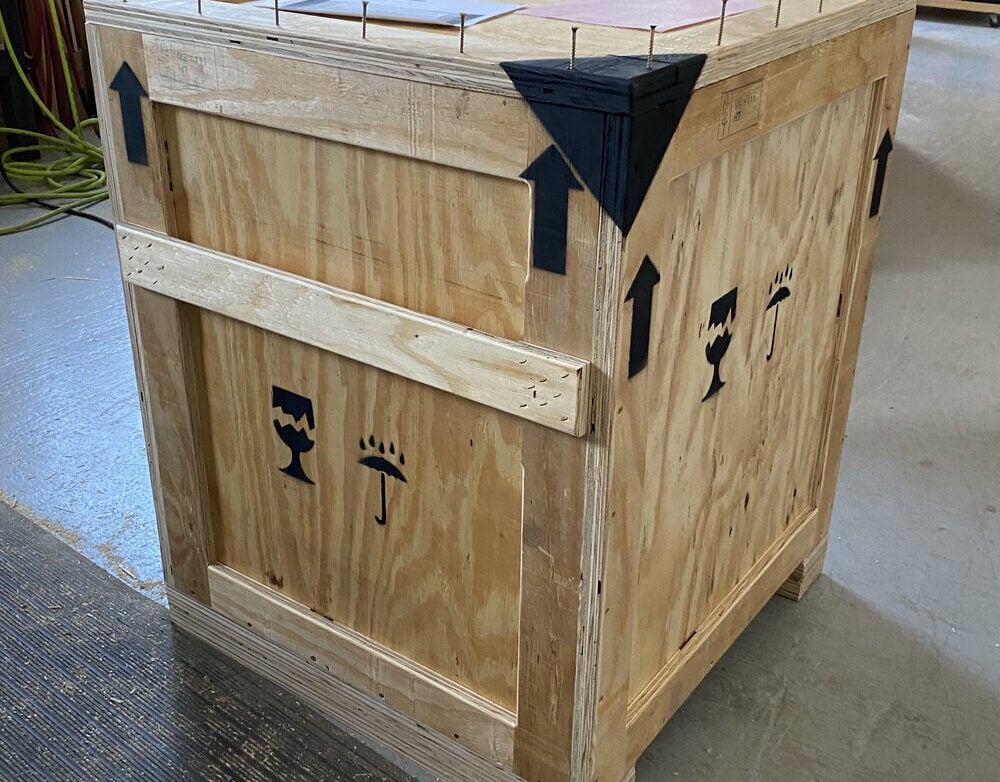
The best option is always attach a rounded wood batten lip for the full width of a crate side, with adequate depth for fingers and at an ideal height for the weight/volume and balance of the loaded crate. This also adds a structural support element to the outside edge of the container, and a great tie down point for truck or shelf loading. Also, label a crate with clear simple verbal and visual instructions or suggestions.




Leave a Reply
You must belogged in to post a comment.