Hide-a-cord has it’s place in life and is an essential tool in the technician’s toolbox, but it can add a bit of presence on the wall. You can paint it to match of course, but it’s still there. Here’s our process for making most of the power cord disappear or at least be as elegant as possible.
Run the Architecture Where You Can
We use the 1/4″ channel at the bottom of the wall to our advantage and run the cord into this crack, it’s virtually invisible to the untrained eye. In the photos and video you will see the following: Straighten the cable so it’s fully flat, NO twists in the cord. Pro tip: Stuff a ball of old gaffers tape where you want to tack the cord into the channel temporarily. I didn’t do this in the video, but if you have an unruly cord this will help keep things in place.
Straight Edge Where People Look
Lay the 1″ gaff tape evenly on the leading edge, the most visible spot, really take the time to get this straight and not be wavy, match the edge on the horizontal surface. You can of course pull back the tape if you’re not getting a good line which I think you’ll see me do in the video. If you don’t have 1″ gaffers tape (or cloth tape as it’s sometimes called) then just rip down the more standard 2″ tape. It tears very well and keeps a fairly starlight line, but you’ll still want to use the factory cut edge for the first line you lay down.

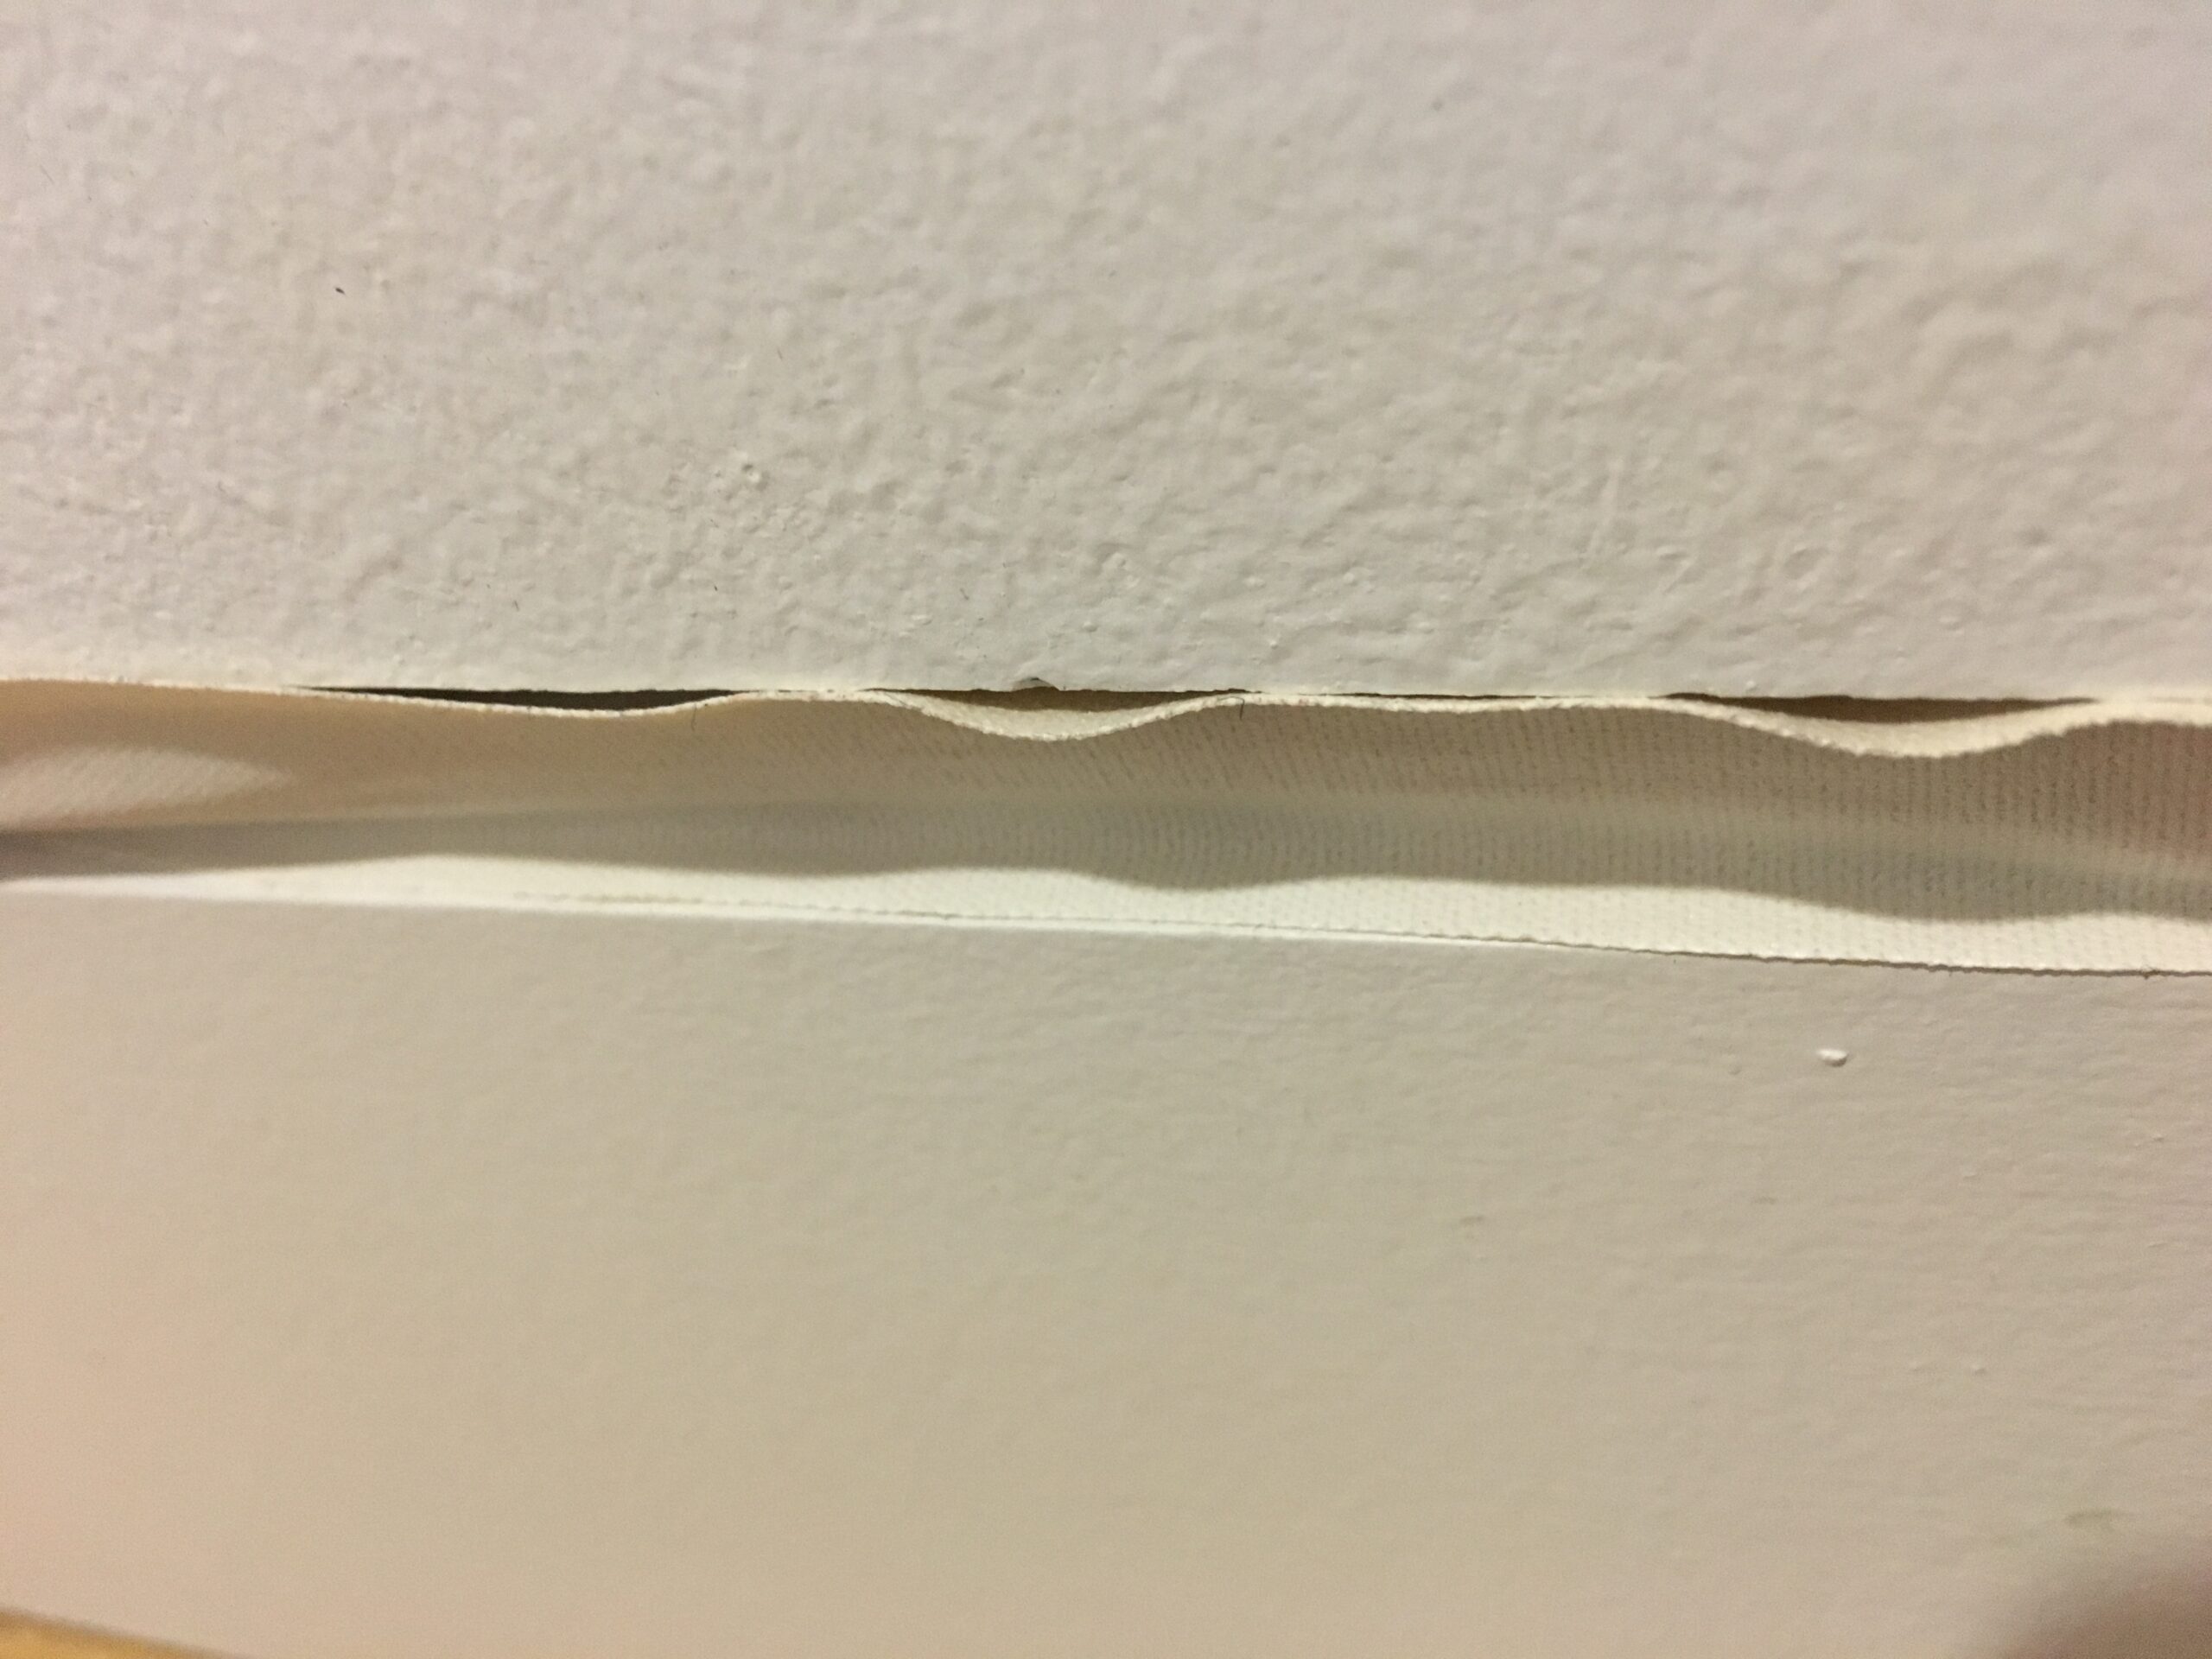
The edge is just a little, wrong
Notice how the tape edge hangs over just a little bit on the right, I’ll tidy that up by pulling it back and replacing it so it’s as parallel to the edge as possible
Push Back Carefully
Next, work it into the channel with your fingertips, it should push back and completely disappear or the magic won’t happen, fold in the extra if it doesn’t want to fully duck into the channel. That’s it.
There is a Difference Between Tapes
Pro tip: not all tape is created equal. We like the kind that has more body, one that isn’t limp. It’s like it has a coating on it maybe. The limp stuff doesn’t tear perpendicularly well and flops around while working. You can do it, it’s just not pleasant.
AND finally…..

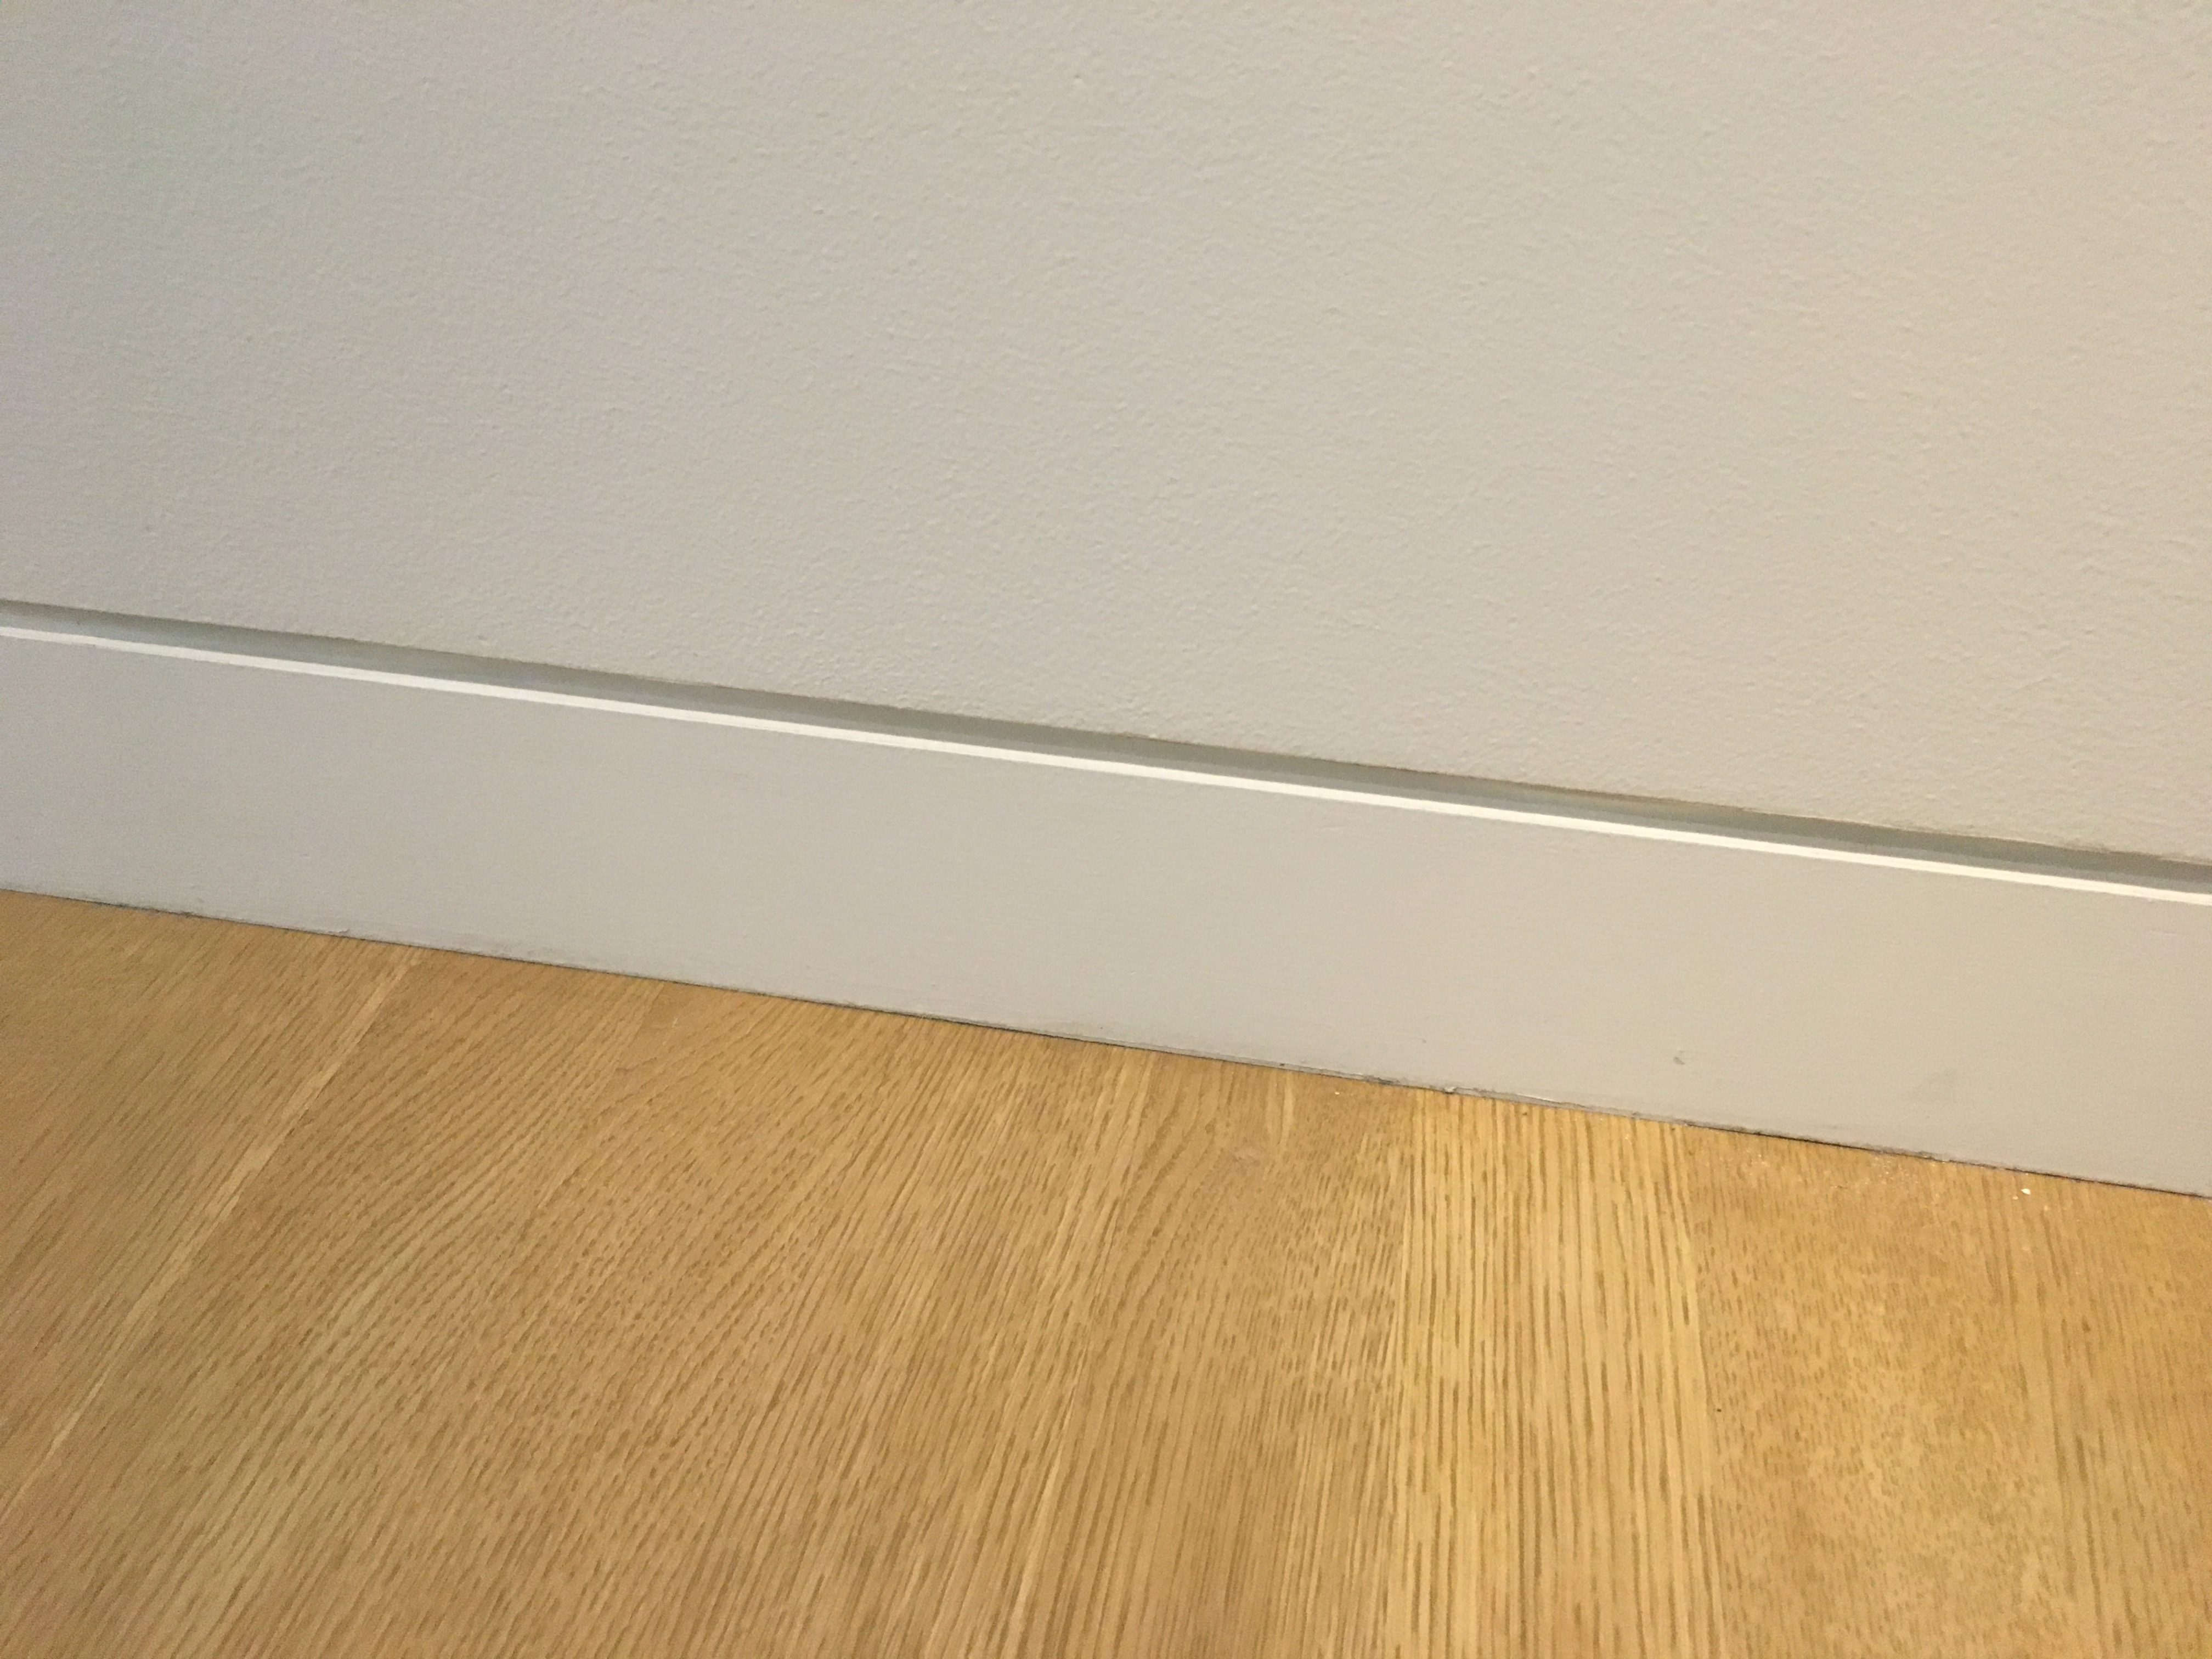
Final Look
It’s nice when it all comes together. It takes a lot of work and know-how to make it look effortless. Keep up the great work in your museum ya’ll….
Cheers,
Matt


