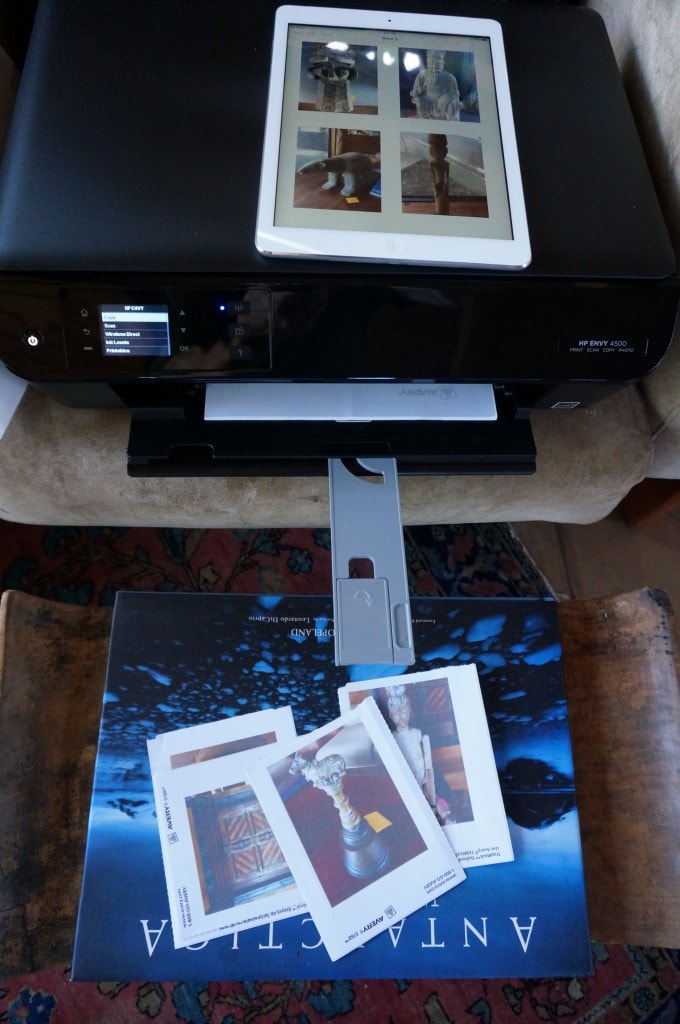
These directions will let you wirelessly print four images to a page of Avery 5168 WITHOUT the use of wi-fi or cords. This was necessary when we went on a four-day trip to pack an entire offsite location on a remote hillside that had no wi-fi whatsoever. Here’s what you’ll need:
HP Envy 4500 – online it’s not 100% clear that this printer can indeed print without a wi-fi signal. Most printers require a wi-fi signal to wirelessly print. But there was enough information here and there to make me believe it might be possible so I got on a live chat to ask the question directly. They said it would, so I gambled the modest $65 to see if they were right. They were. Follow the instructions to broadcast the printer’s signal, then on your iPad or iPhone go to “settings” then to “wi-fi”, then to “choose a network” and pick the “HP 4500”. You are now paired and ready
iPad or iPhone with Pages app (free for the former and $10 for the latter)
Download the HP ePrint app (free)
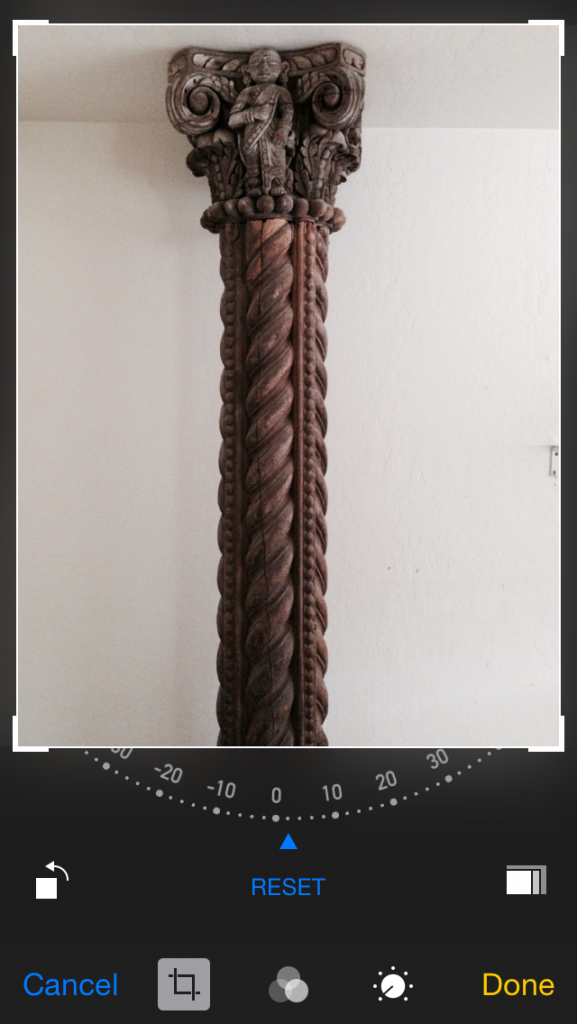
Take all your pictures. If you can, shoot them in the same orientation as this will save you time in a subsequent step. Sometimes it’s just not possible though, especially when shooting objects on site. You’ll want to go into your camera app first and edit to orient all the images the same direction. That is to say make them all portrait or landscape orientation. This will help you when loading into Pages because it won’t let you rotate images inside the program. To do this, hit the edit button, then look for resize icon, seen to the left of the cancel button pictured below. It kind of looks like two intersecting V shapes. The use the rotation icon which is a square with a curved arrow above it.
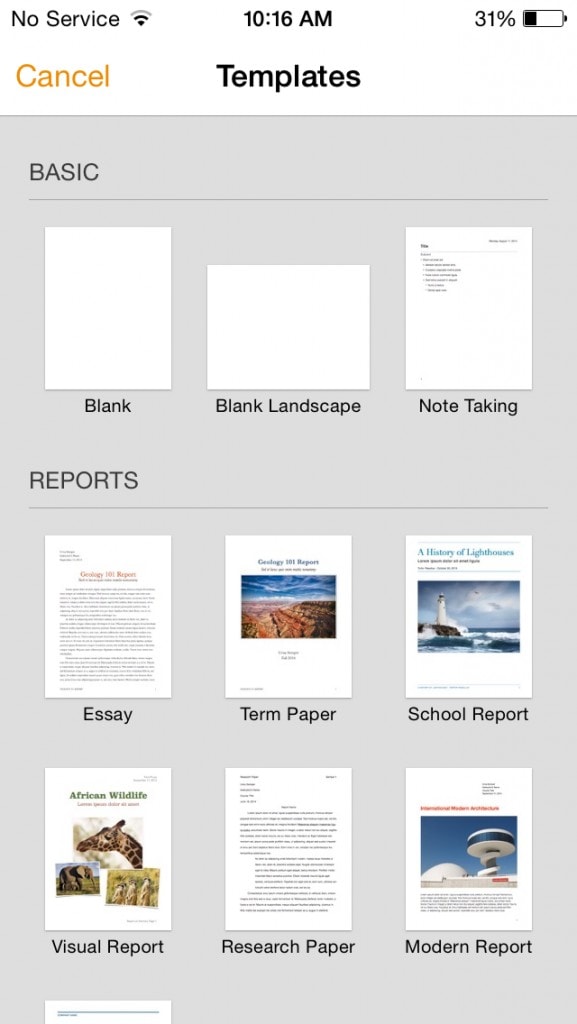
In Pages, click “create new” and it will give you a couple different blank orientations, choose the one that matches the orientation of your images. If you have many pages to print, you can create all your pages ahead of time instead of printing after setting up each page of four images.
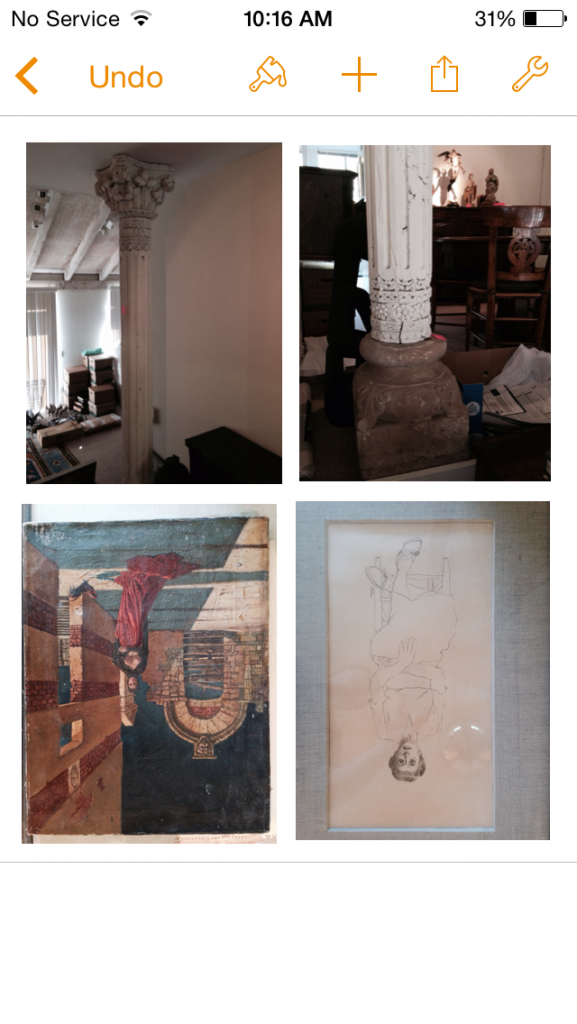
Hit the plus symbol found on the top bar, find the picture you want, you can only pick one at a time. The first picture shows up as a zoomed in image for some reason, subsequent images will not start this way. You can either resize on this screen or hit “done” and resize on the next screen. Resize to somewhere around 5.15″ for the widest dimension, that should space out well on the page without pushing you into a second page (more on that later). To initiate the resize option, click once on the image and you’ll get a few options to pop up above the image as well as blue dots on the four corners of the image. Put your finger on one of the dots and drag as desired, it will resize proportionally. This is all very rough sizing and gets the job done, I can’t say that every image is going to perfectly fill the space. There will likely be a little white space around the image here and there, but it’s not too distracting.
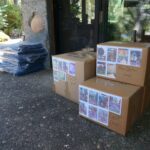
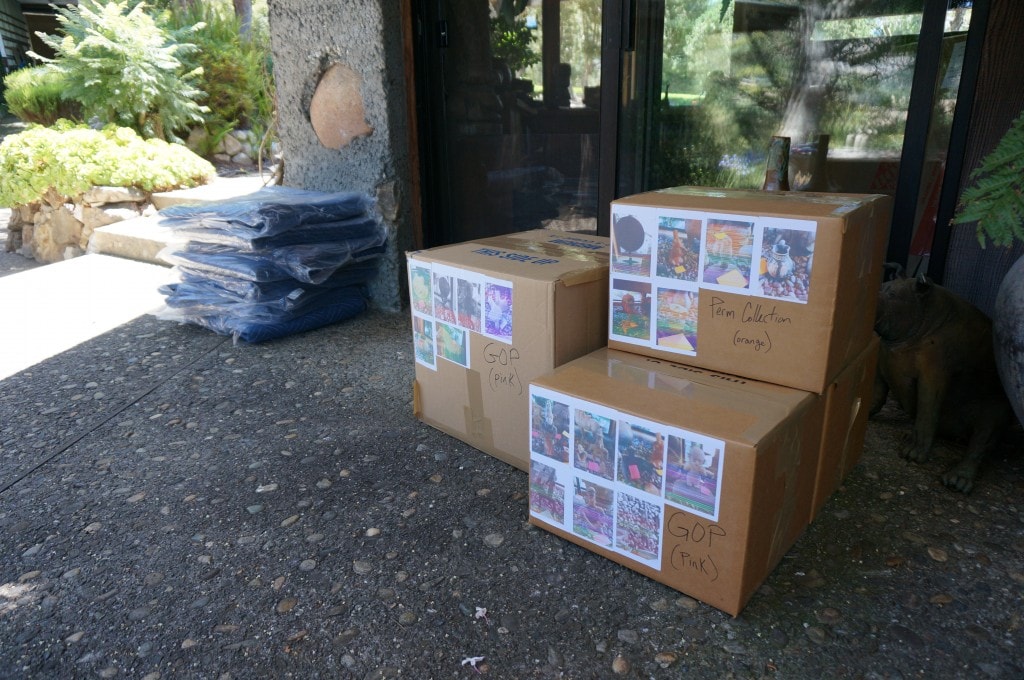
In an ideal world, one would be able to create their own template in Pages and could drop in an image perfectly aligned. If one had more time during the packing process there could be a text field where you could add all the information about the object. For our purposes, we just needed to know what was in the box and the box was labeled with the donor’s name. Everything was wrapped up, then placed either in its own box or within a speed box with many other things. Then the boxes were piled up on a pallet with the images facing out. This allowed for quick drop off when we got back to the museum and allows us to find the object later using the image.
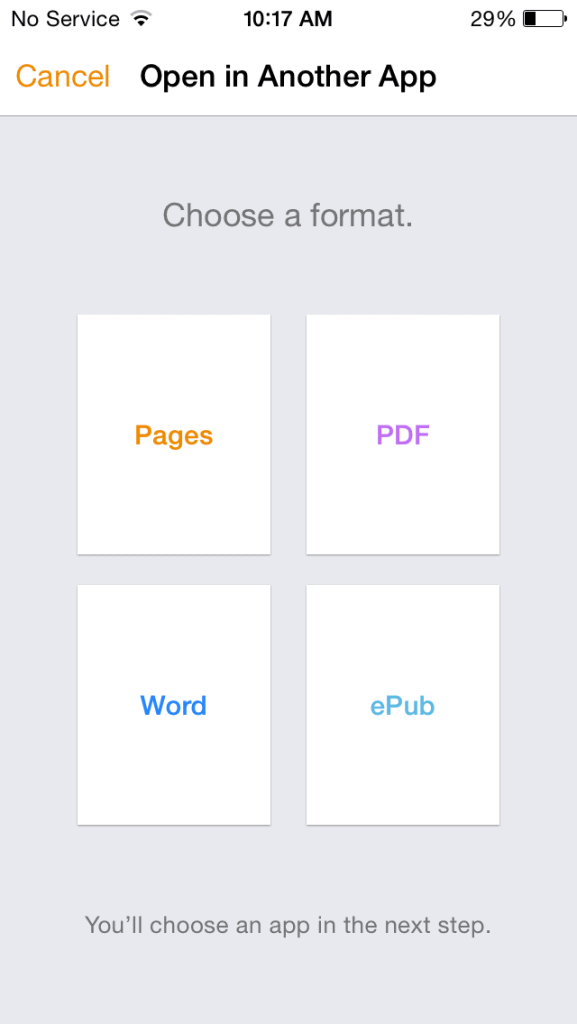
Hit the SHARE button found on the top bar, it’s the one that looks like a square with an arrow pointing up and out if it.
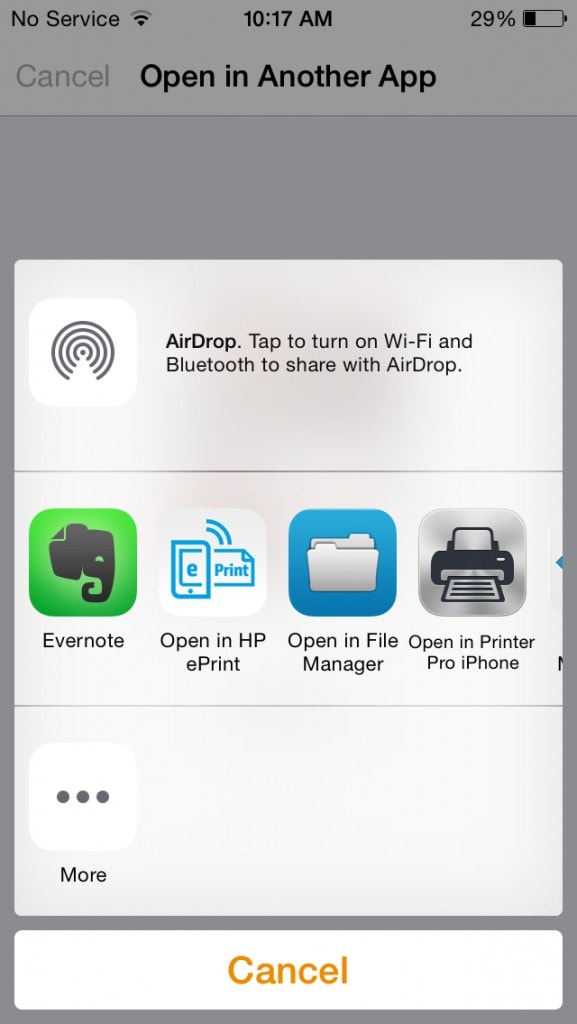
Choose “Open in Another App”
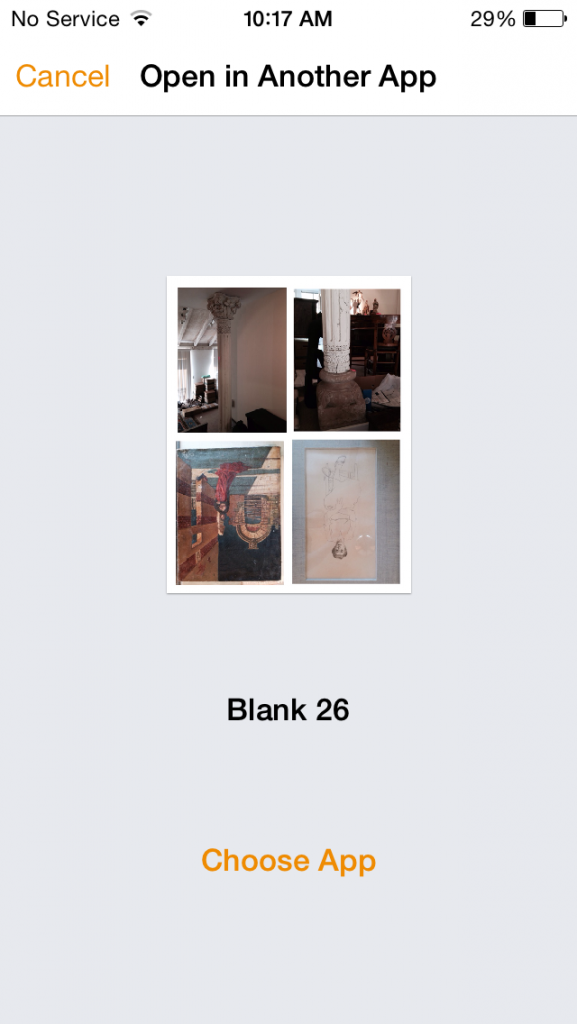
When choosing a format I choose PDF. I can say that the Pages format does not work, but honestly I haven’t tried the other formats. One of the others could be sightly faster to process, I’m not sure. If someone has tested this we’d love to know?
Hit “Choose App” or if you wait another second it will pop up the choices automatically. Choose “Open in HP ePrint”
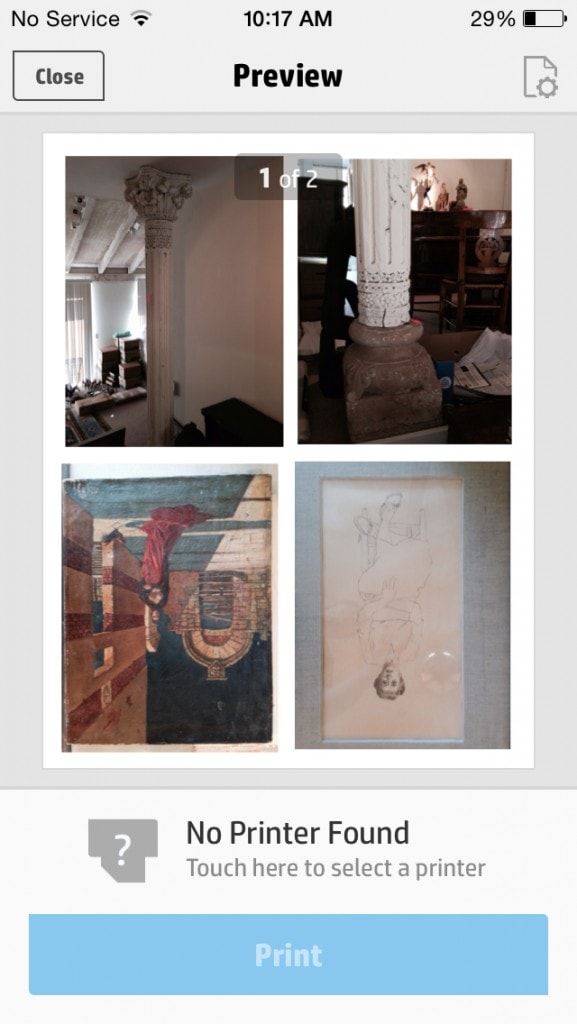
If no printer has been chosen, you’ll see the option to find a printer at the bottom of the page. If you have already paired them together it will show you the HP Envy 4500 and the PRINT option will be available.
For the purposes of stickers on the outside of boxes, I choose DRAFT mode which looks just fine and theoretically uses less ink. I recommend getting new ink cartridges right away, the included cartridges only print a couple dozen pages. There is even an extra capacity cartridge out there, I think they have an X after the part number (61).
Hit “print”, you’re done
Know Issues:
Sometimes a second page gets created when loading up the four images. It will happen if the bottom images dip too low on the page, you just have to get in the groove how low you can go before you trigger this second page. Doing this will be less work than making sure the printer only prints page one of two on the ePrint options page. That is the other solution if you happen to make the same mistake I did when loading up all the pages.
Every so often the ePrint page will have the last thing you printed in its memory. It’s easiest to just wait until the progress bar finishes on the current print before clicking back over to Pages to set up the next page to print. I seem to remember there was another button that would pop up on the ePrint screen that would allow for quicker transitions, but the printer is packed up right now and I just don’t want to set everything up to get that information for ya’ll, sorry about that. I can say that it’s a pretty intuitive button, something like “move to background” or something to that effect. I didn’t notice the option until I was almost done with the job for some reason. Play around to discover the most efficient way to burn through all the printing.
Question, has anyone been able to get the Avery template app to work offline? Initially poking around it seemed as though a wi-fi connection was required. I think they should let you download the template and use it in the Pages app, or at least in an offline Avery environment. If anyone knows something I don’t about using the Avery template app, please reply to this post below.
That’s it folks. Happy printing in the field to you.



Museum Trade
We use this system even when at the home office, it’s just super easy to use!
Matt Isble
Testing the Postmatic “reply by email” system. I hope the Museum Trade Folk will enjoy this convenient system.