Imagine pools of wax swooshing around on the floor, moving this way and that, usually in the dead of night so the buffed wax has time to dry before everyone comes in to work the next day. It makes your museum look its best and is always an “OOooo” and “Wow” moment when you come in to see the beautiful work.
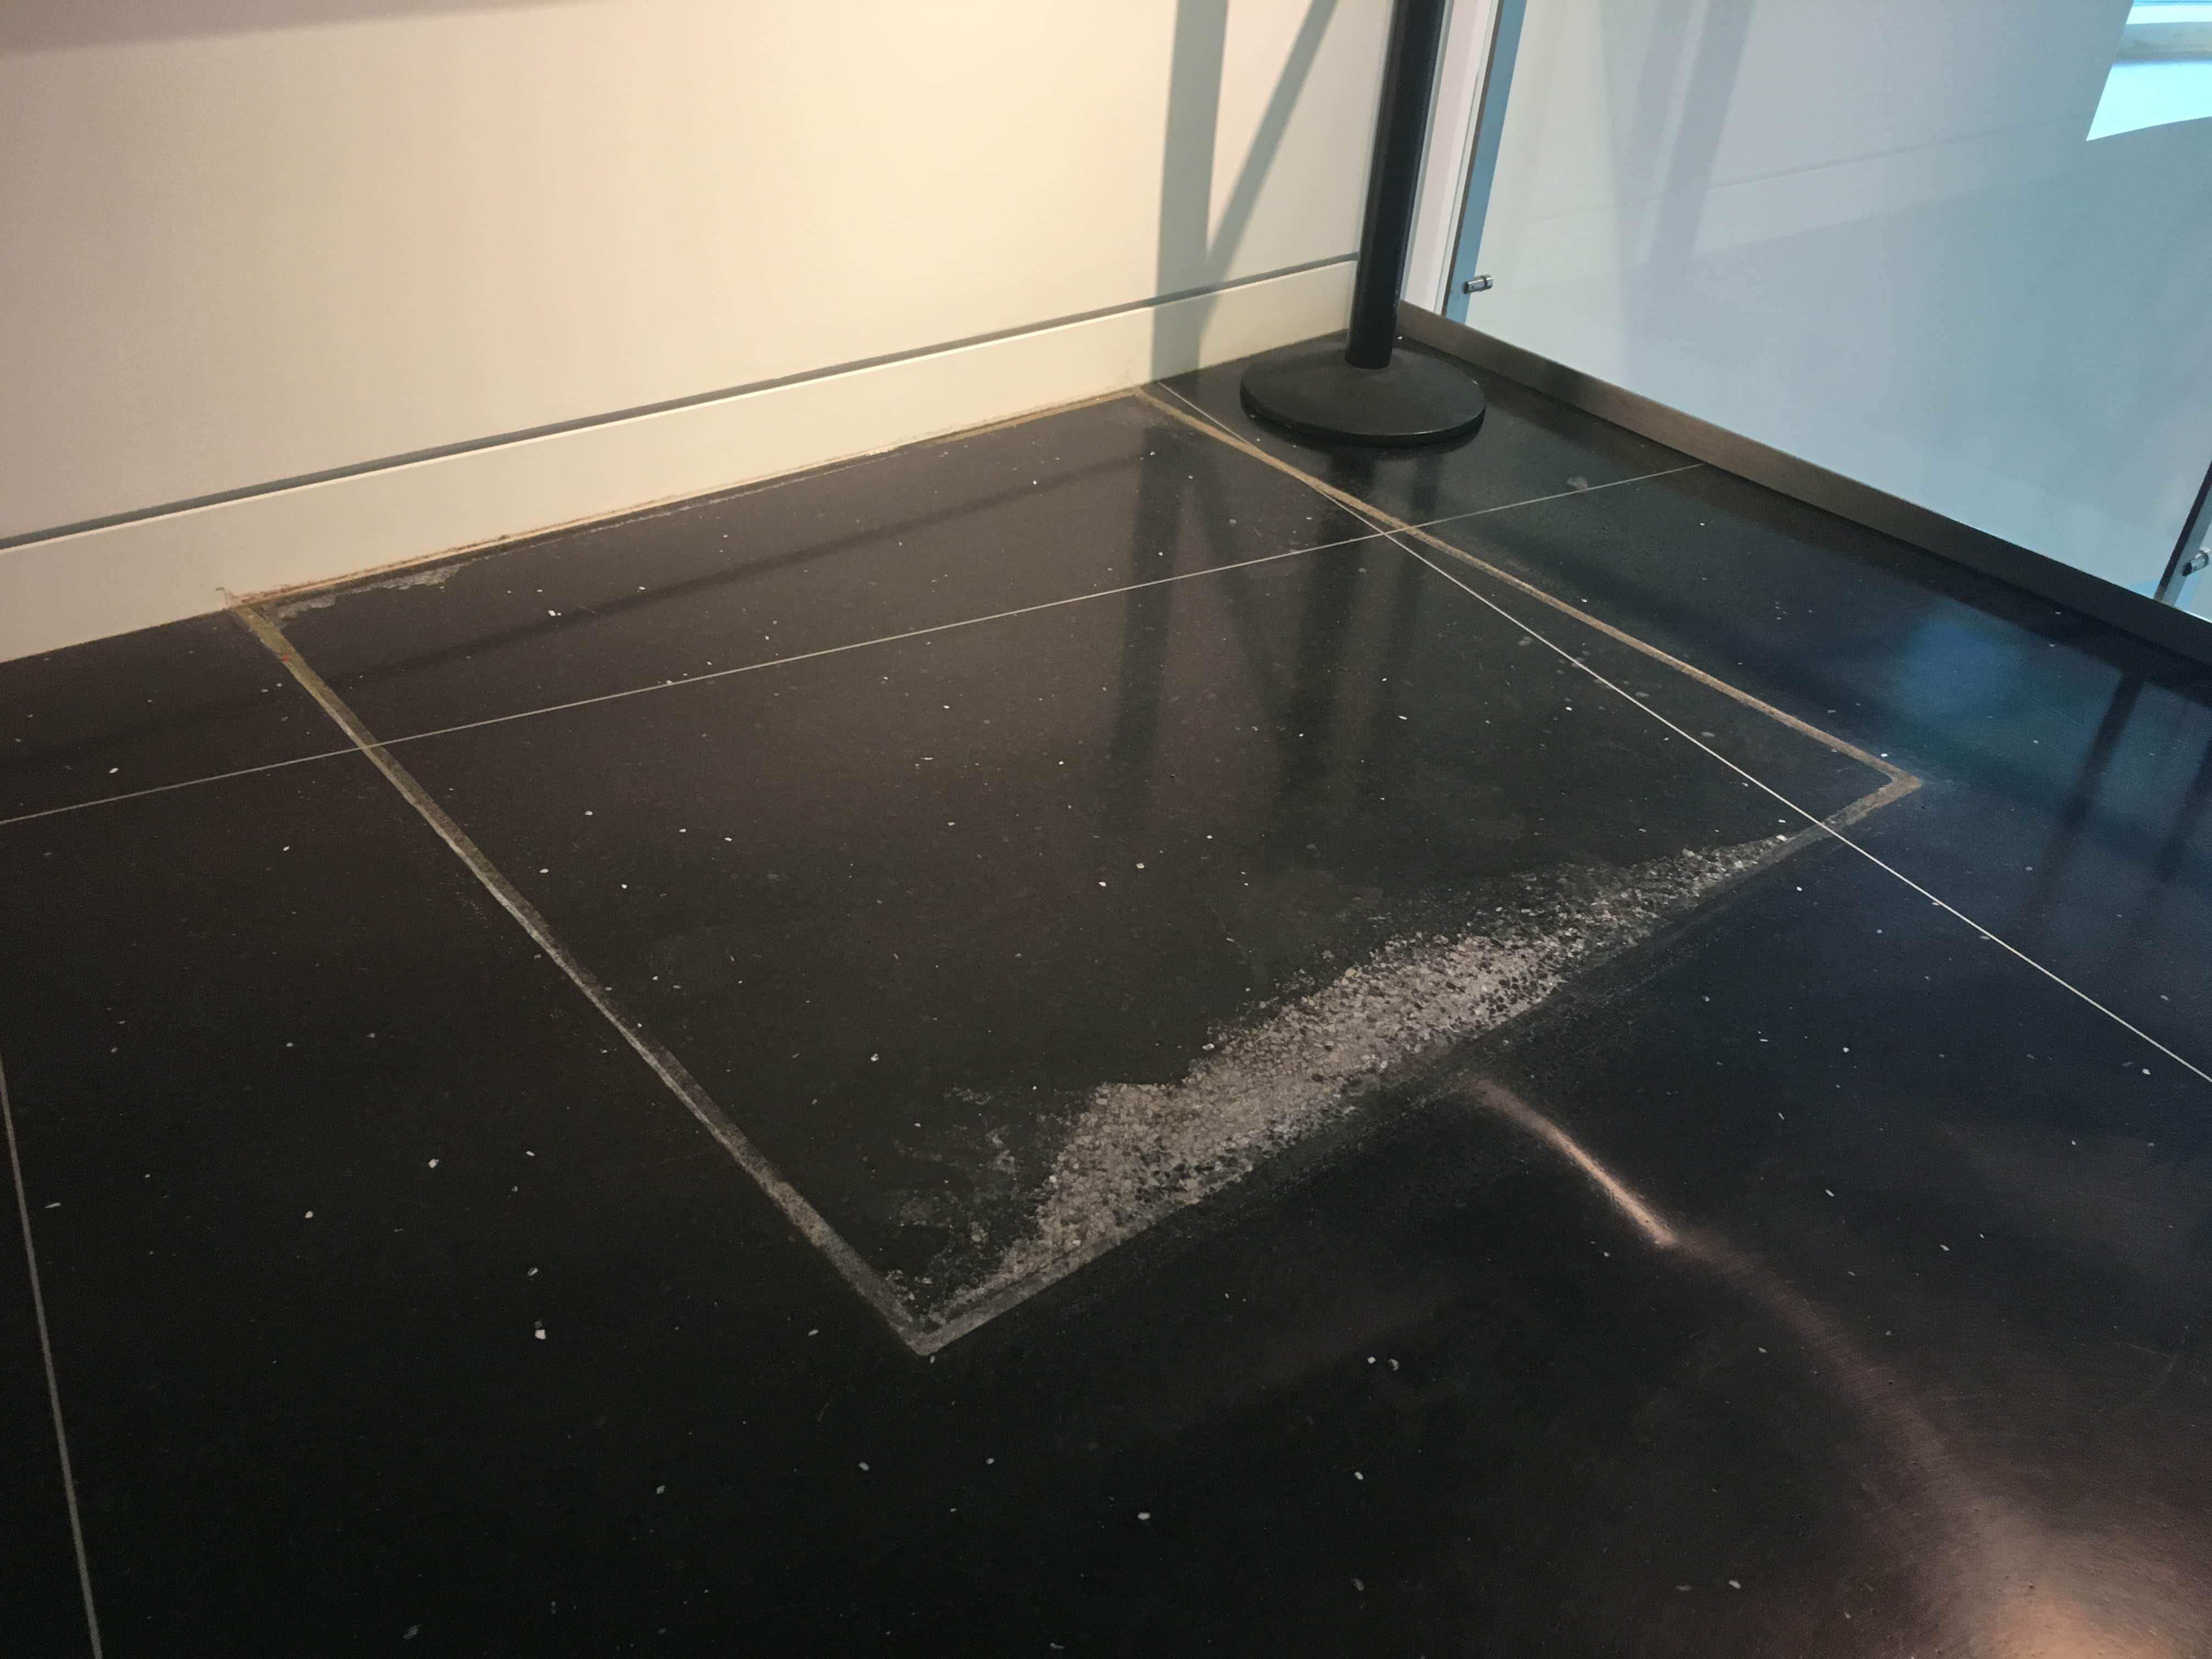
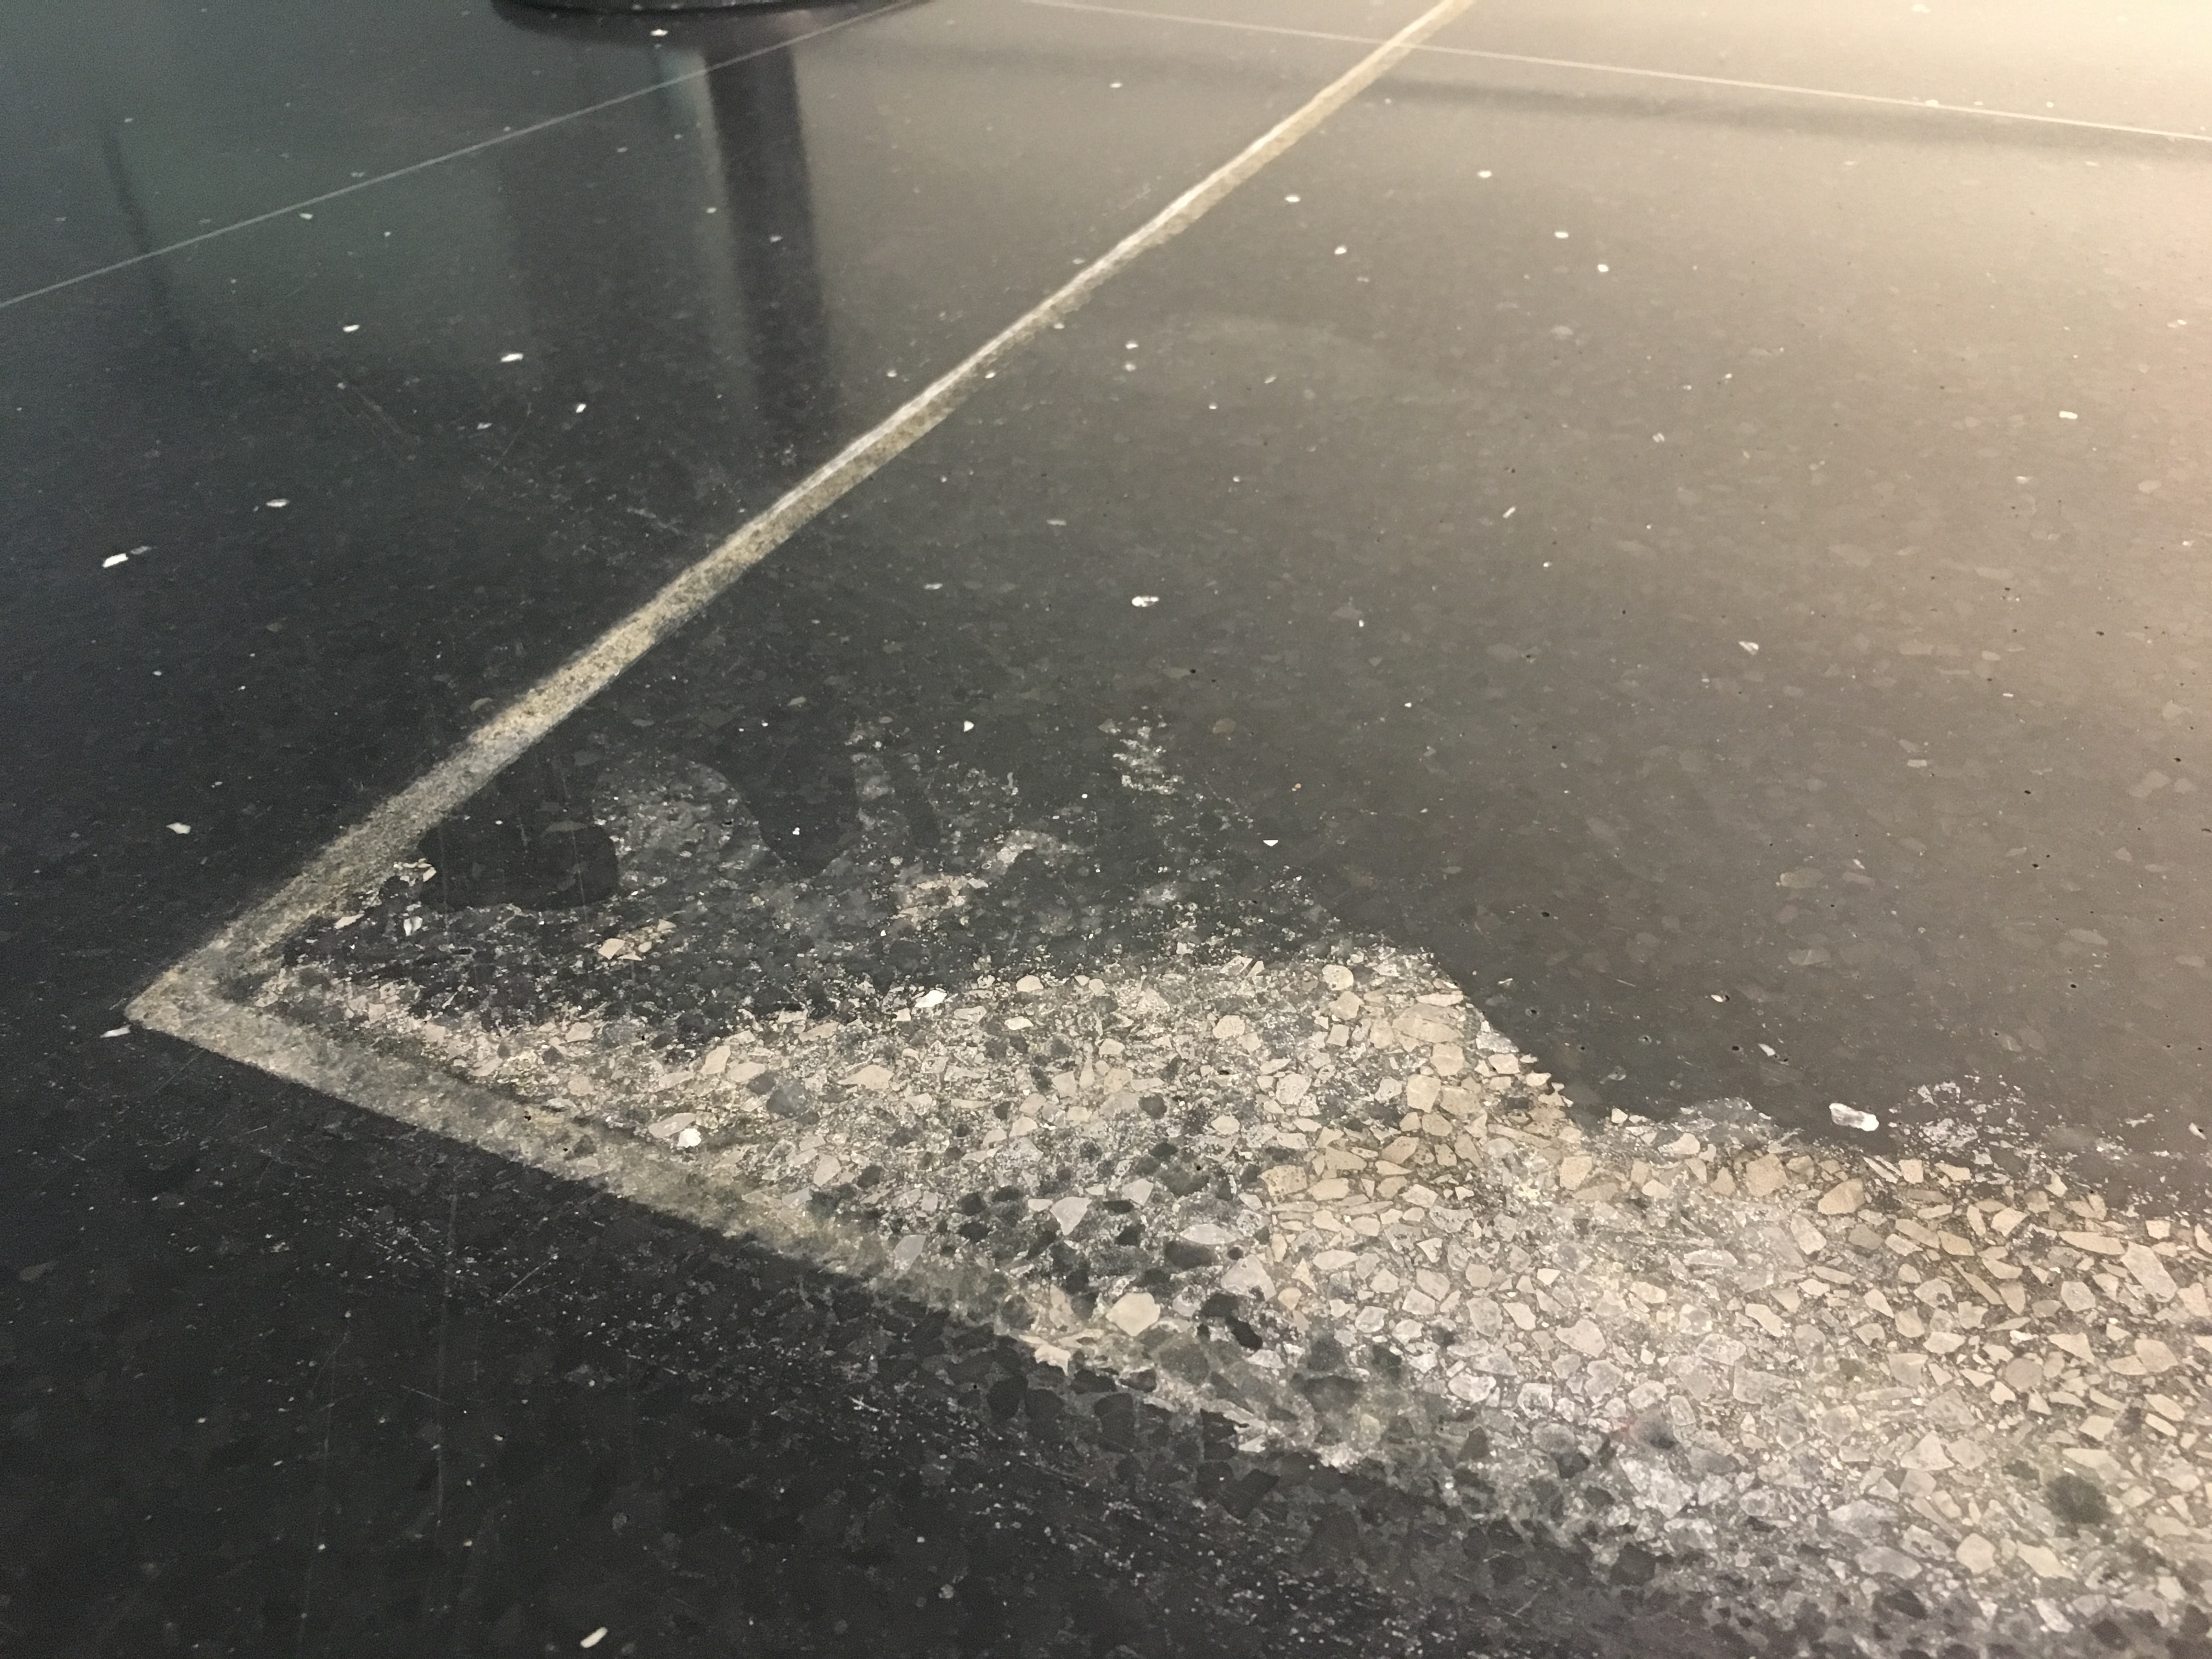
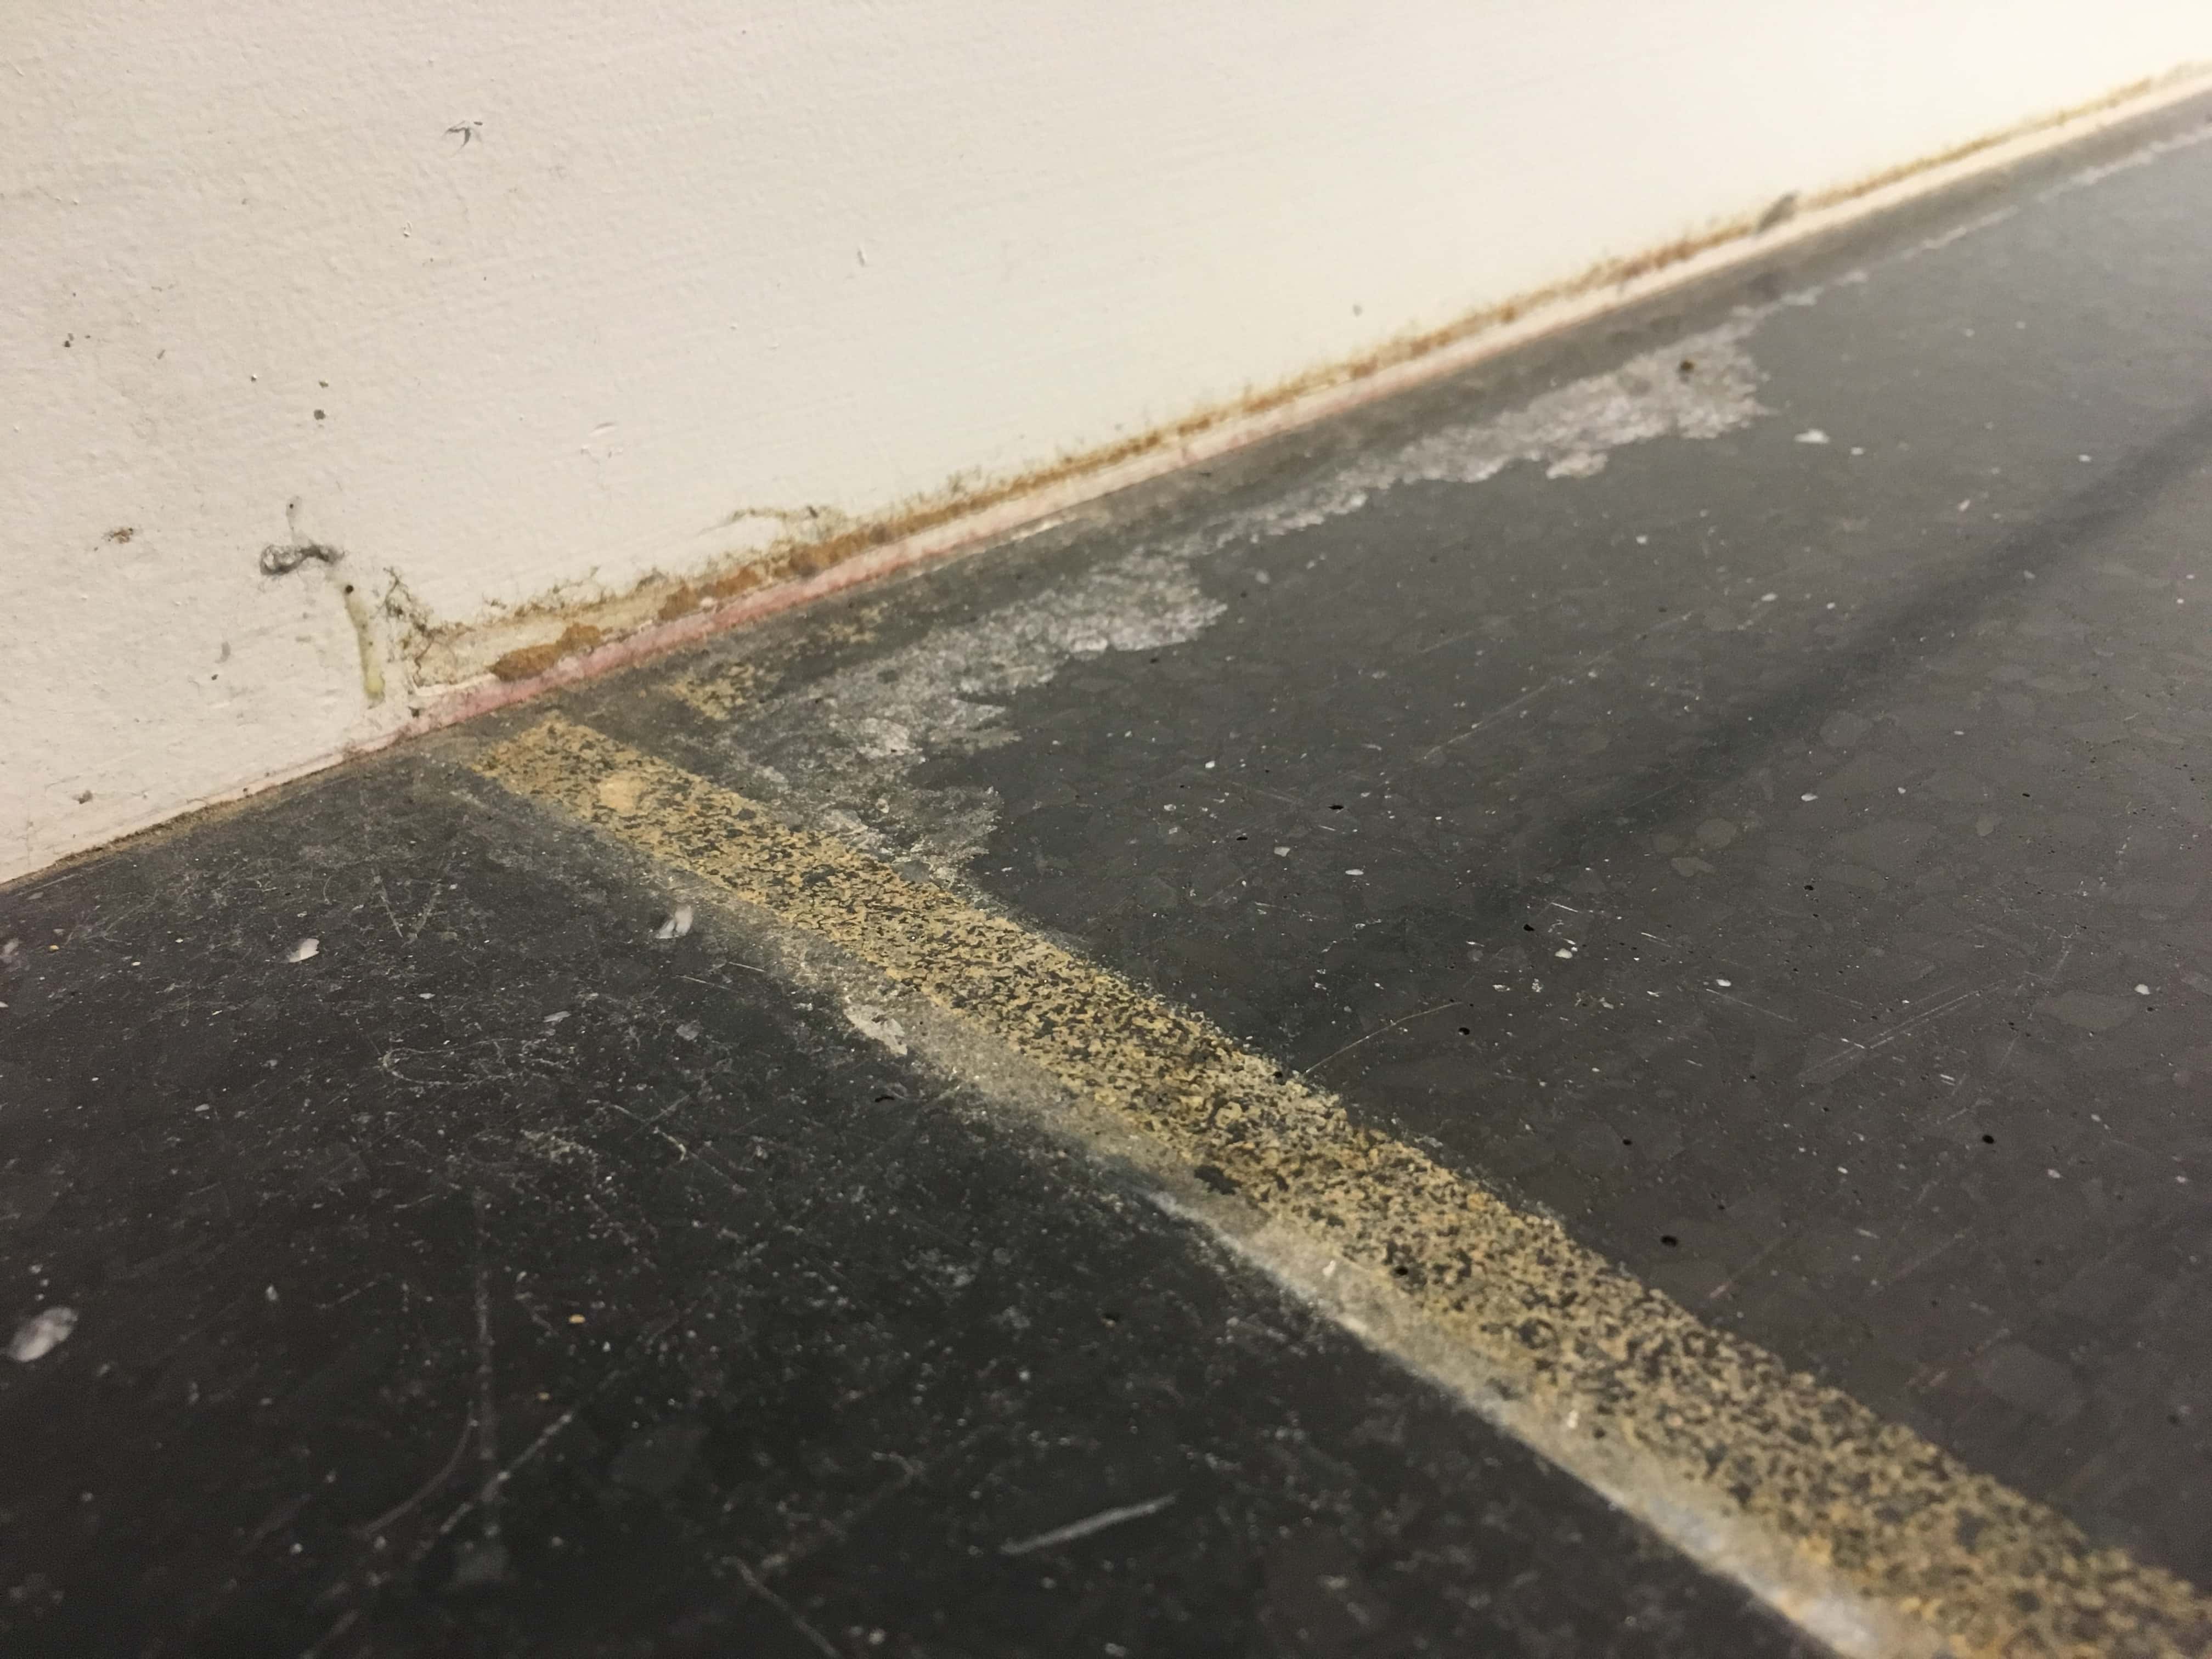
I have that feeling as well, except I also have the sense of dread, the knowledge that our larger casework have been further glued down to the floor. We have put a cork foot on all our case work so they can slide when need be, but also have some tooth so they don’t slide unnecessarily. I’ll write another article on feet and ballasts at some point because there are caveats to all of this. This cork and the bare MDF at the bottom of the case wall are sponges for this floor stripper and wax. We’ve had to performs some extreme measures to rip it up and away from the the floor.
Not to mention the permanent damage done to the terrazzo where pools set under the case work. I haven’t done an interview with the custodial staff on this, but I think a stripper goes down first and that’s what pools up and eats the floor, but that’s just a guess.
If I may digress, do give proper training to the person who babysits the late night wax crew. They are usually an outside company and know nothing of museums and how to behave. We had splattered wax on our walls (thank god there weren’t low sculptures in the area) and a mangled corner on a riser from these guys. The babysitter needs to give a pep talk or stand over them, or, or, or?
The Ever-Evolving Art of Casework Design and Fabrication
In an ideal world, we’d remove all the casework before the wax job is done, but that’s a lot of labor and you might end up with an empty gallery for a few days as you return cases and objects before opening each day.
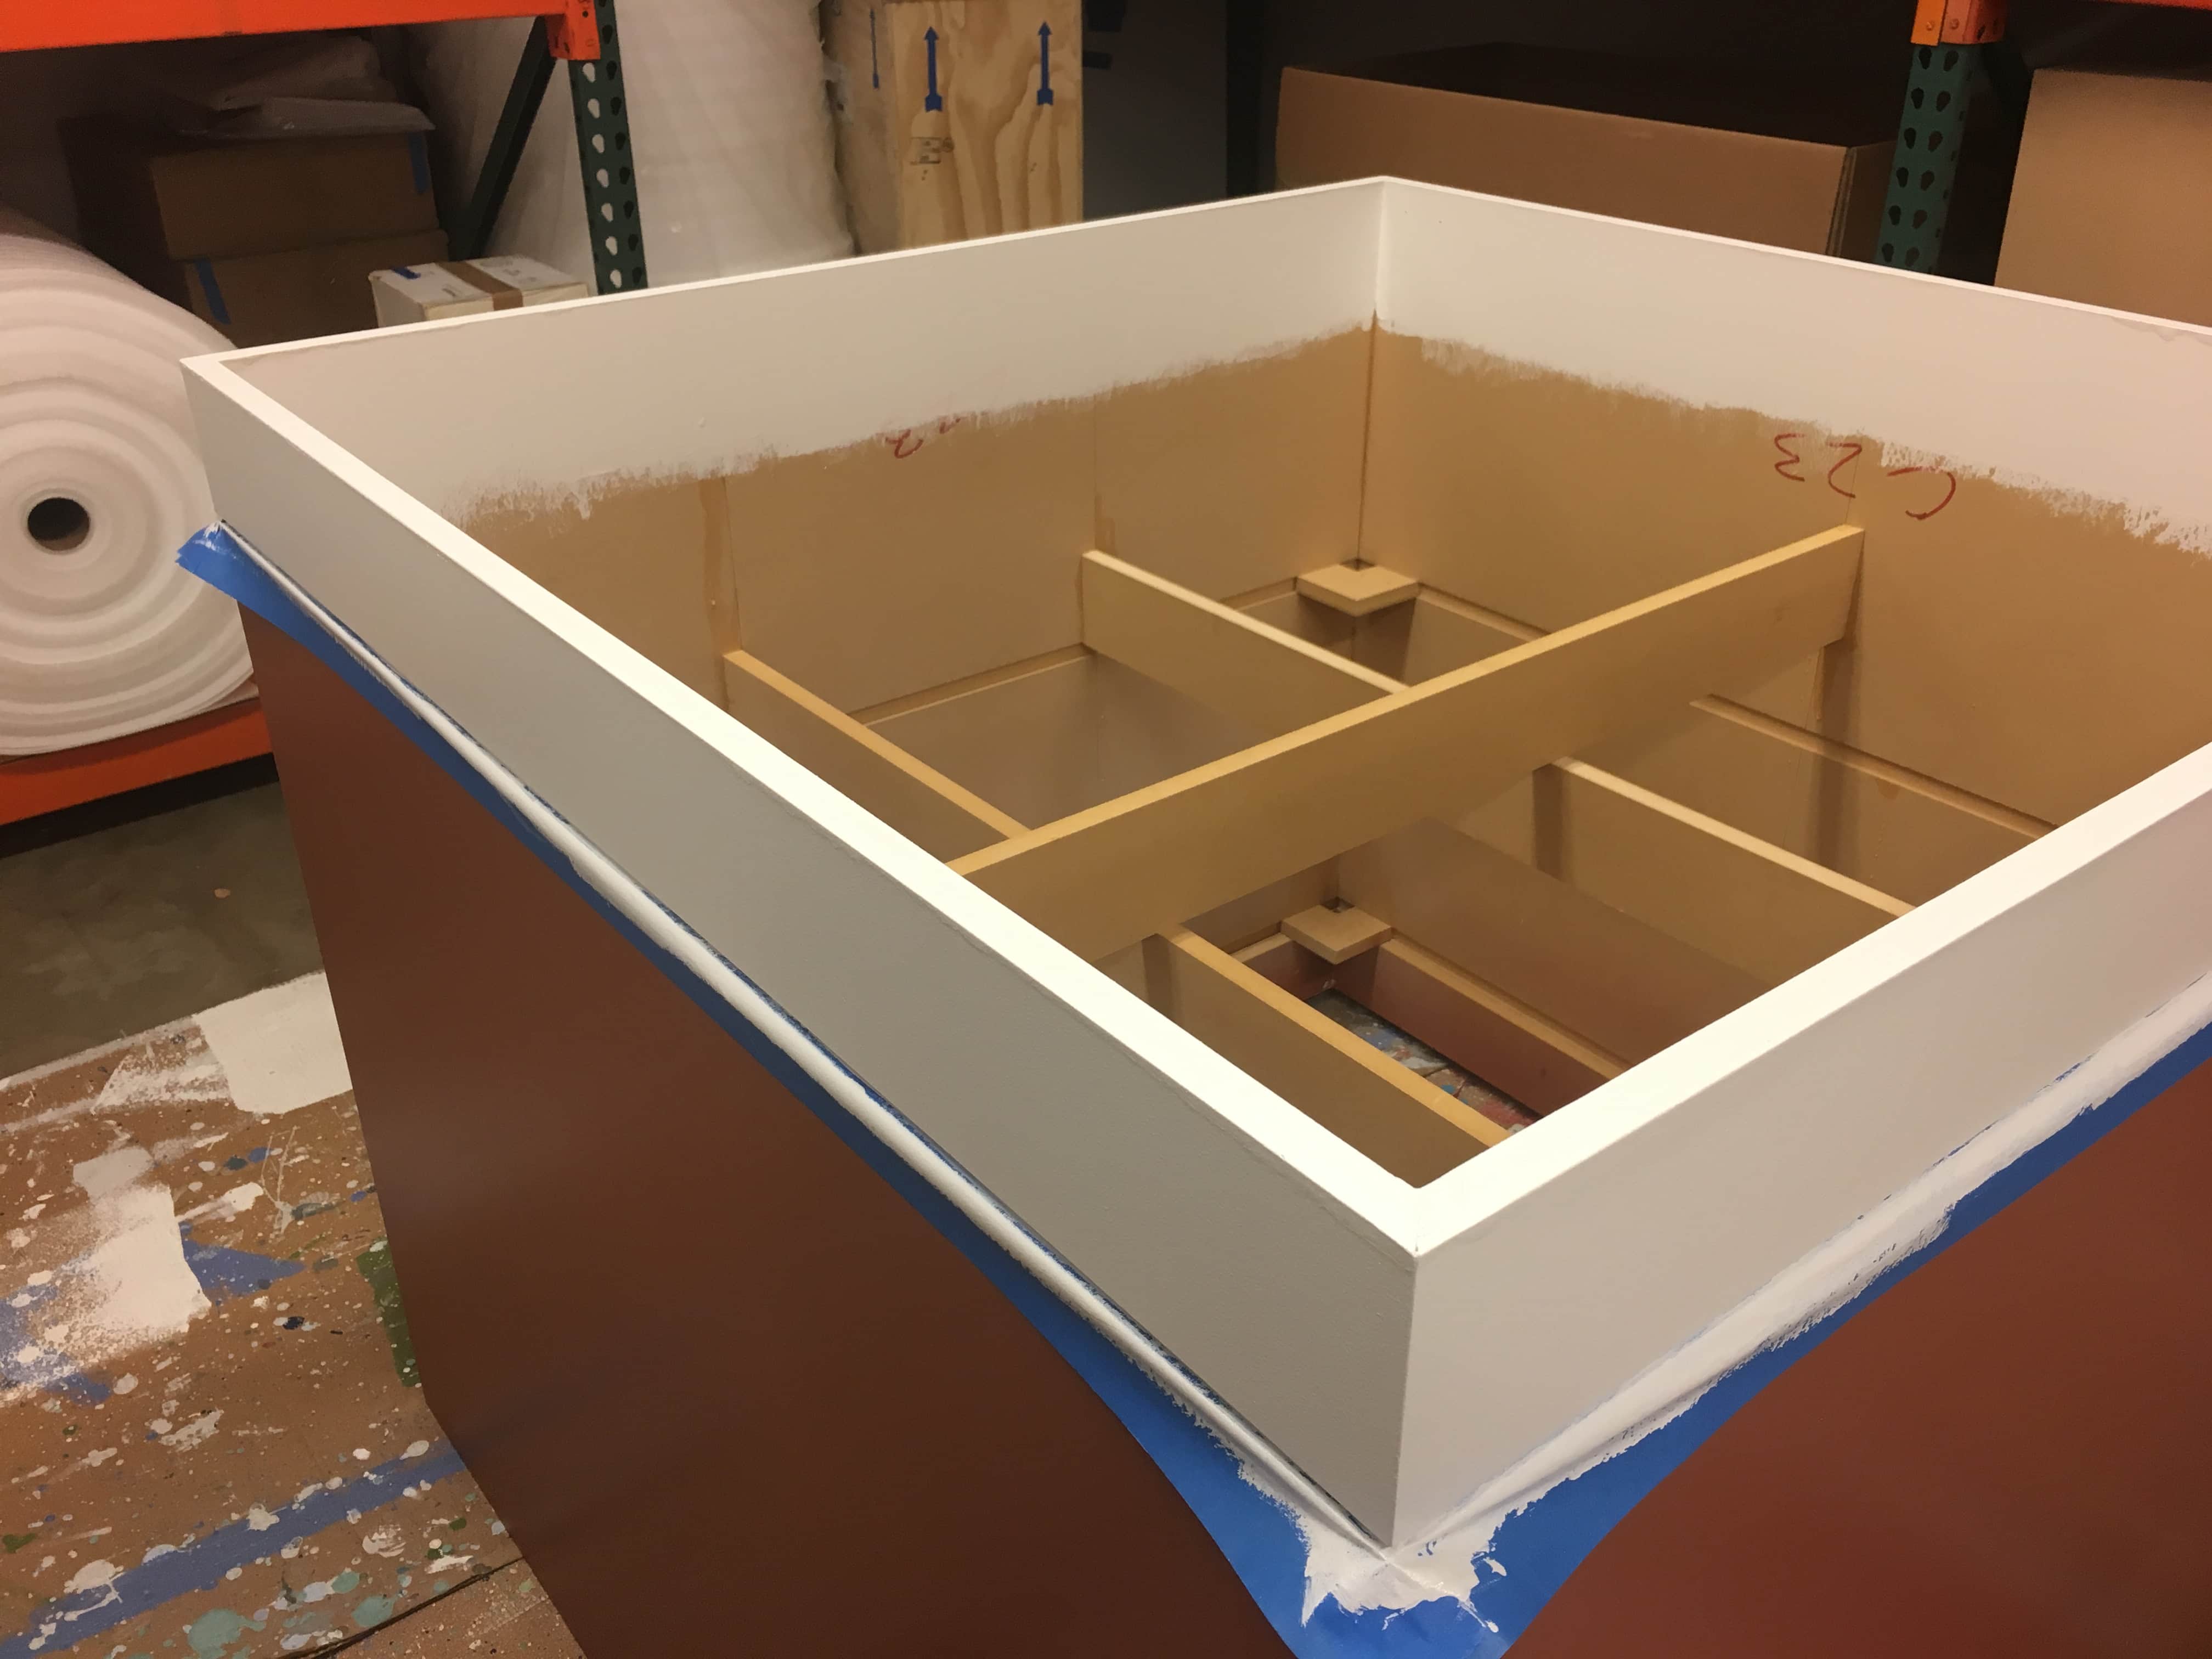
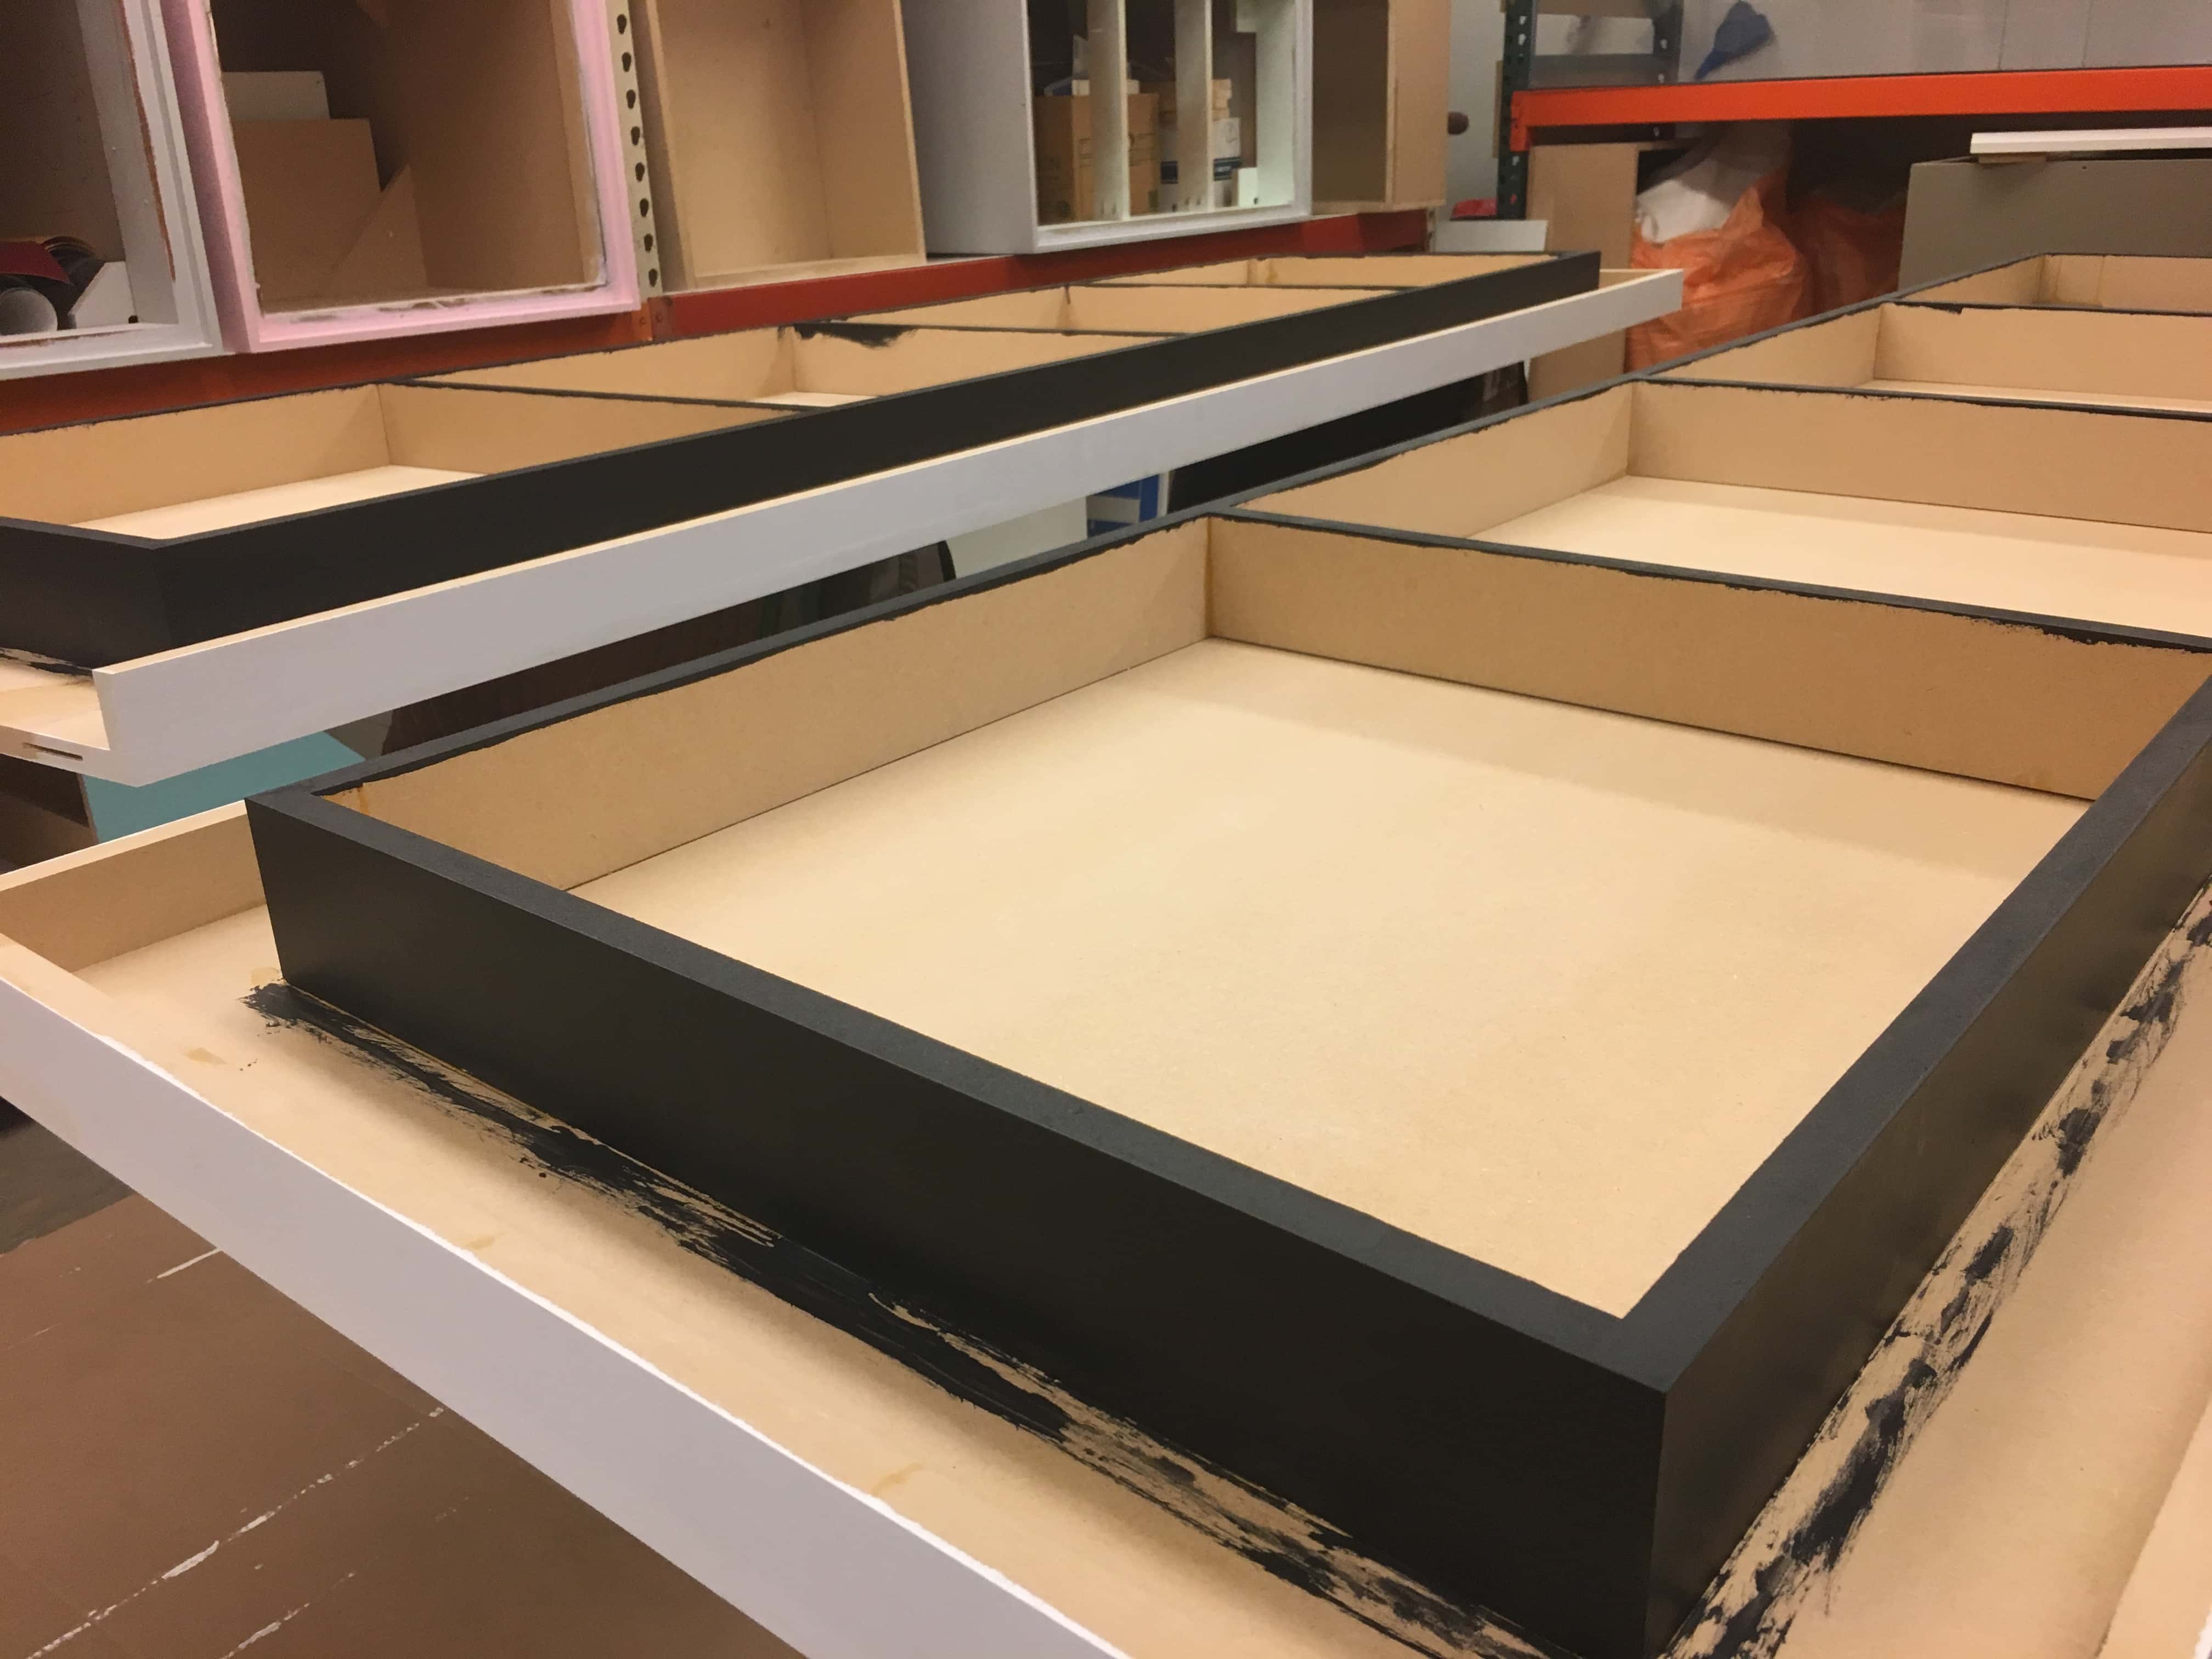
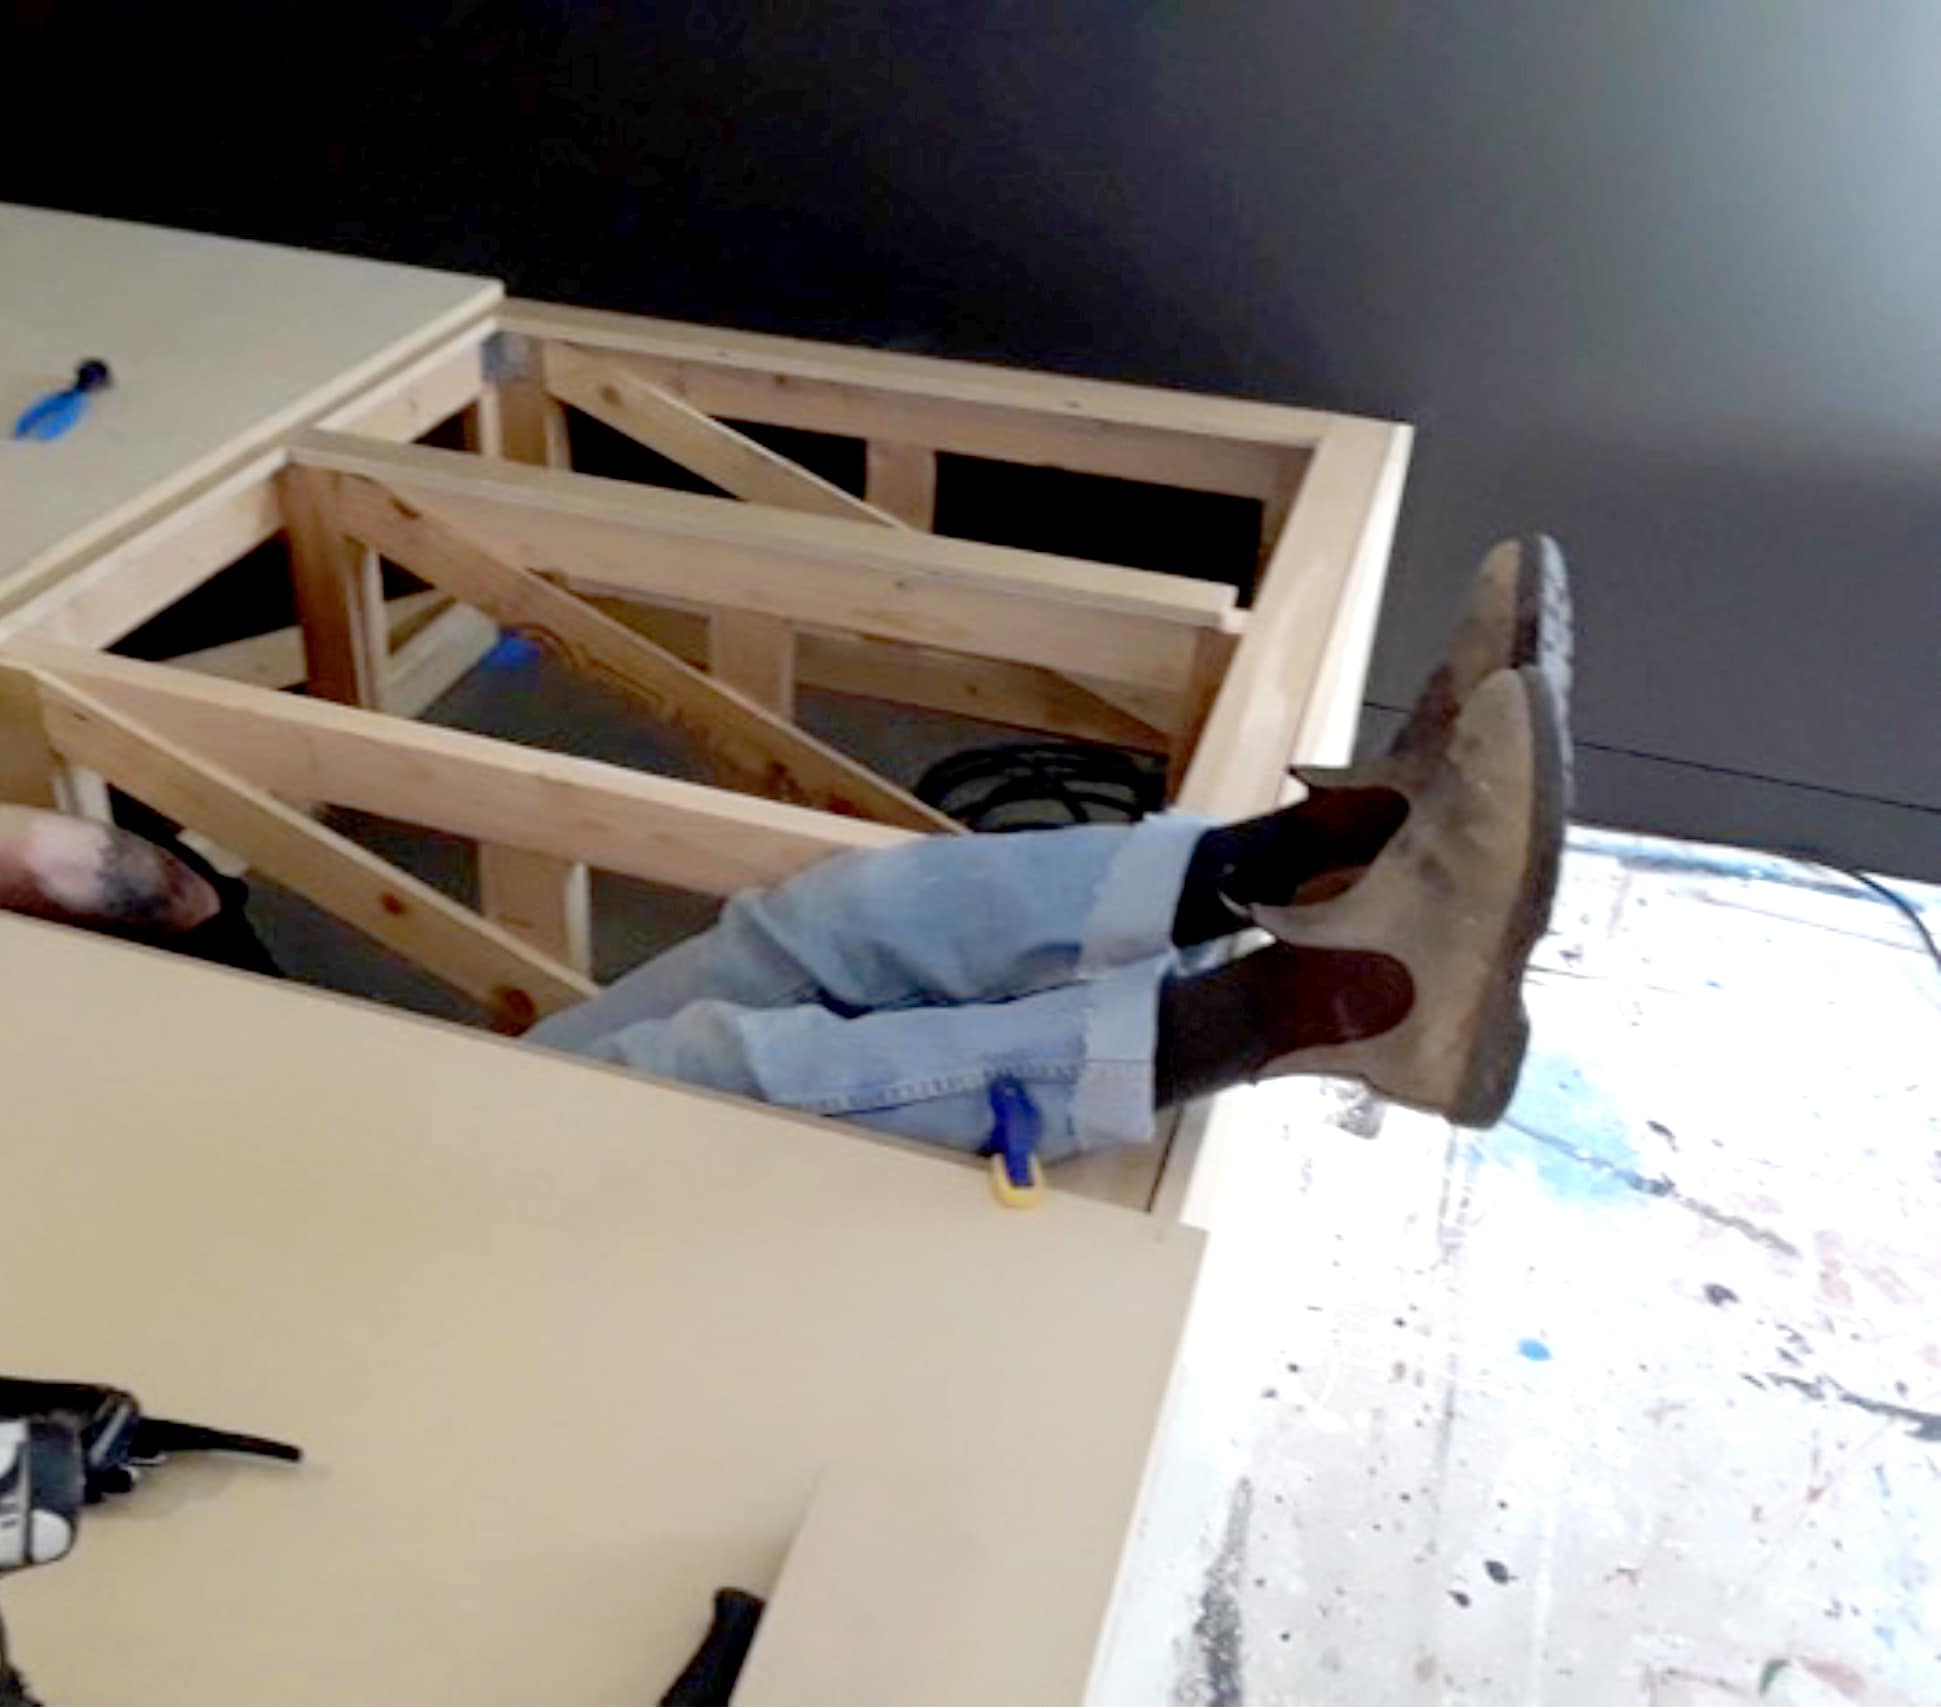
So, here is our next move. We are first painting the bottom edges of the furniture (peds, cases, and risers). This will seal the MDF so it will (hopefully) repel the liquid they lay down. This paint goes up the inside edge as well. I think ideally we’d do this in a semi-gloss, but in the case of this riser we only had flat black on hand and this innovation occurred while giving these a paint job for a refresh of the gallery space.
That is to say, we had little time between thinking of this idea and having to be ready with the furniture. For both the semi and flat we put three-coat on this bottom edge.
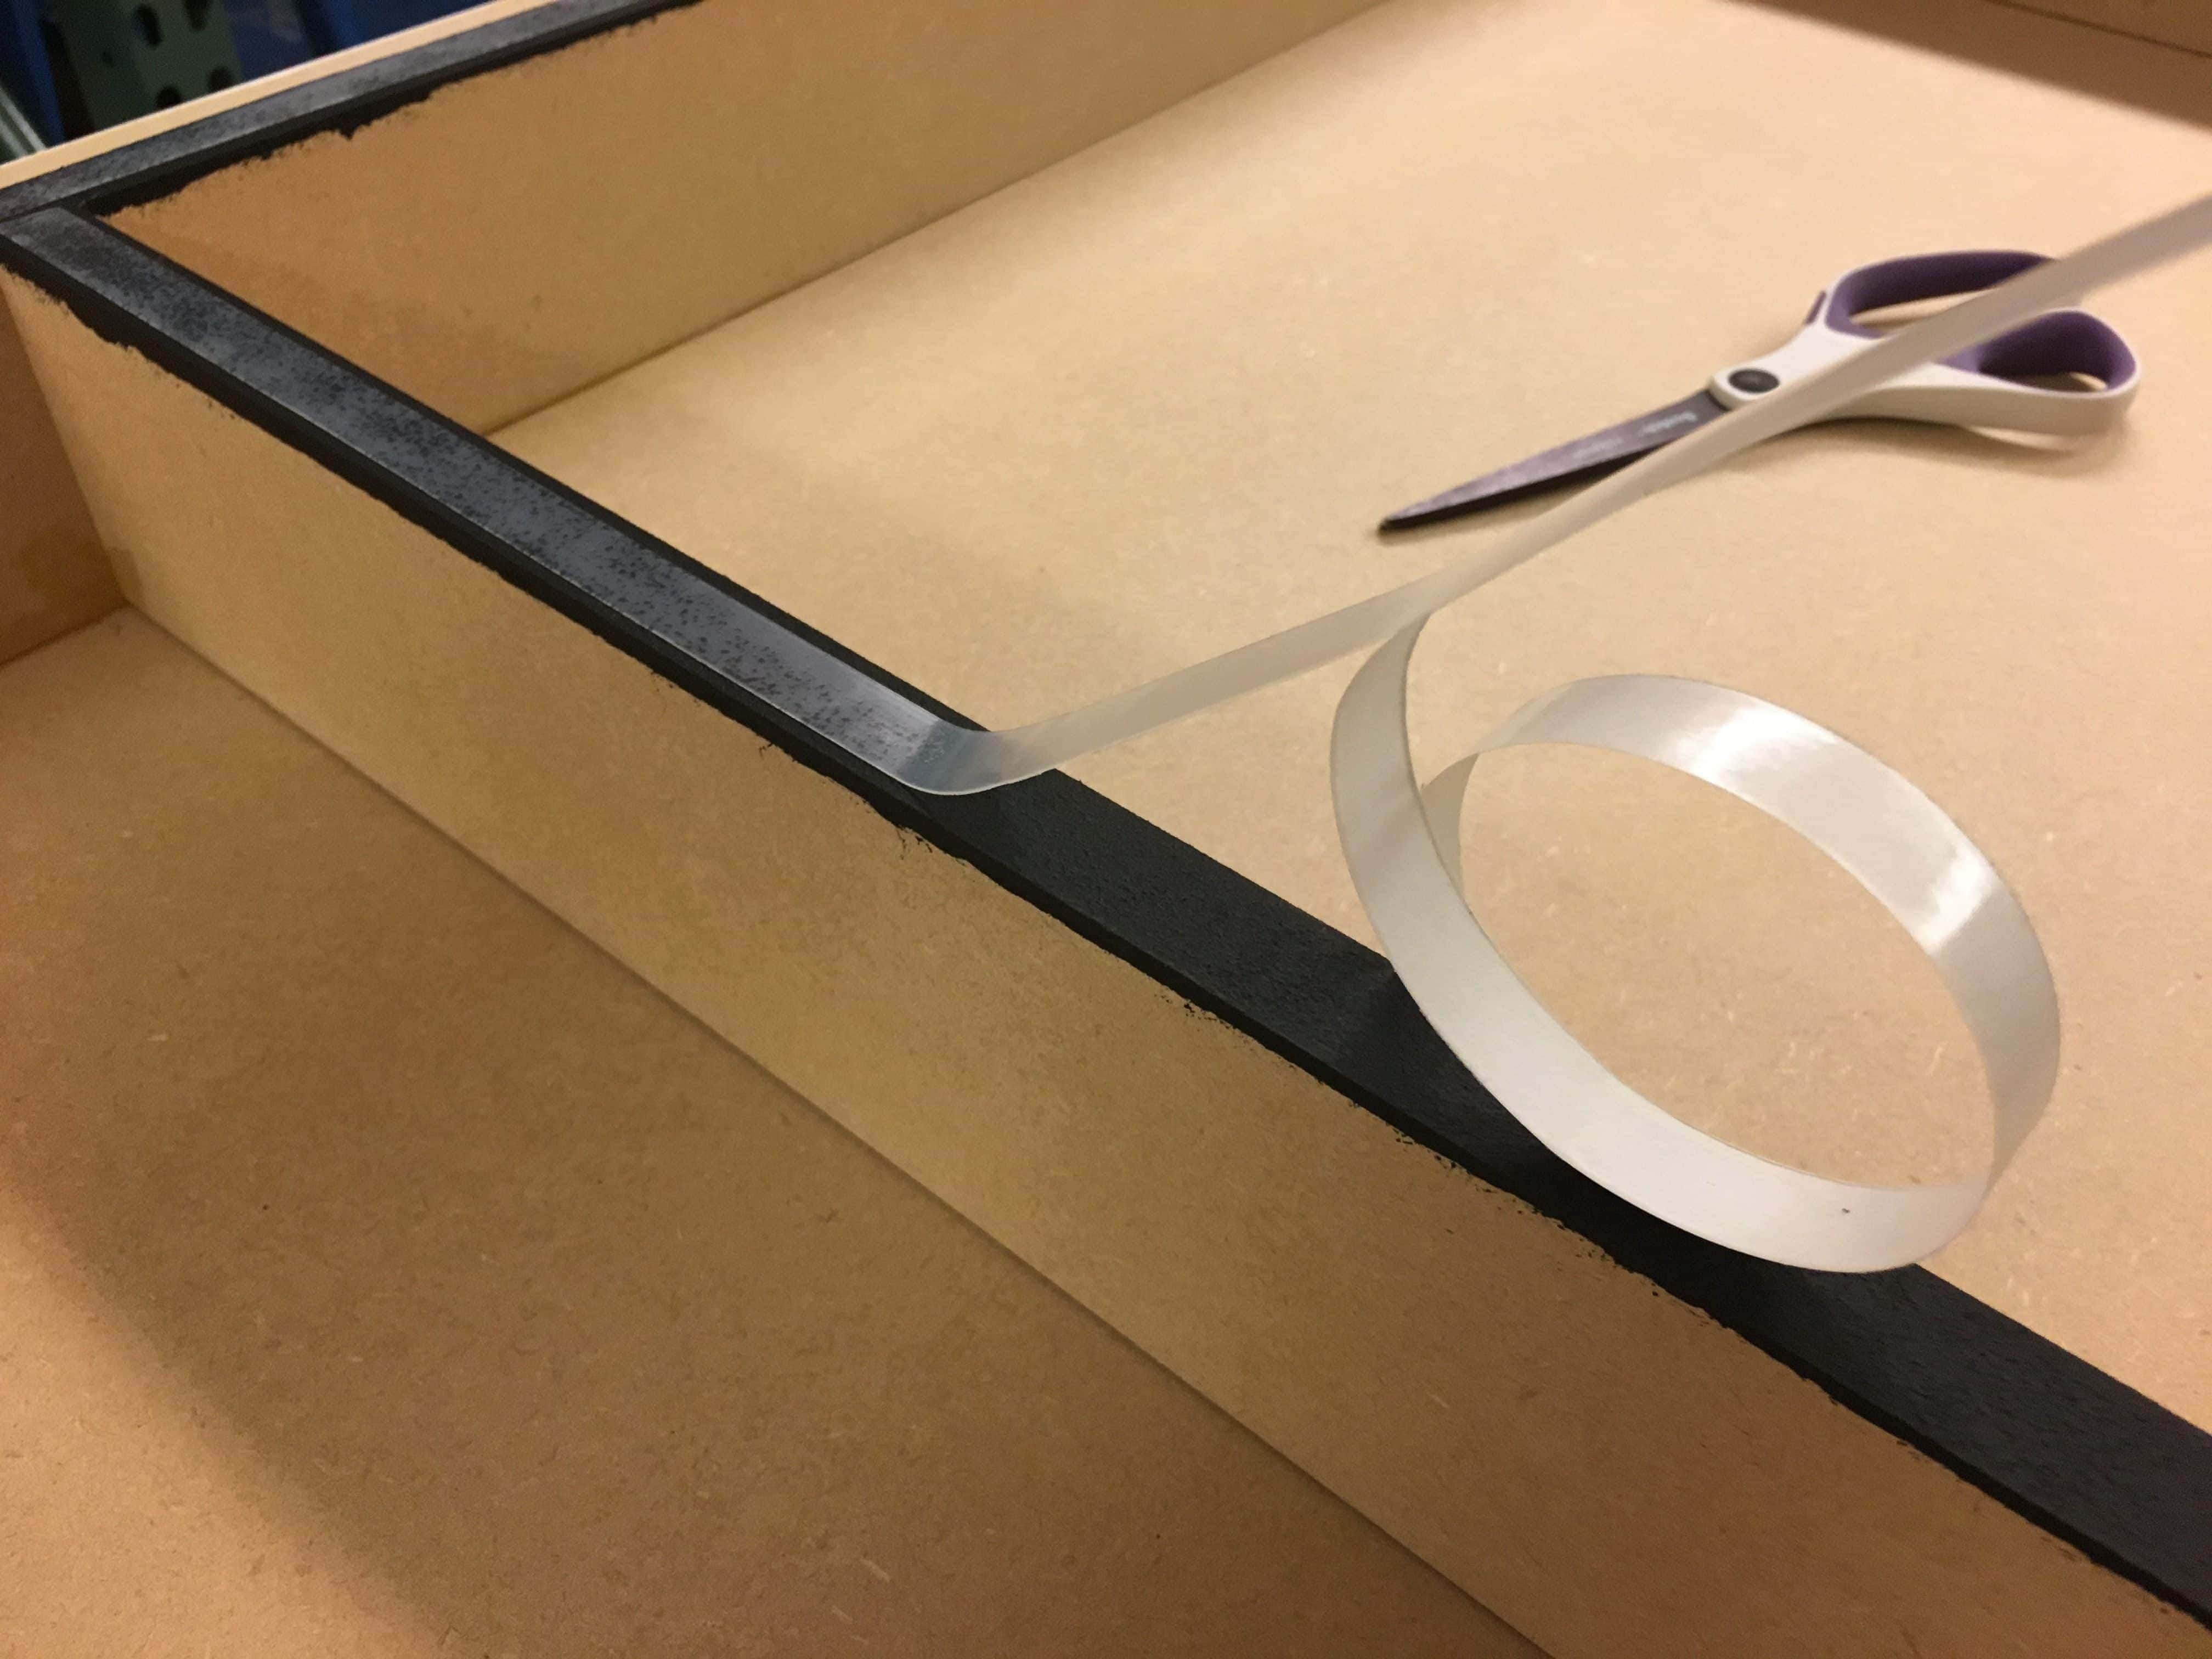
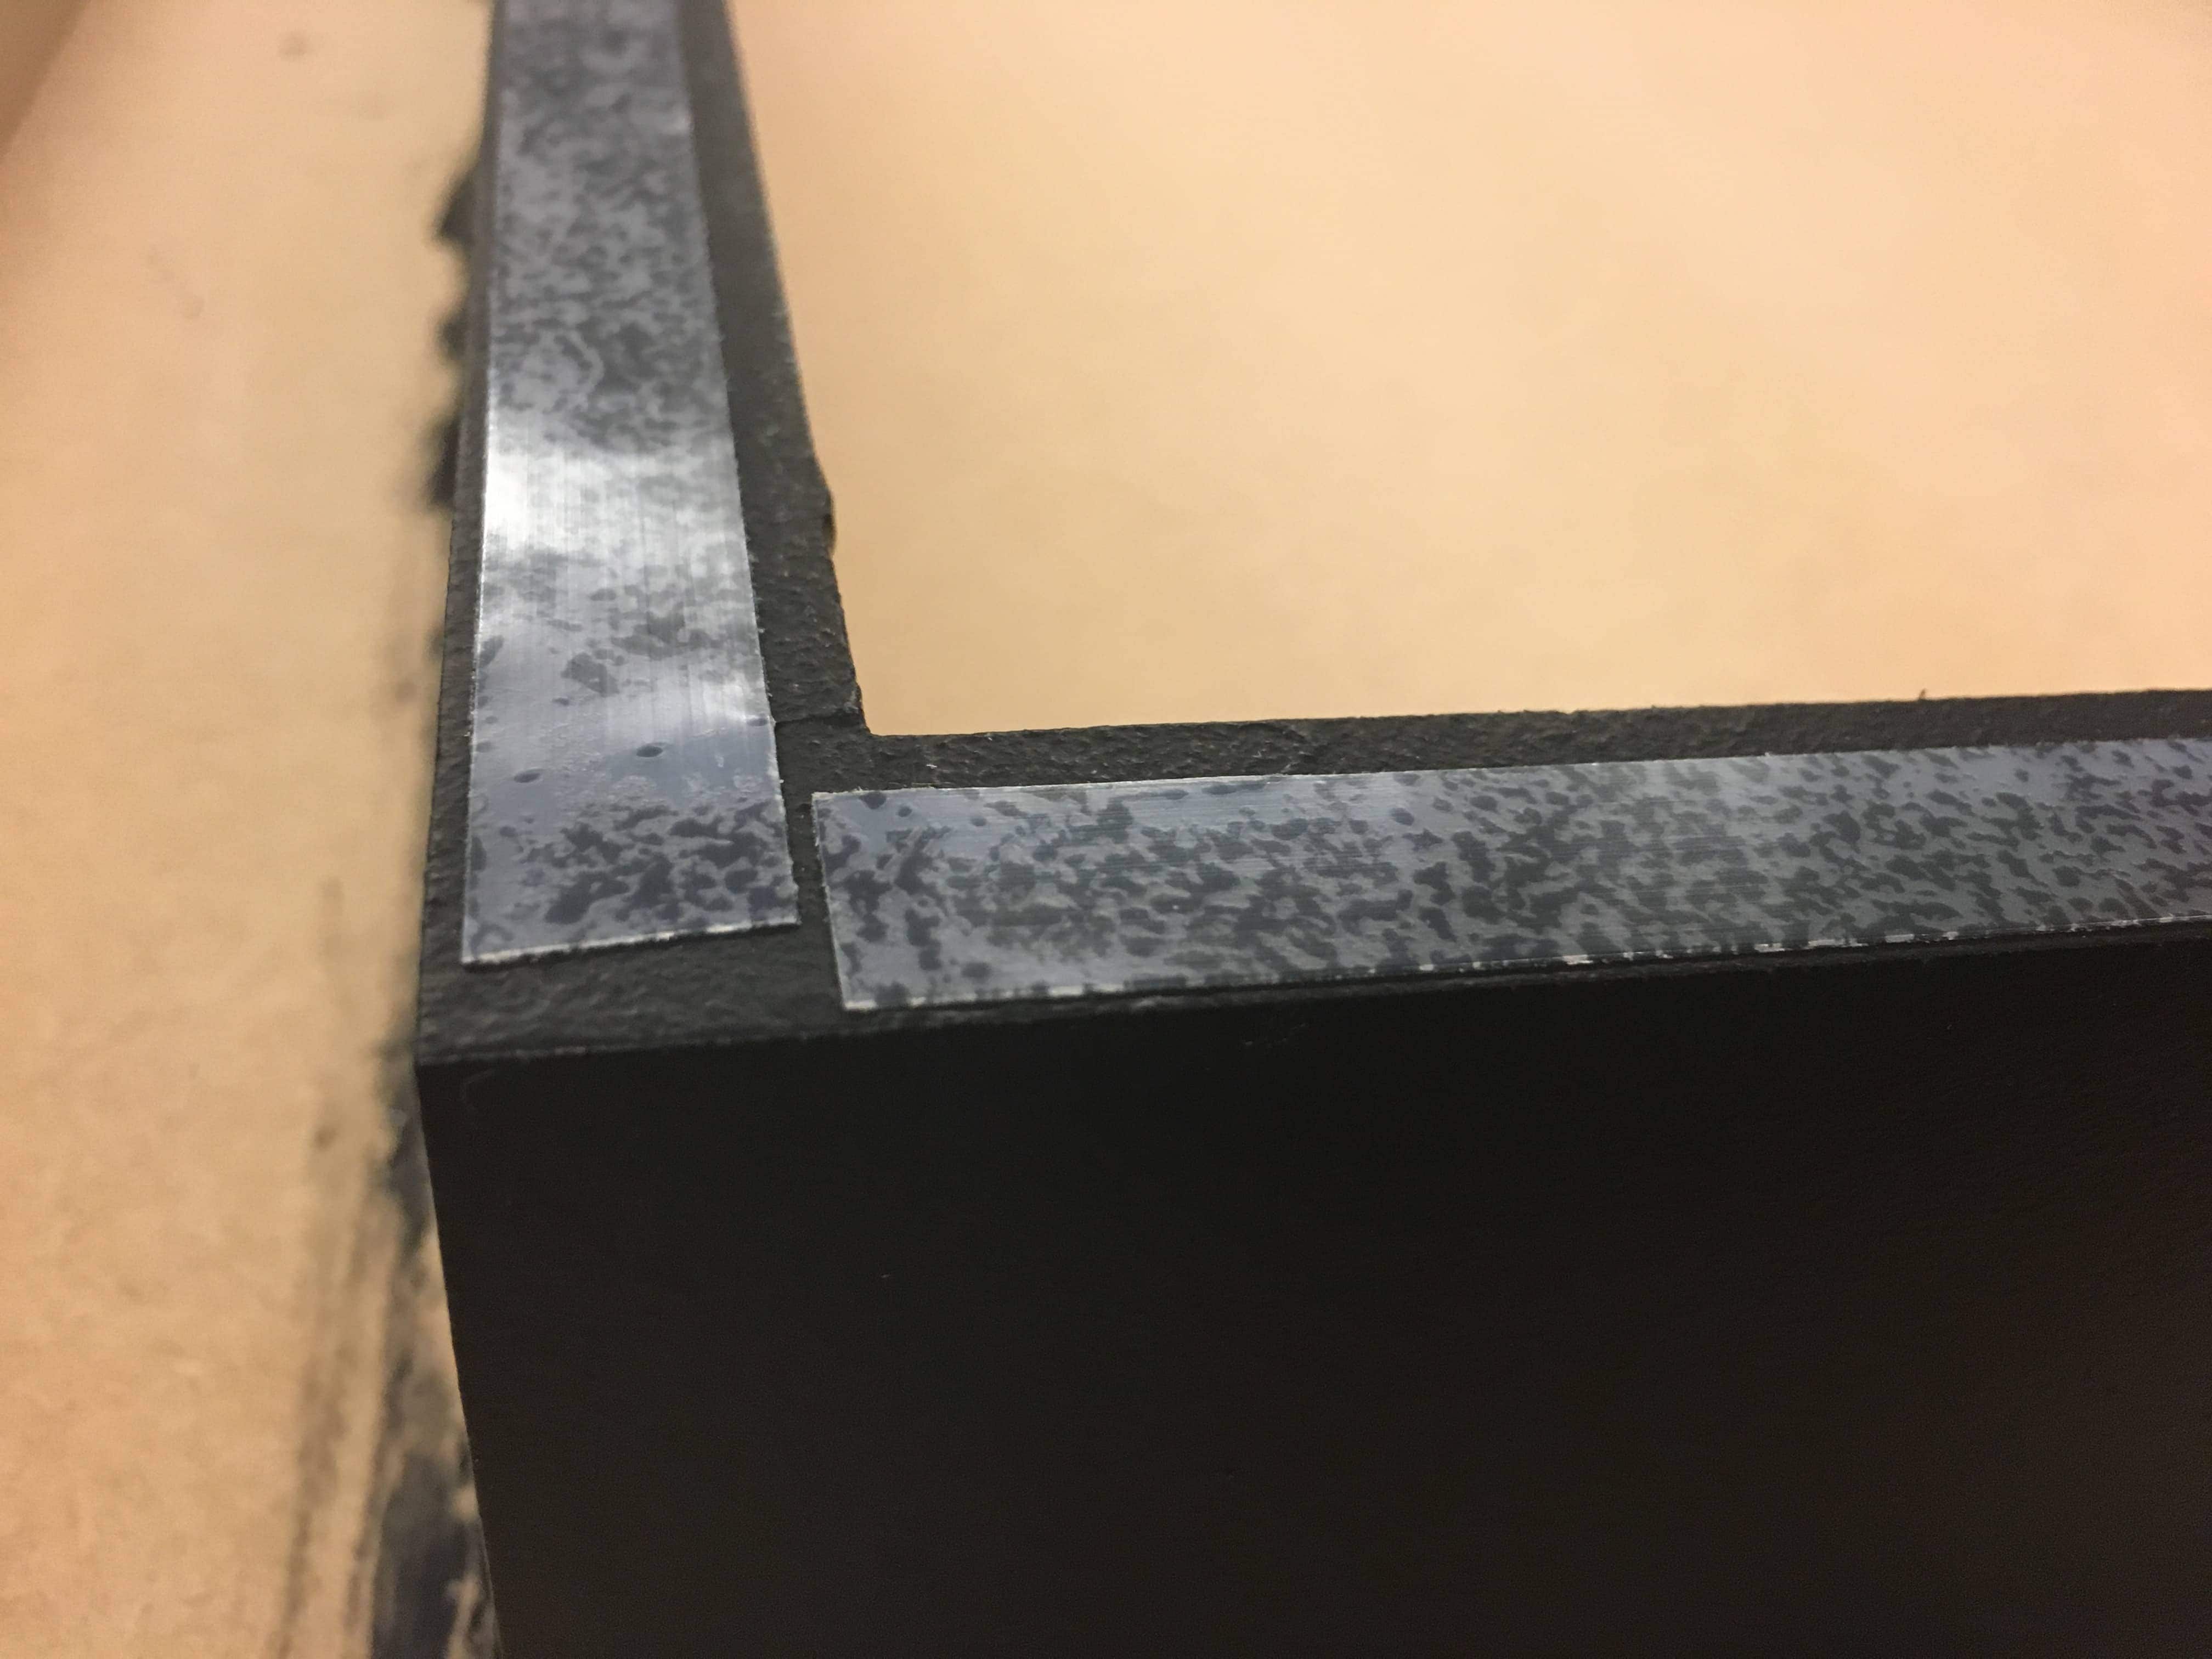
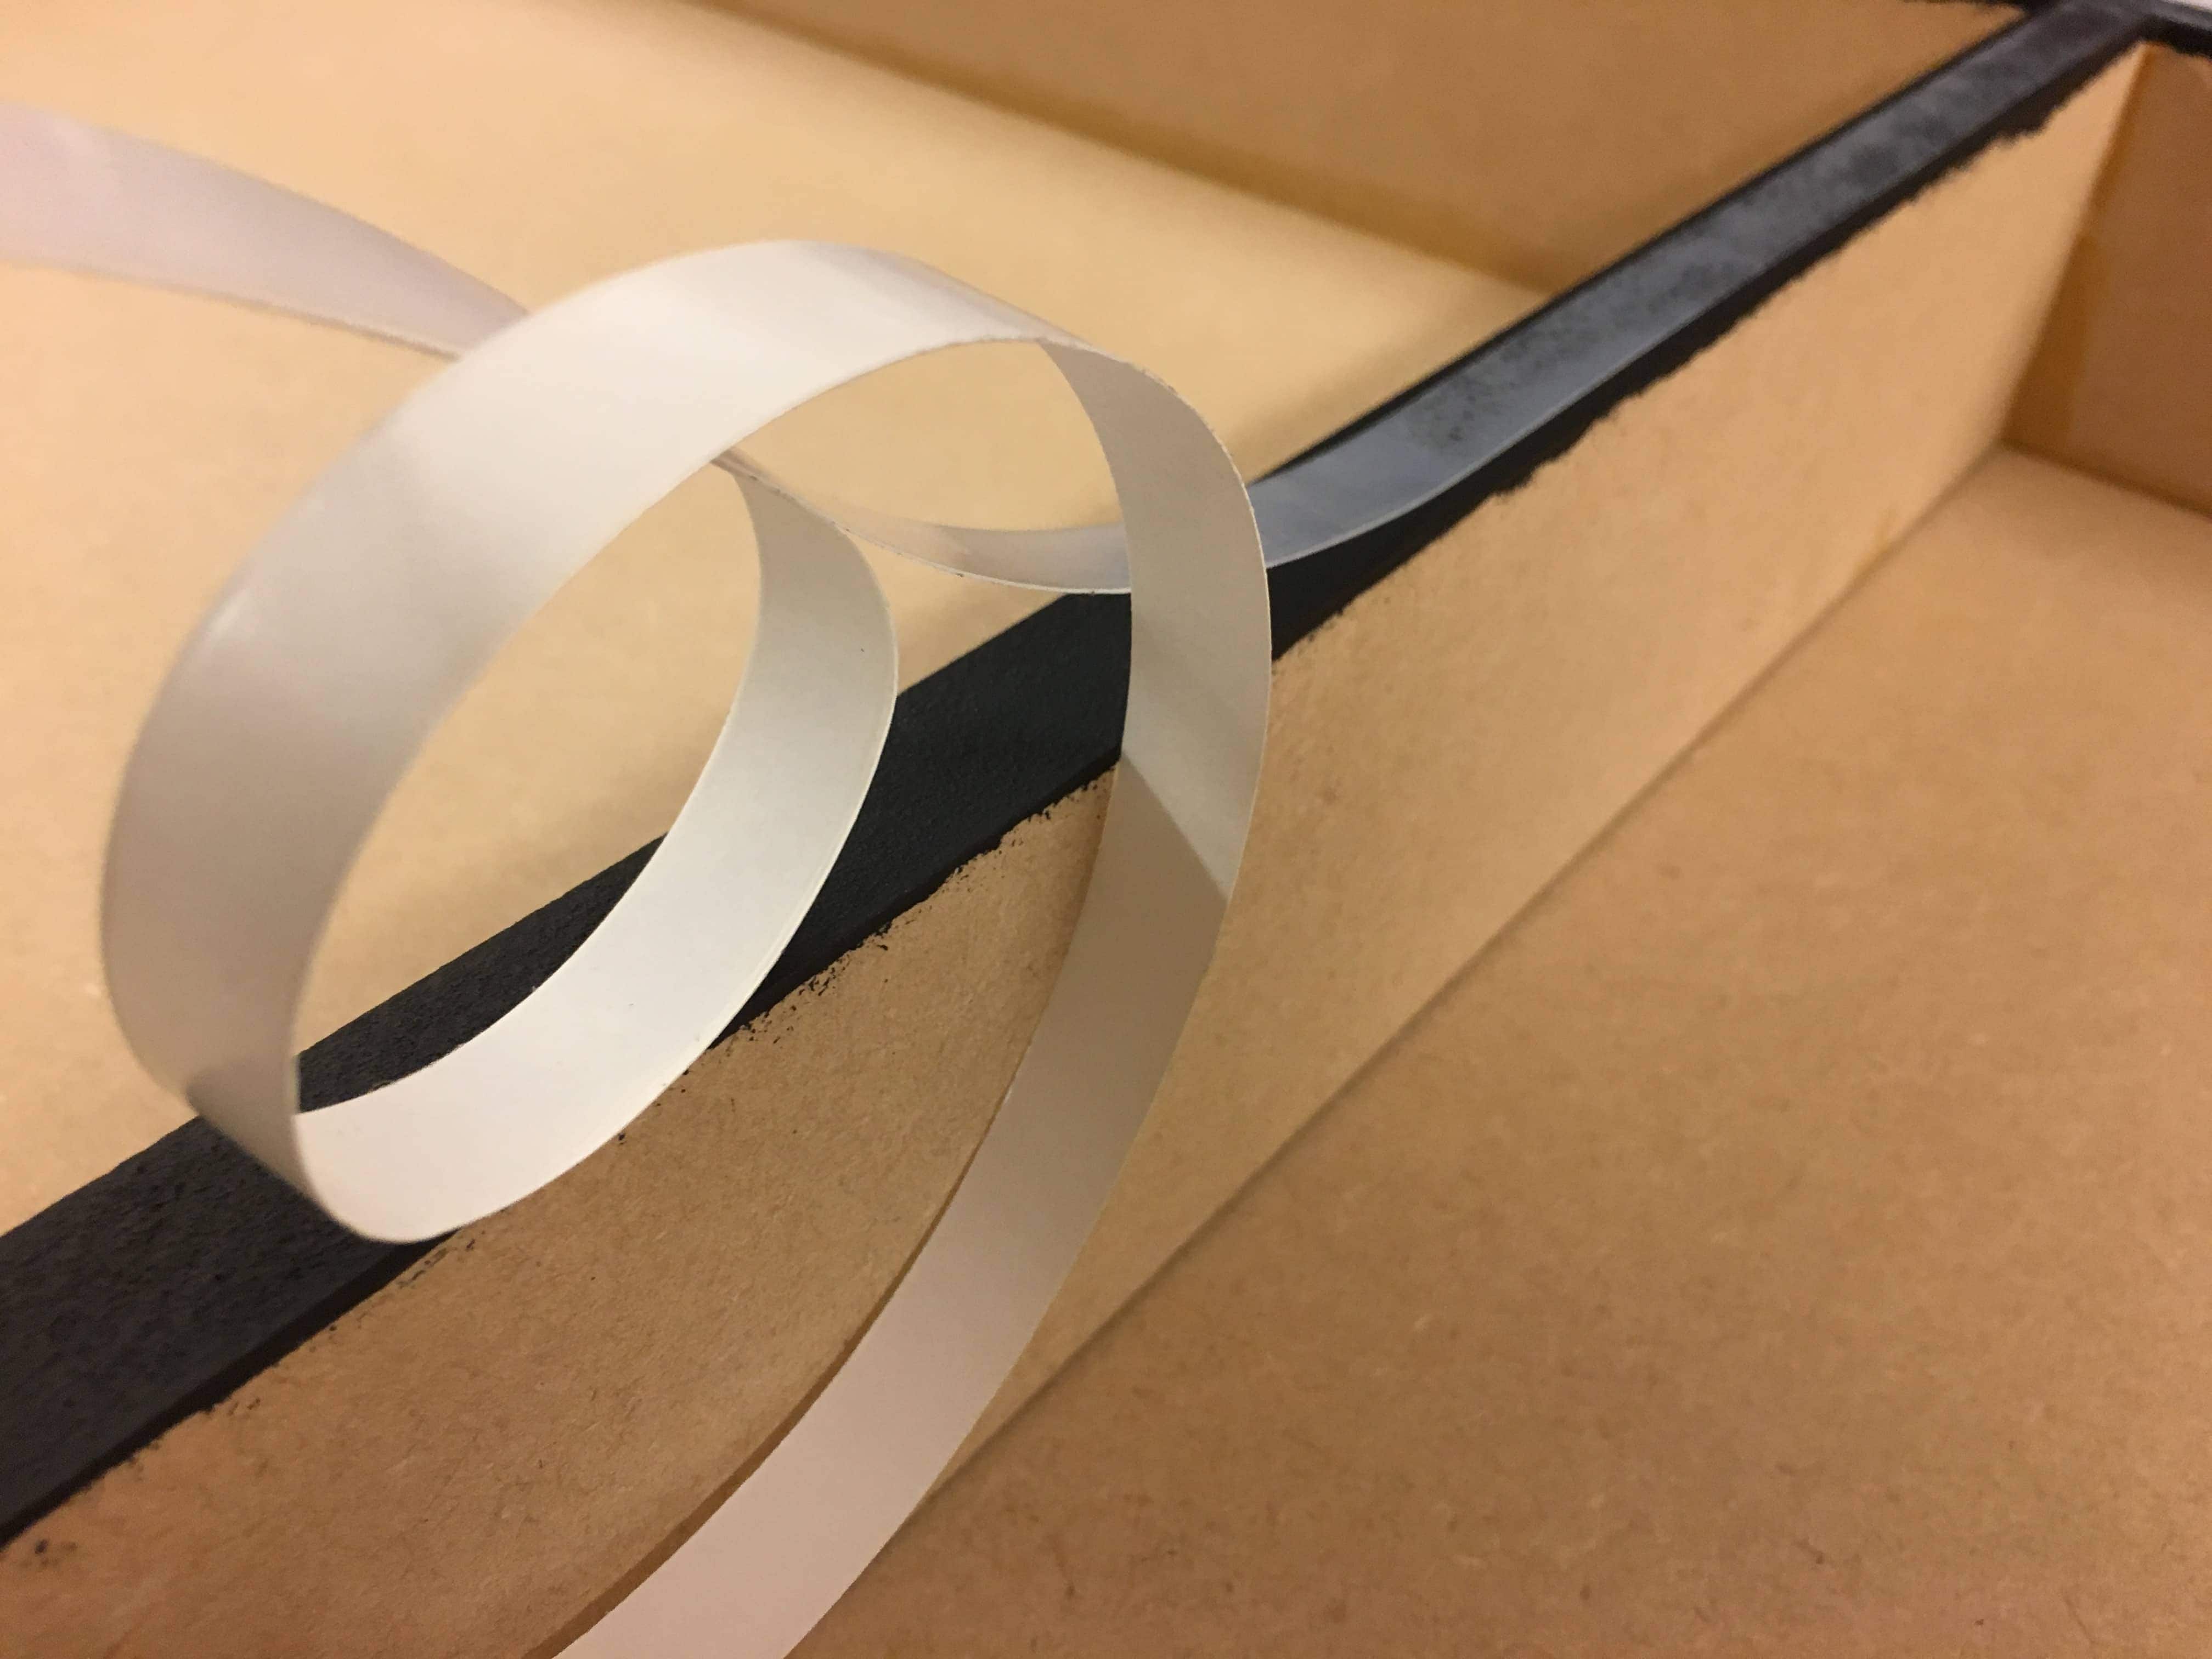
Next, we put strips of Ultra High Molecular Weight plastic (UHMW) on all bottom edges. Again, if we had more time, perhaps we would have bought 3/4″ wide UHMW plastic to cover more fully the foot, but 1/2″ will have to do for now.
It’s not very thick, perhaps 1/32″, but at least it’s something to raise the case up and hopefully it won’t stick to the wax. Perhaps it would be worth the investment to buy a thicker UHMW plastic, maybe 1/8″ or so. So, cross your fingers for us and let everyone on MuseumTrade know if you’ve encountered this before (success or failure), what you did, and what you would do differently.


Leave a Reply
You must belogged in to post a comment.